#347 Rubber and Amazon EC2
- Download:
- source codeProject Files in Zip (157 KB)
- mp4Full Size H.264 Video (50.2 MB)
- m4vSmaller H.264 Video (24.6 MB)
- webmFull Size VP8 Video (21.8 MB)
- ogvFull Size Theora Video (65.1 MB)
Amazon EC2 lets us deploy our Rails applications into the cloud and to scale them on demand by adding or removing service instances. Deploying directly to EC2 gives us a lot of control over the server setup and can be more affordable than other cloud services. That said it puts a lot more work and responsibility in our court, but there is a gem called Rubber that can help us with this. This is a gem, built by Matt Conway, that builds on Capistrano and which allows us to deploy easily to EC2 and manage it with only a few commands. We’ll show you how it works in this episode.
Getting Started With Rubber
We’ll start by creating a new Rails app to deploy. This will use Postgresql as its database as that’s what it’ll use in production.
$ rails new blog -d postgresql
To give the app something to do we’ll generate a scaffold for an Article with name and content fields.
$ cd blog
$ rails g scaffold article name content:text
Now that we have an app to deploy let’s set it up to work with Rubber. First we’ll run the following command to install it.
$ gem install rubber
This gives us access to a rubber command that we can use to set up our project. If you have trouble running this command and you’re using rbenv you might need to run rbenv rehash before you can execute rubber. Once the gem and its dependencies have installed we can run rubber vulcanize to prepare our application for EC2 deployment. We need to pass this command the name of the template we want to use to tell it how to set up the production environment. We’ll use one called complete_passenger_postgresql.
$ rubber vulcanize complete_passenger_postgresql
This will generate a number of files but it does this so that all the server configuration is in one place. This makes it much easier to manage all the production server configuration. If we look at the source code for Rubber we’ll find a templates directory and in there are all the templates that Rubber provides out of the box including one called complete_passenger_postgresql. We can pass any of the templates in this directory to rubber to customize our production stack and we can view the source code for each one to see how they work. The source code for our template is simple and just includes two other templates.
description: A fairly complete and scalable postgresql deployment setup
dependent_templates:
  - complete_passenger
  - postgresql
Next we’ll take a look at the files that were generated when we ran rubber. We now have a rubber directory under /config where most of the files can be found. There are some Ruby files which are primarily Capistrano recipes and normally we won’t need to modify these directly. There are also a number of YAML files in this directory and these are configuration files designed to be modified. For example rvm will be set up on the server and in rubber-rvm.yml we can define the version of Ruby that will be installed.
# REQUIRED: Set to the rvm version string for the ruby version you wish to use
# Run "rvm list known" to see the list of possible options
rvm_ruby: 1.9.3-p194
In the rubber-passenger config file we can define the number of app instances that will be allowed.
max_app_connections: 20
If this isn’t enough configuration for our application we can find the full configuration files in a role subdirectory. For example in role/passenger/passenger.conf we can fully customize our Passenger setup with Apache here. This way we have full control over how our production environment is set up but if you’re not sure what to do here you can stick with the defaults as these are pretty good.
One file we will need to change is rubber.yml. Here we can set the name of the application, the admin email address, the domain name and so on. We’ll call the app blog and leave the rest of the options at the defaults.
# REQUIRED: The name of your application
app_name: blog

# REQUIRED: The system user to run your app servers as
app_user: app

# REQUIRED: Notification emails (e.g. monit) get sent to this address
#
admin_email: "root@#{full_host}"

# OPTIONAL: If not set, you won't be able to access web_tools
# server (graphite, graylog, monit status, haproxy status, etc)
# web_tools_user: admin
# web_tools_password: sekret

# REQUIRED: The timezone the server should be in
timezone: US/Eastern

# REQUIRED: the domain all the instances should be associated with
#
domain: foo.com
# Rest of file omitted.
We’ll also need to change the access information for EC2 in this file. If you don’t have an EC2 account it’s easy to set one up. We just need to go to the Amazon EC2 page3 click “Sign Up Now” then follow the rest of the steps. Once we’ve signed up we need to go to the “Security Credentials” page from our account page and this will give us the information we need to add to this file. The account number is near the top of this page and we’ll need to use this in the account setting, stripping out any dashes. Further down in the Access Credentials section of this page we’ll find the Access Key ID which we’ll paste in the access_key section and the Secret Access Key which goes in the secret_access_key section.
# REQUIRED The amazon keys and account ID (digits only, no dashes) used to access the AWS API
#
access_key: ADFKDSI345SAD34SDFQ
secret_access_key: Vrtei34dfg+3dfgDFwegWPhdewFW6lEJBhTW
account: 123412341234
The next thing we need to do is set up a key pair. The default name for this is gsg-keypair, but we can call it anything we want. Back on our Amazon account page we’ll click the “Key Pairs” tab and look for the “Amazon EC2 Key Pairs” section. Here’s we’ll find a link to the AWS Management Console and we can to click this to switch to the management console. On the lefthand side of this page we’ll find a “Key Pairs” link and here we can create a new key pair and give it a name (we’ll stick with the default of gsg-keypair). Clicking “Create” will download a gsg-keypair.pem file. Rubber expects this file to be in a .ec2 directory under our home directory and expects it to have the same name as the key_name setting so we’ll need to move it. It’s a good idea to change the permissions on this file so that it’s only accessible by us so we’ll do that too.
$ mkdir ~/.ec2
$ mv ~/Downloads/gsg-keypair.pem ~/.ec2/gsg-keypair
$ chmod 600 ~/.ec2/gsg-keypair
If we need to change this file’s name or location we can do so by modifying the following part of the config file.
# REQUIRED:  The name of the amazon keypair and location of its private key
#
# NOTE: for some reason Capistrano requires you to have both the public and
# the private key in the same folder, the public key should have the
# extension ".pub".  The easiest way to get your hand on this is to create the
# public key from the private key: ssh-keygen -y -f gsg-keypair > gsg-keypair.pub
#
key_name: gsg-keypair
key_file: "#{Dir[(File.expand_path('~') rescue '/root') + '/.ec2/*' + cloud_providers.aws.key_name].first}"
We’ll need to make a public version of this file and we can do so by running ssh-keygen.
$ ssh-keygen -y -f ~/.ec2/gsg-keypair > ~/.ec2/gsg-keypair.pub
That’s all we need to change in this configuration file but it’s worth reading through the rest of it to see what it all does.
Next we’ll make some changes to the gemfile. We’ll uncomment the reference to the therubyracer gem as by default Rubber doesn’t set up a JavaScript compiler on the server so we’ll need this gem to compile our assets.
# See https://github.com/sstephenson/execjs#readme for more supported runtimes
gem 'therubyracer', :platform => :ruby
Note that at the bottom of the file Rubber has added some gems and we’ll need to run bundle to install these.
gem 'rubber'
gem 'open4'
gem 'gelf'
gem 'graylog2_exceptions', :git => 'git://github.com/wr0ngway/graylog2_exceptions.git'
gem 'graylog2-resque'
Deploying Our Application
Now that we have everything set up it’s time to deploy our application. This is done through Capistrano commands and Rubber gives us a create_staging command thats will deploy everything to a single Amazon instance. This is a good way to start off and try this out. This command will ask for a couple of settings before it runs but we can leave these at their defaults.
$ cap rubber:create_staging
    triggering load callbacks
  * executing `rubber:init
  * executing `runner:create_staging’
Hostname to user for staging instance [production]:
Roles to use for staging instance [apache,app,collectd,common,db:primary=true,elasticsearch,examples,graphite_server,graphite_web,graylog_elasticsearch,graylog_mongodb,graylog_server,graylog_web,haproxy,mongodb,monit,passenger,postgresql,postgresql_master,web,web_tools]:
This command takes a while to complete but we can just let it run. After a while it will ask for the password for the user on the local machine so that it can modify the HOSTS file. After we do that it will ask to reboot the instance and we should allow it. After a while the command will finally finish but if it doesn’t seem to finish this could be because SSH has timed out. In this case we should just abort it and try running the rubber bootstrap command (more about this later).
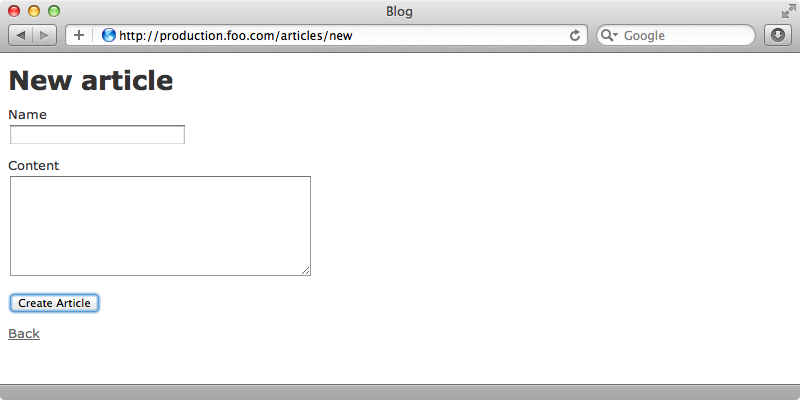
We can try our application out now by visiting production.foo.com. This is the domain name we set it up with and it works because this domain has been added to our HOSTS file so it will only work on our local machine. Our application works and we can create, edit and view articles.

If we want to see the actual address of the server we can look in the HOSTS file where we’ll see the line that maps production.foo.com to a subdomain of amazonaws.com.
Setting Up Multiple Instances
So, thanks to Rubber we’ve successfully deployed a Rails application with just one command. As its name suggests the rubber:create_staging command is usually used for testing or staging purposes. In a production environment we’ll have several instances taking on different roles. Before we take a look at this it’s a good idea to terminate any instances that we aren’t using. We can destroy our current instance by running cap rubber:destroy and destroy all instances with cap rubber:destroy_all.
Now that we’ve tested things out we’ll create a cluster of instances that take on different roles. We can create an instance by running cap rubber:create. This command will ask us what we want to call the instance. We’re going to make a database server first so we’ll call it db01. Next it will ask us what role this instance should play and as we want it to be the primary database server we can use db:primary=true here.
$ cap rubber create
    triggering load callbacks
  * executing `rubber:init’
  * executing `rubber:create’
Instance alias (e.g. web01 or web01~web05, web09): db01
Instance roles (e.g. web, app, db:primary=true): db:primary=true
Next the command will try to sync security groups and it will notice that some are left over from the last deployment and no longer required. It will ask us if we want to remove them and we’ll say no to this. There are a lot of groups, however, and we’ll have to say no each time. If we look at the rubber.yml config file we’ll find a prompt_for_security_group_sync option which is set to true by default. If we change this to false then we won’t get that prompt any more.
As the script carries on running it will ask for our user password again so that it can modify the HOSTS file and then it will complete. This shouldn’t take as long to run as it did the first time as it’s not setting up an instance from scratch just creating it. We’ll create a few more instances now by running the same command, but this time we’ll pass in the values beforehand. We’ll create an app server and a web server that will be an HAProxy and which will delegate to the various app instances.
$ ALIAS=app01 ROLES=app cap rubber:create
$ ALIAS=web01 ROLES=web cap rubber:create
With our instances created we can set them up by running rubber:bootstrap task.
$ cap rubber:bootstrap
This command is idempotent so it should only set up what it needs to and we should be able to run it as often as we want to. This will take a while to run but it’s setting up all the instances at the same time so we can just let it run. When it finishes we can do the initial deployment by running
$ cap deploy:cold
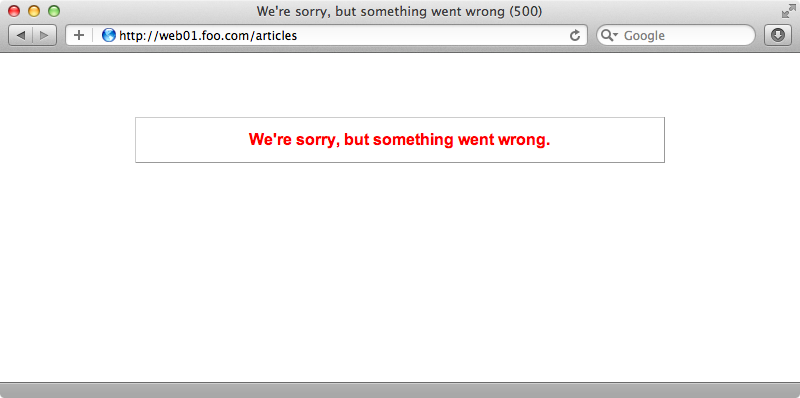
When this completes we can try visiting our application in a browser. When we do we get an error message.

Let’s try debugging this problem. Rubber provides a useful tail_logs task which will tail the logs on each of the servers.
$ cap rubber:tail_logs
When we run this we’ll see the error that’s causing our application to fail. The message we get is ActionView::Template::Error (application.css isn't precompiled):. For some reason the assets aren’t compiling on the server. To fix this problem we need to add the following line to the deploy.rb config file.
set :assets_role, [:app]
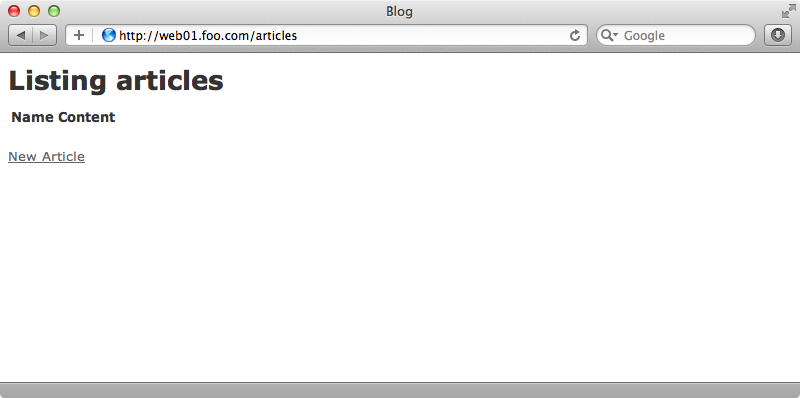
By default the assets are only precompiled in the :web role but in our setup this role is hosting the HAProxy instance but Apache, which is supposed to serve the assets, is on the app instances. This setting will probably be set by default in future versions of Rubber so we might not need to set in manually. With this change in place we can run cap deploy which will now compile the assets on the app instances. When we reload our page now it works.

Scaling Our Application
Rubber includes a large number of useful commands that we can run to manage our instances. We can get a list of these by running cap -T. One useful one is cap rubber:describe. This will list each of our instances and its current state.
Let’s say that our application is getting a lot of traffic and we need to scale it. It’s easy to create another instance so we’ll create another app instance and another db instance.
$ ALIAS=app02 ROLES=app cap rubber:create
$ ALIAS=db02 ROLES=db cap rubber:create
The new database instance will automatically take on the role of a slave database and replicate properly. While we’re doing this we’ll also create a web_tools instance so that we can gather some information about our servers. In our rubber.yml file is a commented-out section for setting a username and password for web_tools. We’ll need to uncomment this and set the appropriate values in here.
# OPTIONAL: If not set, you won't be able to access tools
# server (graphite, graylog, monit status, haproxy status, etc)
# web_tools_user: admin
# web_tools_password: sekret
We can now create a web_tools instance in the usual way.
$ ALIAS=tools ROLES=web_tools cap rubber:create
When this finishes we can run cap rubber:bootstrap like before to set up these instances.
If you’re ever curious about the instances that Rubber has set up and how they’re configured take a look at the config/rubber/common/instance-production.yml file. Here you’ll find a list of the instances, the roles they occupy, the different security groups and so on. You’ll find a lot of useful information about your instances here.
If we want to add configuration options to a specific instance or role there’s a commented-out example of how we can do this at the bottom of the
# OPTIONAL: Role specific overrides
# roles:
#   somerole:
#     packages: []
#   somerole2:
#     myconfig: someval

# OPTIONAL: Host specific overrides
# hosts:
#   somehost:
#     packages: []
Now with the bootstrap command done we could run cap deploy:cold to set up the new server. As we’re only deploying to a single instance we can use the FILTER option and set that to the name of the instance, like this:
$ FILTER=app02 cap deploy:cold
We’ll run cap deploy on everything next just for good measure and to make sure that everything is started up properly.
With everything set up now when we browse around our application it will have load balancing between the two app servers. Rubber sets all this up automatically, we don’t have to think about it.
Monitoring Our Application
To access the web_tools we need to go to https://tools.foo.com:8443. We might be prompted for a username and password when we do, we need to use the ones we entered in rubber.yml earlier. Here we have access to Monit which lets us check the status of each of our instances. We can check the CPU and memory usage, see the different processes that are running and so on.
We also view statistics for HAProxy. There’s a lot of information here including the app servers it’s delegating to, the load balancing between them and whether they’re up or down. We can also see information about our server with Graphite and Graylog. Graylog will prompt for the same username and password as before but also for its own username and password. These are set in the rubber-graylog config file and it’s a good idea to change them from their default values.
graylog_web_username: admin
graylog_web_password: admin1
Once we’re logged in we’ll see our log files. Various logs are piped into here including our Rails application’s logs and we can search these log files, run analytics against them and much more.
That wraps up our look at Rubber. It provides a simple way to deploy to EC2 and there’s much more information available about it on its Wiki. There are some great articles there that go into detail about aspects of Rubber that we haven’t covered here.


