#333 Extending Refinery CMS pro
- Download:
- source codeProject Files in Zip (1.54 MB)
- mp4Full Size H.264 Video (40.5 MB)
- m4vSmaller H.264 Video (19.1 MB)
- webmFull Size VP8 Video (21.2 MB)
- ogvFull Size Theora Video (44.4 MB)
In this episode we’re going to continue our look at the Refinery content management system. If you haven’t done so already take a look at the previous episode before reading this one so that you can see how we’ve got to where we are now. In the last episode we used Refinery to create a site for a piano store. This site now has a nice-looking home page and page for displaying information about the store’s location. We want to add another section to the site for browsing a list of the pianos that the store sells.
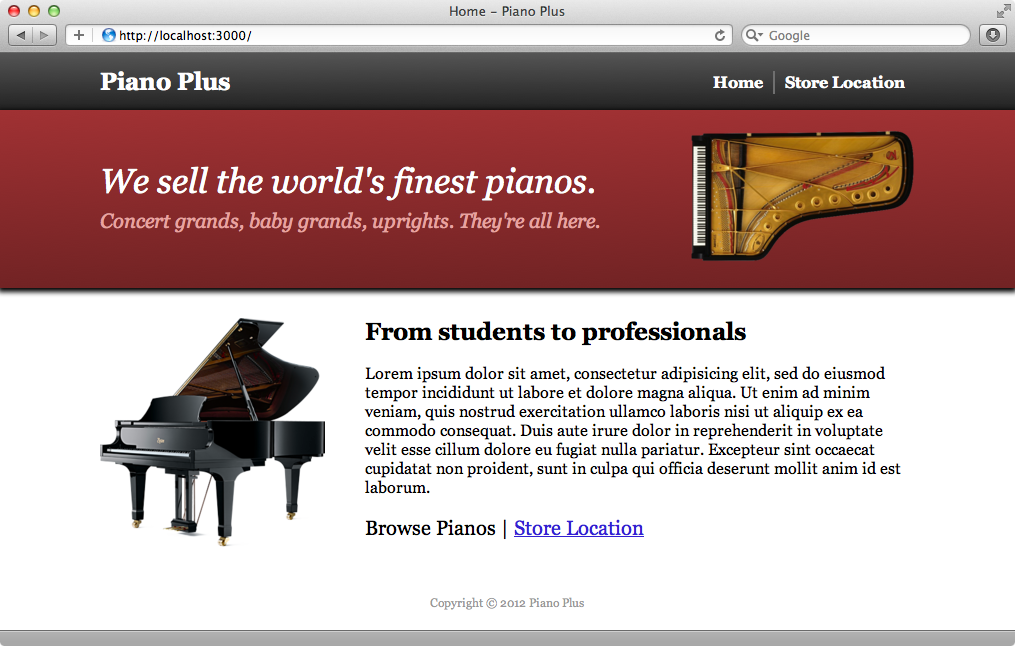
We don’t want to simply list the pianos on a static page. Instead we want to store them in a database and then manage them through Refinery’s admin section. So, in addition to the tabs listed by default on the admin pages we want another one for managing piano records. To do this it helps to have an understanding of how Refinery works internally. Each tab in the admin section is implemented in a separate Rails engine which handles the admin side of the information and also the public side of displaying that information to the user. We can see this if we look at Refinery’s source code. There are several directories here that contain a Rails engine, for example the pages, images and dashboard directories. The authentication directory contains the “Users” tab while the resources directory contains the “Files” tab. In each of these directories we’ll find a Rails engine.
Adding Our Own Custom Engine
This approach makes Refinery very modular and it also means that we can easily extend it by adding our own engine. That’s what we’re going to do in this episode. We’ll create a new section for managing pianos and displaying them to the user. Refinery comes with a generator for doing just this. This is similar to the scaffold generator and we pass it the name of a resource a a list of attributes. We’ll use it to create a piano engine.
$ rails g refinery:engine piano name:string dimensions:string manufactured_on:date upright:boolean photo:image description:text
The types we pass to the fields will look familiar if you’ve ever generated a resource or a scaffold. The only difference here is that we have access to an image type if we want to include an image with each record and Refinery will automatically handle these images for us. This command has generated an engine for us and has placed it under a vendor/extensions/pianos directory. The command has also printed a list of commands that we’ll need to run.
------------------------
Now run:
bundle install
rails generate refinery:pianos
rake db:migrate
rake db:seed
------------------------
Before we do that let’s take a look at the changes that have been made to the application’s gemfile.
gem 'refinerycms-i18n',   '~> 2.0.0'
#  gem 'refinerycms-blog', '~> 2.0.0'
#  gem 'refinerycms-inquiries', '~> 2.0.0'
#  gem 'refinerycms-search', '~> 2.0.0'
#  gem 'refinerycms-page-images', '~> 2.0.0'

gem 'refinerycms-pianos', :path => 'vendor/extensions'
There’s a new line at the bottom of this file which contains a gem that points to the vendor/extensions path. This is interesting; not only did the command generate an engine it also turned it into a gem which is used in our application. This means that it’s easy to take the engine and turn it into a gem that we can use in other applications. There are several commented-out gems in the gemfile which are basically the same thing. Each one is a separate engine for extending Refinery and can add functionality such as blog, searching and so on.
Since our new extension isn’t really part of our Rails application we need to run a few commands to get it set up. First we’ll need to run Bundler.
$ bundle install
Next we’ll run the generator that Refinery provides.
$ rails generate refinery:pianos
This command copies over the migration file for adding the pianos table to the database and adds some content to the seeds file. If we look at this file we’ll see the line the generator has added.
Refinery::Pianos::Engine.load_seed
The line that’s been added loads the seeds for our pianos engine. This will add a new page to Refinery for displaying pianos to the user but we can customize the engine and have it load whatever seed data we want. Next we’ll migrate the database and load that seed data.
$ rake db:migrate && rake db:seed
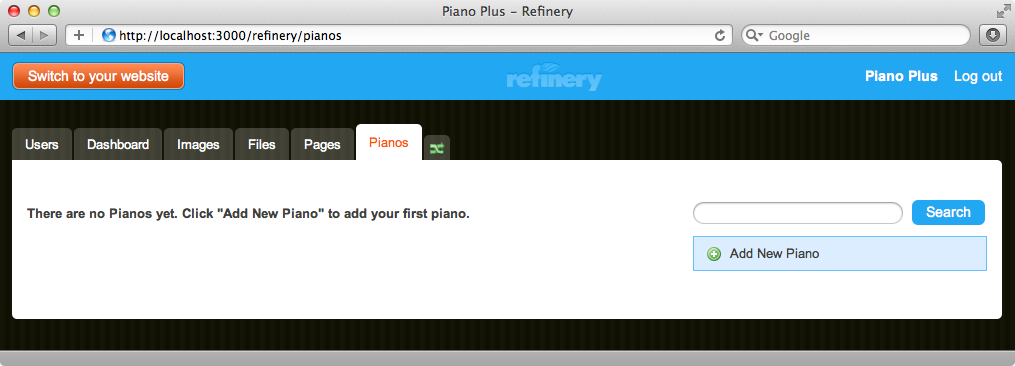
Our engine is now set up. Before we start customizing it let’s see what’s provided out of the box. After restarting the Rails server and reloading the admin page we’ll see a new “Pianos” tab for managing piano records.
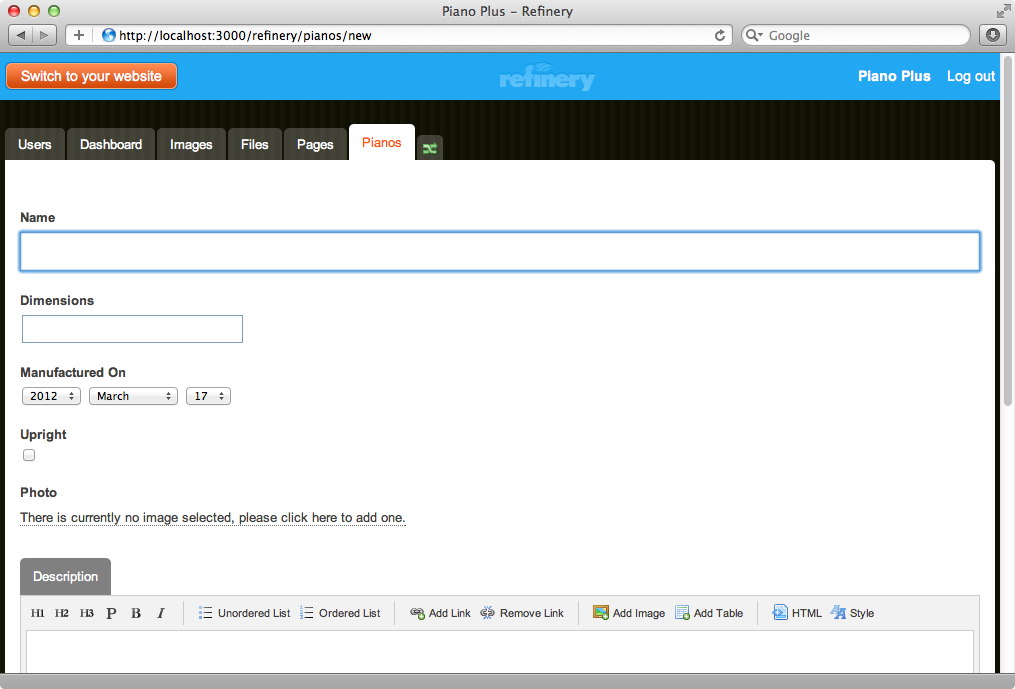
The page for adding a piano includes all the fields we specified in the generator, including the field for adding an image. We can add an image in exactly the same way we added one to a page in the previous episode. The description text field is a complete WYSIWYG editor exactly like the one for adding page content.
We’ll fill some records in behind the scenes now so that we have some data to work with.
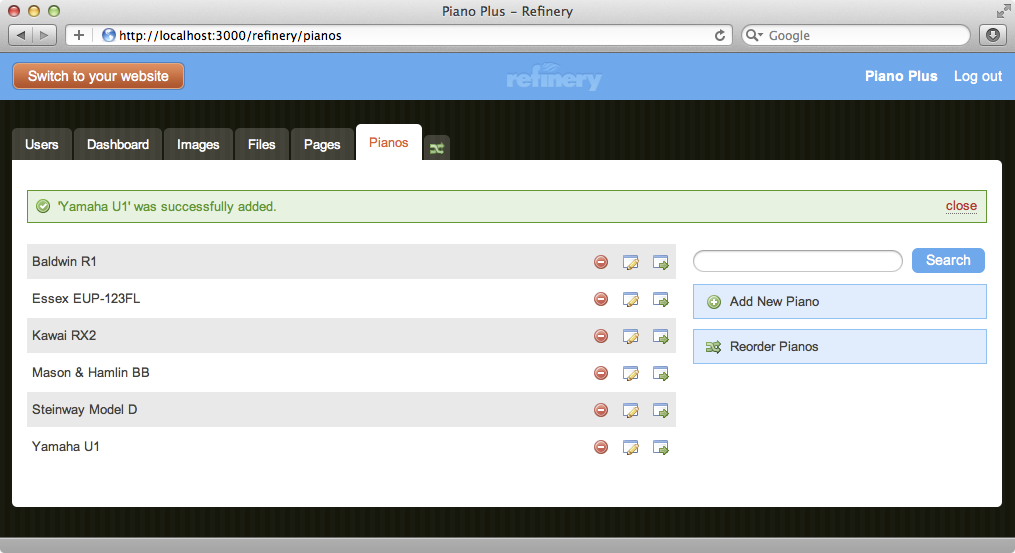
These are shown in the order we added them but we can easily add reorder them by clicking the “Reorder Pianos” link on the right and then dragging the records in to the order we want.
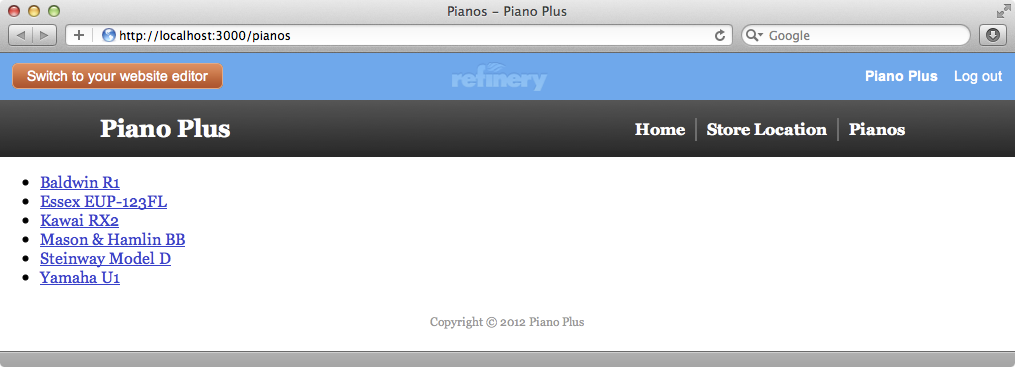
There’s also a new “Pianos” page in our application now, along with the “About” page which reappeared when we seeded the database and which we’ll need to delete again. The content of our new page will be handled by the new engine and by default it will show a list of the records that we added. Note that there’s also now a link to this page in the banner at the top of the page.
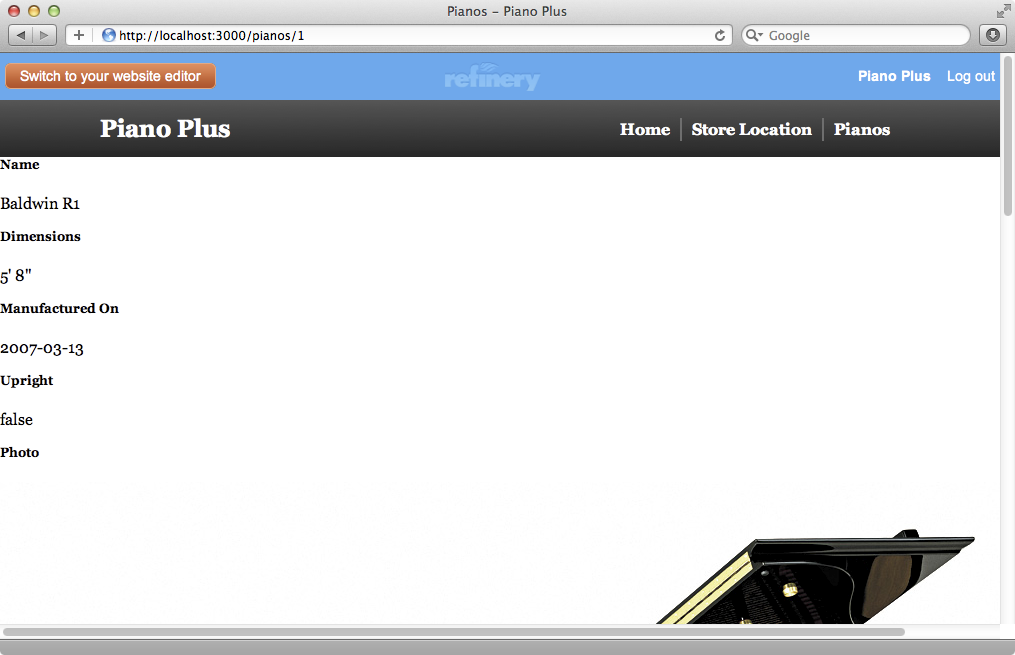
Clicking on one of the links will take us to the page for that piano which contains a list of all its attributes along with the full-size image that we uploaded.
Customizing Our Engine
This page obviously needs some work. Let’s take a look to see what’s involved with customizing our engine. Our application’s /vendor/extensions/pianos directory contains a directory structure very similar to that of a Rails application with the usual app, config, db, lib, etc. directories.
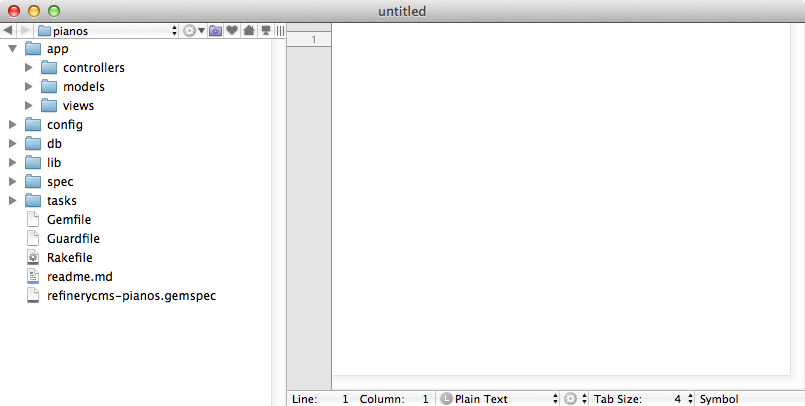
If you’re unfamiliar with Rails engines take a look at episode 277 which covers them in detail. We’re just going to focus on the /app/views directory of our engine as it’s this that we want to customize. In this directory we’ll find a refinery/pianos directory that contains admin and pianos directories. The admin directory contains another pianos directory and while this can all become a little confusing its worth remembering that this directory is for views relating to the admin pages while the refinery/pianos/pianos directory is for the public-facing page. For example the _form.html.erb partial in the admin section contains the view code for the form for adding or editing a piano and we can customize the fields that are shown on this page by editing this code. The show page in the pianos directory contains the code for the page about a single piano that’s shown to the end user and it’s the public pages that we’re going to work on now.
Refinery builds up the content of the page by using content_for blocks then renders a refinery/content_page partial which displays the content of these blocks on the page.
<% content_for :body_content_title do %>
  <%= @piano.name %>
<% end %>

<% content_for :body_content_left do %>
  <section>
    <h1>Name</h1>
    <p>
      <%=raw @piano.name %>
    </p>
  </section>
  <section>
    <h1>Dimensions</h1>
    <p>
     <%=raw @piano.dimensions %>
    </p>
  </section>
  <section>
    <h1>Manufactured On</h1>
    <p>
      <%=raw @piano.manufactured_on %>
    </p>
  </section>
  <section>
    <h1>Upright</h1>
    <p>
      <%=raw @piano.upright %>
    </p>
  </section>
  <section>
    <h1>Photo</h1>
    <p>
      <%= image_fu @piano.photo, nil %>
    </p>
  </section>
  <section>
    <h1>Description</h1>
    <p>
      <%=raw @piano.description %>
    </p>
  </section>
<% end %>

<% content_for :body_content_right do %>
  <aside>
    <h2><%= t('.other') %></h2>
    <ul id="pianos">
      <% @pianos.each do |piano| %>
        <li>
          <%= link_to piano.name, refinery.pianos_piano_path(piano) %>
        </li>
      <% end %>
    </ul>
  </aside>
<% end %>

<%= render '/refinery/content_page' %>
We can stick with this approach but it can be easier to ignore the content_for blocks and the partial and instead to mimic the way that Refinery displays pages. We’ll replace all the code in the view template with this code:
<section id="body_content">
  <section id="body">
    <div id="piano">
      <%= image_fu @piano.photo, "400x400", class: "image-align-left" %>
      <h1><%= @piano.name %></h1>
      <p><b>Dimensions:</b> <%= @piano.dimensions %></p>
      <p><b>Manufacture Date:</b> <%= @piano.manufactured_on.year %></p>
      <%= raw @piano.description %>
      <p class="back"><%= link_to "Back to Pianos", refinery.pianos_pianos_path %></p>
    </div>
  </section>
</section>
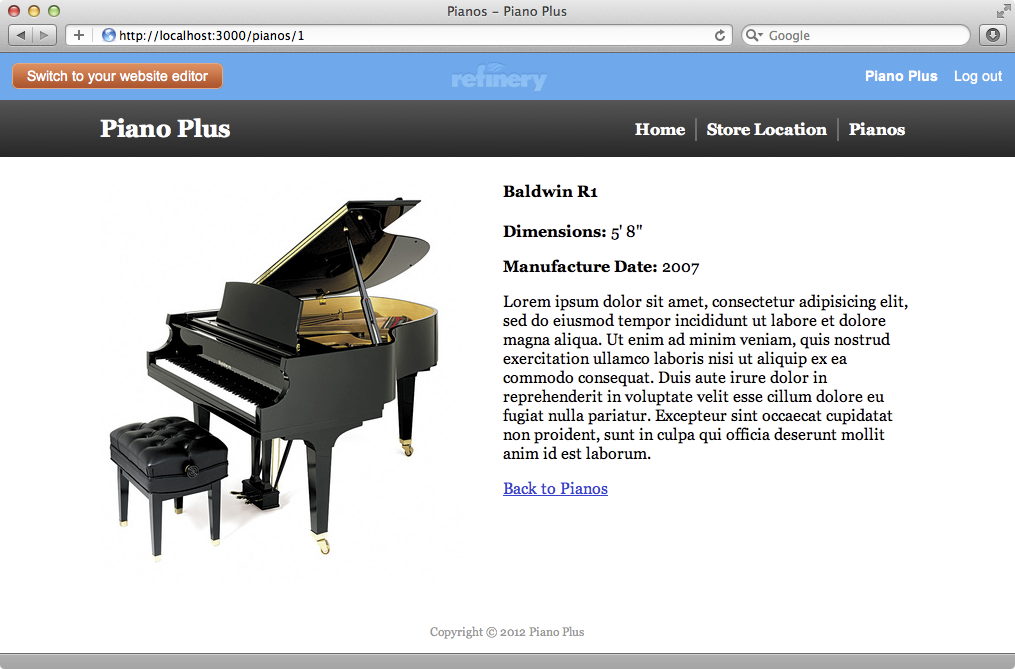
The two section elements in our new template mimic what Refinery generates in its pages. For the image we use an image_fu method that Refinery provides and which we can use to display the image at a given size. For the description we use the raw method as this contains HTML from the WYSIWYG editor and we don’t want this to be escaped. Finally we have a link back to the list of pianos. The path for this is a little cumbersome. The refinery part is the prefix for the Refinery engine while the first pianos is a namespace for this specific engine. The second pianos in the path refers to the pianos controller. There’s a lot of namespaces here but every path in this engine needs to be prefixed with refinery.pianos_.
When we reload the page for a single piano now it looks much better.
Next we’ll improve the index template which displays the list of pianos. This template is fairly basic by default and simply lists the pianos in an unordered list.
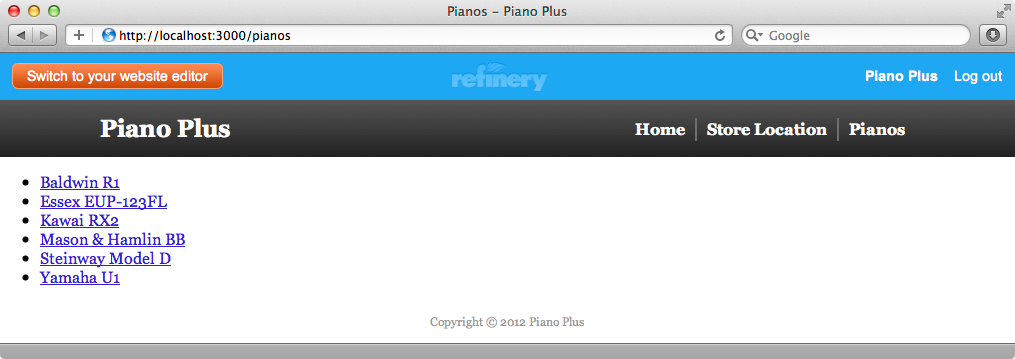
The code for this template looks like this:
<% content_for :body_content_left do %>
  <ul id="pianos">
    <% @pianos.each do |piano| %>
      <li>
        <%= link_to piano.name, refinery.pianos_piano_path(piano) %>
      </li>
    <% end %>
  </ul>
<% end %>

<%= render '/refinery/content_page' %>
This behaves in a similar way to the show template, using content_for and then rendering a partial. Again we’ll replace this with our own code.
<section id="body_content">
  <section id="body">
    <div id="pianos">
      <% @pianos.each do |piano| %>
      <div class="piano">
        <%= image_fu piano.photo, "200x200", class: "image-align-#{cycle("left","right")}"%>
        <h2><%= piano.name %></h2>
        <%= raw piano.description %>
        <p class="more_info"><%= link_to "More Information", refinery.pianos_piano_path(piano) %></p>
        <% end %>
      </div>
    </div>
  </section>
</section>
This code in this template is very similar to the code in the show template, but this time it loops through the list of pianos and renders out each one. When we reload this page now it’s also improved and we have a nice list of pianos that we can browse through, each with a link to the page for that piano.
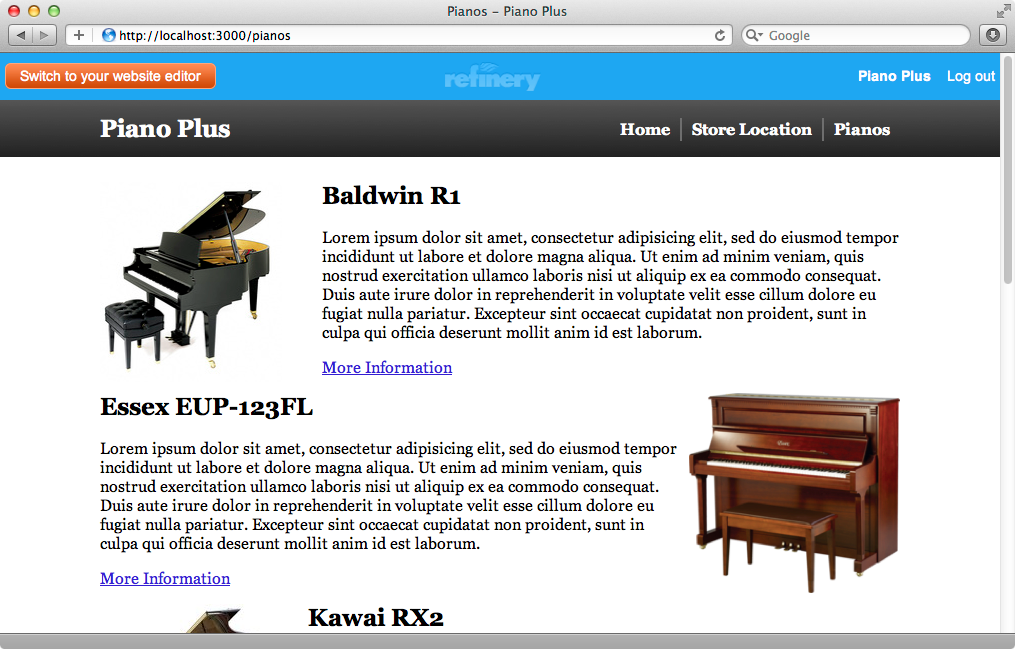
Note that each piano image alternates between the left and right side of the page and we get this effect by using the cycle helper method. This isn’t specific to Refinery, but is a method that Rails provides for cycling through a list of values in a loop. This method is really useful when you want something to alternate positions.
Linking To The Page
There are a few things left to do to polish up our site, for example the “Browse Pianos” link on the home page. We can fix this by editing the home page in Refinery, selecting the text, clicking “Add Link’ and choosing the pianos page to link to. We want the “Pianos” page to appear before the “Store Location” page in the top banner and we can do this in the admin section too by clicking “Reorder Pages” on the “Pages” tab and dragging “Pianos” above “Store Location”. We also want the text for this page in the banner to say “Browse Pianos” and we can change this by selecting “Advanced Options” on the page’s editor and setting the “Menu title” option.
Overriding Refinery’s Functionality
Our website is almost complete now. We’ll finish this episode with a few tips on overriding some of Refinery’s functionality. Let’s say that there’s something in the HTML that Refinery generates that we want to change, for example the way it generates three different CSS files that are loaded separately. We could instead load the formatting and theme files inside the application file through the Rails asset pipeline. If we want to override some of Refinery’s functionality the first step is to browse the source code and file the file we want to override. In this case it’s in the app/views/refinery/_head.html.erb partial which contains all the code for the head section of each page. We can override this file by running a Rake command.
$ rake refinery:override view=refinery/_head
Copied view template file to app/views/refinery/_head.html.erb
Copied view template file to app/views/refinery/_header.html.erb
$ rm app/views/refinery/_header.html.erb
This command has found two files and we don’t want to override the header file so we’ve removed it. We now have a refinery directory in /app/views that contains the _head file and we can make changes to it here. We’ll alter these two lines
<%= stylesheet_link_tag "application", "formatting", "theme" %>
<%= stylesheet_link_tag "home" if home_page? %>
to look like this:
<%= stylesheet_link_tag "application" %>We can add all the files that we’ve removed here through the asset pipeline instead by changing the application.css file.
/*
 * This is a manifest file that'll be compiled into application.css, which will include all the files
 * listed below.
 *
 * Any CSS and SCSS file within this directory, lib/assets/stylesheets, vendor/assets/stylesheets,
 * or vendor/assets/stylesheets of plugins, if any, can be referenced here using a relative path.
 *
 * You're free to add application-wide styles to this file and they'll appear at the top of the
 * compiled file, but it's generally better to create a new file per style scope.
 *
 *= require formatting
 *= require theme
 *= require_self
 *= require_tree .
*/
Our website looks the same now but the style sheets are all loaded as part of the application.css file.
Another way to add behaviour to Refinery is through decorators. Our application has an /app/decorators directory and this is designed to extend Refinery’s controllers and models. Let’s say that we want to add a before_filter to the pages controller that Refinery has. We can do this in a new pages_controller_decorator.rb file.
Refinery::PagesController.class_eval do
  before_filter :authorize

private
  def authorize
    render text: "Not authorized"
  end
end
In this class we add new behaviour to the Refinery::PagesController class through class_eval. We want to add authorization to this controller we can add a before_filter here to do this. Actually adding authorization is beyond the scope of this episode so we just render some text in our authorize method. When we reload the page now we just see “Not authorized” which shows that our before filter is being called.

Further Steps
We’re nearing the end of this episode now but there’s a lot more to Refinery than we’ve covered here. Here are a few tips on what to look at next. First of all you should go to your gemfile and uncomment some of the gems listed there. These add some great features to Refinery. You should also take a look at the comments in configuration files as there’s a lot you can do to customize Refinery’s behaviour here.
There are lot of goodies in the engine that we generated. Take a look at its controllers and models to gain some insight into how Refinery works internally. The engine comes with a suite of specs, too, and there are also worth reading through.
Finally you should take a look at Refinery CMS’s website. There are a lot of great resources here including a full list of guides that go into further detail than we have here. There’s also a list of downloadable engines that can be used in your applications.


