
#305 Authentication with Warden pro
- Download:
- source code
- mp4
- m4v
- webm
- ogv
Warden is a Ruby gem that allows you to perform authentication through Rack Middleware. When you’re writing an application’s authentication from scratch it’s normal to do this entirely within the application but there are several advantages to using Warden. If we use it we can access the authentication through other Rack apps such as mountable engines and we can access authentication outside the application’s controllers for example in the routes file to create routing constraints. We’ll show you how to do this at the end of the episode but before we do we’ll show you what’s involved in adding Warden to a Rails application.
Our Application’s Existing Authentication
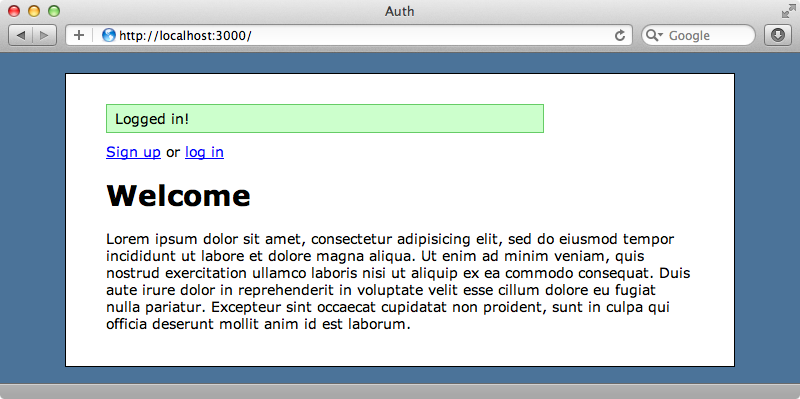
The application we’ll be working with is shown below. We already have some authentication set up in it with a sign-up page for creating a new user and a login page where users who have registered can sign up.

This authentication is handled within the Rails application. Before we start moving it over to Warden let’s take a look at what we’ve got so far, starting with the User model. This model is fairly simple; the key line in it is has_secure_password. This method is new in Rails 3.1 and it hashes a password into a password_digest field. We covered this in more detail back in episode 270.
class User < ActiveRecord::Base
  attr_accessible :email, :password, :password_confirmation
  validates_presence_of :password, on: :create
  validates_presence_of :email
  has_secure_password
end
Most of the authentication logic takes place in the SessionsController’s create action.
def create
  user = User.find_by_email(params[:email])
  if user && user.authenticate(params[:password])
    session[:user_id] = user.id
    redirect_to root_url, notice: "Logged in!"
  else
    flash.now.alert = "Invalid email or password"
    render "new"
  end
end

def destroy
  session[:user_id] = nil
  redirect_to root_url, notice: "Logged out!"
end
In this action we try to find a user by their email address. If we find one we call authenticate on the password the user supplied which will check that it matches the encrypted password in the database. If it does we set the user_id session variable to that user’s id and redirect back to the home page. If the user isn’t found or the password entered is incorrect we’ll show an error message and render the form again.
When a user logs out the destroy action is called. Here we clear the user_id session variable and redirect to the home page with a message telling the user that they have logged out.
Using Warden For Authentication
There’s more information on the way we’ve implemented the authentication in this application see episode 250. Next, let’s see what we need to do to move it into Warden.
Most of the documentation for Warden can be found on its wiki page. A good place to start is the setup page which shows us how to add Warden as Rack Middleware and this is what we’ll do first. We’ll need to add the warden gem to the gemfile and run bundle to install it. There is a rails_warden gem which makes using Warden with Rails a little easier but we won’t use it here as we’ll get a better idea how Warden works by using it directly.
source 'http://rubygems.org'

gem 'rails', '3.1.3'

# Bundle edge Rails instead:
# gem 'rails',     :git => 'git://github.com/rails/rails.git'

gem 'sqlite3'


# Gems used only for assets and not required
# in production environments by default.
group :assets do
  gem 'sass-rails',   '~> 3.1.5'
  gem 'coffee-rails', '~> 3.1.1'
  gem 'uglifier', '>= 1.0.3'
end

gem 'jquery-rails'

# To use ActiveModel has_secure_password
gem 'bcrypt-ruby', '~> 3.0.0'
gem 'warden'
We can now add Warden as Rack Middleware through an initializer.
Rails.application.config.middleware.use Warden::Manager do |manager|
  manager.default_strategies :password
end

Warden::Manager.serialize_into_session do |user|
  user.id
end

Warden::Manager.serialize_from_session do |id|
  User.find(id)
end
This code adds Warden::Manager to our application’s Middleware. We need to define a default strategy in this code’s block and we’re going to use one called password. Warden doesn’t come with a built-in password strategy so it’s up to us to write it. We can call it anything we like, the name password is entirely arbitrary, and we’ll write this strategy shortly.
The rest of the code in this file tells Warden how to store the currently logged-in user in the session, which we do by storing their id, and how to fetch the current user from the id in the session.
We still need to write our password strategy and we’ll do that now. We do this by calling Warden::Strategies.add, passing it the name of our strategy and a block. We need to define an authenticate! method in this block which should authenticate the user based on the user request parameters, just like we do in the SessionsController. The code we’ll need in this method is very similar to the code in the create action so we can copy it into authenticate! and modify it a little.
Warden::Strategies.add(:password) do
  def authenticate!
    user = User.find_by_email(params['email'])
    if user && user.authenticate(params['password'])
      success! user
    else
      fail "Invalid email or password"
    end
  end
end
As we’re in a Rack application we need to use strings instead of symbols when we fetch the email and password parameters. If the authentication succeeds we call a success! method and pass in the user. If it fails we call fail, passing in a message explaining why.
We can change the SessionsController now so that it uses Warden for authentication.
def create
  user = env['warden'].authenticate
  if user
    redirect_to root_url, notice: "Logged in!"
  else
    flash.now.alert = env['warden'].message
    render "new"
  end
end

def destroy
  env['warden'].logout
  redirect_to root_url, notice: "Logged out!"
end
We can access Warden at any time through the Rack environment by calling env['warden']. In the create action we now use the authenticate method to authenticate the user against the parameters from the login form. This method will return a User object if a matching user is found or nil otherwise. If the authentication fails we can call env['warden'].message to fetch the message that was passed to fail.
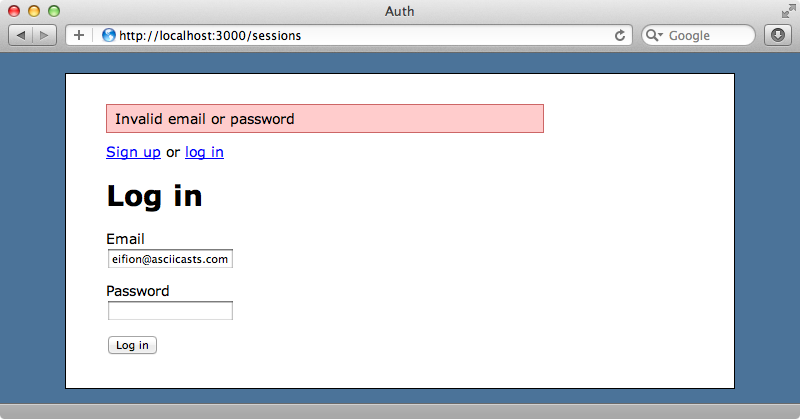
We can test this out now. As we’ve modified an initializer we’ll need to restart the Rails server if it’s already running but once we have we can visit the login page and try out our form. If we enter an invalid email address or password we’ll see an error message, but when we enter the correct login information we’re logged in so our authentication appears to be working.
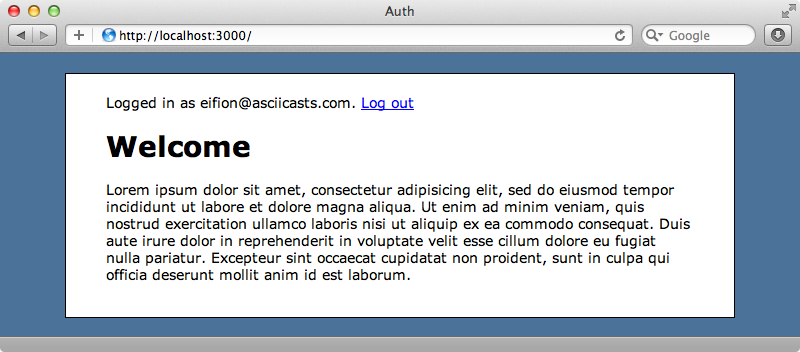
There is a problem, though. We’re logged in now, but our application no longer shows the email address of the currently-logged in user as it’s no longer detecting that user correctly. The code that fetches the current user is in a current_user method in the ApplicationController and it finds the current user based on the id stored in the user_id session variable. We should instead now fetch the user from Warden by calling env['warden'].user.
We’re already calling env['warden'] a lot in our application’s controllers. It would be more convenient if we had a warden method we could use instead so we’ll write one in the ApplicationController now and use it to return the current user in current_user.
class ApplicationController < ActionController::Base
  protect_from_forgery

private

  def current_user
    warden.user
  end
  helper_method :current_user

  def warden
    env['warden']
  end
end
When we reload our home page now we’ll be reported as logged in.
There’s one more place where we’re still using the ‘old’ authentication, in the UsersController’s create action where the user is signed up. When a user registers its a good idea to log them in and we do so by setting the user_id session variable to the id of the newly created user. This, of course, won’t work any more. We need to call Warden’s set_user method instead.
def create
  @user = User.new(params[:user])
  if @user.save
    warden.set_user(@user)
    redirect_to root_url, notice: "Signed up!"
  else
    render "new"
  end
end
Adding a Failure Application
Our app is now using Warden for all of its authentication and it was fairly easy to add. There are still a few things we can do to improve it, though. One good thing to add is called a Failure App. We do this inside the Warden::Manager Middleware block.
Rails.application.config.middleware.use Warden::Manager do |manager|
  manager.default_strategies :password
  manager.failure_app = SessionsController.action(:new)
end
We can set manager.failure_app to any Rack application and it will be triggered whenever authentication fails. In Rails 3 any action in a controller can act as a Rack app so we’ve set this to call the SessionController’s new action as this is where we want the application to render the login form when authentication fails.
There’s a potential here, however. In development mode this action will be cached and won’t reload automatically. For this reason it’s better to call the action through a lambda, like this.
Rails.application.config.middleware.use Warden::Manager do |manager|
  manager.default_strategies :password
  manager.failure_app = lambda { |env| SessionsController.action(:new).call(env) }
end
Now the action will only be called dynamically and the form will reload dynamically in development.
We can take advantage of this new approach in the SessionsController. In create we call authenticate which will return nil if no matching user. If we call authenticate! (with a exclamation mark) the failure application will be triggered whenever authentication fails. This means that we can simplify the action’s code.
def new
  flash.now.alert = warden.message if warden.message.present?
end

def create
  warden.authenticate!
  redirect_to root_url, notice: "Logged in!"
end
The create action can now redirect immediately after calling authenticate! as if this fails the failure app is called which will call new and show the login form again. We’ll have to move the flash message to new and add a check to it so that it only shows if the Warden message is present.
We can try this out now, after restarting our Rails server if need be. If we visit the login page and enter an invalid password we’ll see the error message from the fail method.
When we enter the correct password we’ll be logged in successfully.
The advantage of this is that no matter where we call the authentication the failure app will be called if authentication fails and our application will behave as we expect it to.
Another good practice is to add a valid? method to the Warden Strategies we create. This method should return a boolean value depending on whether the strategy should try to authenticate. For our strategy this should only happen when both the email and password parameters are present.
Warden::Strategies.add(:password) do
  def valid?
    params['email'] && params['password']
  end

  def authenticate!
    user = User.find_by_email(params['email'])
    if user && user.authenticate(params['password'])
      success! user
    else
      fail "Invalid email or password"
    end
  end
end
The benefit of valid? is more apparent when we have multiple strategies in an application. If we had, say, an api_key strategy alongside our password strategy then when authenticate is called the password strategy’s valid? method will be checked first to see if it’s valid. If it is then its authenticate! method is called. If it isn’t valid or if its authentication fails the api_key strategy will be called. We could have many different strategies in our application, say HTTP basic or an OmniAuth strategy and having a valid? method for each one will make sure that the correct one is used.
If you want to see examples of different Warden strategies it’s worth looking at the source code for Devise. Devise uses Warden internally and has several different strategies. One that’s particularly interesting is Rememberable which handles “Remember Me” functionality. This strategy uses cookies and if you need to do this you should look at the Warden compatibility file as this shows how to define a cookies method by using ActionDispatch::Request to make a request object.
Using Authentication Outside a Controller
Now that we have Warden set up in our application we’ll show you how it can be used outside a Rails controller by adding a constraint to the routes file. We have signup and login routes and for the purposes of this example we’ll make these routes unavailable when the user is logged in.
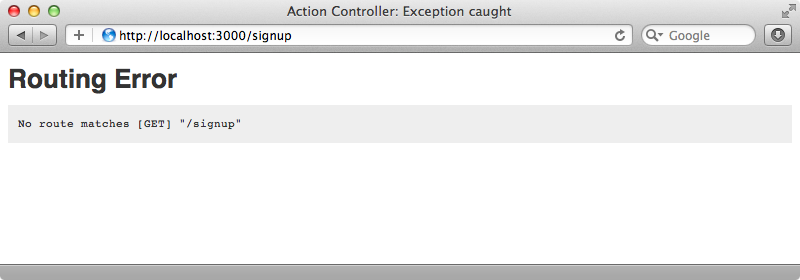
Auth::Application.routes.draw do
  scope constraints: lambda { |r| r.env['warden'].user.nil?} do
    get "signup", to: "users#new", as: "signup"
    get "login", to: "sessions#new", as: "login"
  end
  get "logout", to: "sessions#destroy", as: "logout"
  root to: "home#index"
  resources :users
  resources :sessions
end
We add the constraints as a scope and fetch the environment warden object inside a lambda block to check if there’s a current user. We’ll only allow access to the signup and login routes if there isn’t one.
If we login to our application now and visit the signup page we’ll see a routing error.
This isn’t something we’d do in a real application as it provides a poor user experience but it works an an example of how we can use authentication outside a Rails controller. It’s generally better to add behaviour like this through a controller’s before_filter. If there are multiple routes pointing to the same action then we may still be able to access the page through one of these.
