#241 Simple OmniAuth (revised)
- Download:
- source codeProject Files in Zip (91.3 KB)
- mp4Full Size H.264 Video (23.8 MB)
- m4vSmaller H.264 Video (13.5 MB)
- webmFull Size VP8 Video (15.2 MB)
- ogvFull Size Theora Video (33.6 MB)
Let’s say we have an app that we want to add some authentication to. We could use Devise or maybe create our own solution from scratch like we did in episode 250, but instead of requiring that users fill in another registration form we should consider allowing them to sign in through an external service like Twitter or Facebook. Omniauth makes this easy to do. It’s built on Rack so it works with almost any Ruby web application framework including Rails and offers a number of strategies for authenticating through different external services including one for Twitter, which is the one we’ll be using here.
Getting Started With OmniAuth
To use OmniAuth in our application we need to add the appropriate gem to the gemfile. Each OmniAuth strategy uses a different gem; as we want to log in users through Twitter we’ll need to use the omniauth-twitter gem. If we were using multiple strategies then obviously we’d need to add a gem for each one.
gem 'omniauth-twitter'As ever we’ll need to run bundle to make sure the gem is installed. Next we’ll need to configure OmniAuth. The README has a nice example of how to do this and we just need to copy the example code from here into a new initializer file.
Rails.application.config.middleware.use OmniAuth::Builder do
  # provider :developer unless Rails.env.production?
  provider :twitter, ENV['TWITTER_KEY'], ENV['TWITTER_SECRET']
end
This code adds OmniAuth to the Rack middleware stack and we can configure the providers we want to support here. The example code provides a developer provider which is useful if we want a placeholder and don’t want to set up other providers on our development machine. We won’t be using this here but it’s worth taking a look at in your own time. We’ll be supporting the Twitter provider and this is set up to use environment variables for its key and secret. We can leave this as it is but what values do we need to store in the environment variables?
First we need to set up our application with Twitter. To do this we have to visit the Twitter Development site and create a new application. Once we’ve done that we can visit that application’s page where we’ll find the consumer key and secret and it’s these values that we’ll need to use in our configuration file. Don’t confuse these values with the access token and secret at the bottom of the page as these are for something different.
Adding Twitter Authentication To Our Application
Now that we have OmniAuth set up we can integrate it into our application. We want to add a link at the top right of the page that lets users sign in through Twitter.
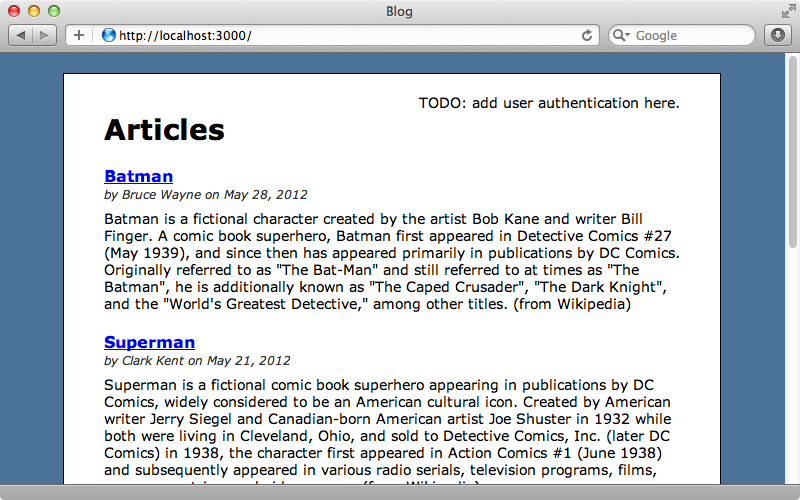
The placeholder text for the link is in the application’s layout file and we’ll replace this with a link to Twitter. This link needs to point to /auth/twitter which is a path that the OmniAuth will pick up and pass to the Twitter authentication.
<div id="user_nav">
  <%= link_to "Sign in with Twitter", "/auth/twitter"%>
</div>
We can try this out by reloading the page and clicking the new link. This will take us to the Twitter Authentication page and will ask us if we want to authorize our application to use our account.
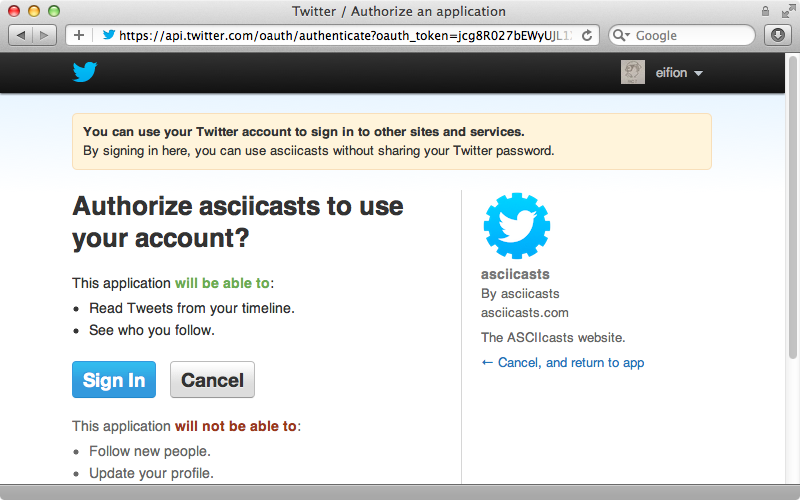
If we click “Sign in” we’ll be redirected back to our application with the path /auth/twitter/callback and an oauth_token parameter. We need our Rails application to be able to respond to this path to complete the authentication.
In our routes file we’ll add a line to match this path. We’d normally set up a SessionsController with a
Blog::Application.routes.draw do
  resources :articles
  root to: 'articles#index'
  match 'auth/twitter/callback', to: 'sessions#create'
end
This route is specific to the Twitter provider but we could make it more generic and replace twitter in the route above with :provider so that all providers will be passed to this path.
Blog::Application.routes.draw do
  resources :articles
  root to: 'articles#index'
  match 'auth/:provider/callback', to: 'sessions#create'
end
Next we’ll need to create a SessionsController with a create action. Here we’ll complete the authentication based on the information OmniAuth gives us. We can get this information from the request environment’s omnauth.auth value. This returns a hash of values about the user that’s being authenticated and for now we’ll just raise an exception that displays this information as YAML.
class SessionsController < ApplicationController
  def create
   raise env['omniauth.auth'].to_yaml
  end
end
When we click the “Sign in with Twitter” link again now we’ll be directed to the Twitter site then redirected back to our SessionsController where we’ll see the information that OmniAuth provides.
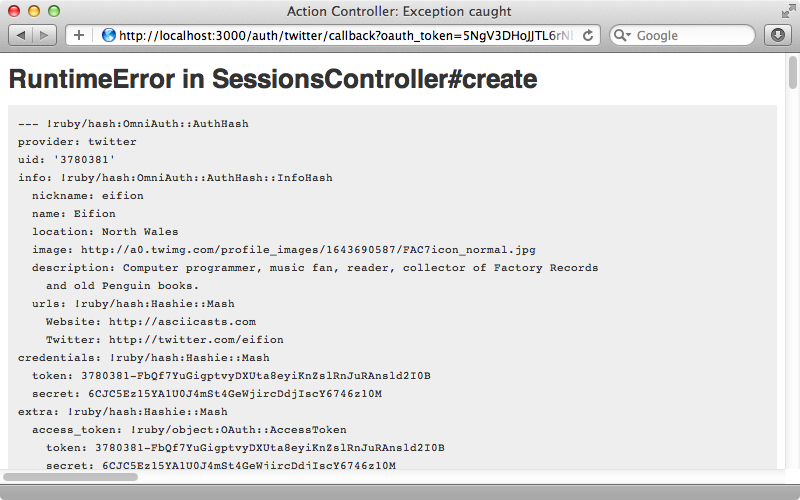
There’s a lot of information here but the most important details are the provider name and uid. With this we can find or create a user and then store whatever details we want to keep about them. We’ll need a User model to store this information in which we’ll store the provider and uid from OmniAuth so that we can match a user with the data from the external provider. We’ll also store the user’s name.
$ rails g model user provider uid name
We’ll migrate the database to create the table now as well.
$ rake db:migrate
In our SessionsController we now need to either find or create a user that matches the authentication credentials. We’ll put this logic inside the User model in a new from_omniauth method.
class SessionsController < ApplicationController
  def create
   user = User.from_omniauth(env['omniauth.auth'])
  end
end
We’ll write this method next.
class User < ActiveRecord::Base
  def self.from_omniauth(auth)
    where(auth.slice("provider", "uid")).first || create_from_omniauth(auth)
  end

  def self.create_from_omniauth(auth)
    create! do |user|
      user.provider = auth["provider"]
      user.uid = auth["uid"]
      user.name = auth["info"]["nickname"]
    end
  end
end
This method takes the OmniAuth hash as an argument. In it we try to fetch a user by the provider and uid values from the hash. If we don’t find one we’ll create one matching that information. This we do in a new create_from_omniauth method. Note that we use a block here so that we can set attributes on the new user before it’s saved. Keep in mind that the attributes returned by OmniAuth will vary slightly depending on the provider we use so if we’re using a different provider or multiple providers this code will need to be different.
Now in the SessionsController we need to persist the user’s login somehow. We could do this however we want but we’ll do it by storing the user’s id in the session.
class SessionsController < ApplicationController
  def create
   user = User.from_omniauth(env['omniauth.auth'])
   session[:user_id] = user.id
   redirect_to root_url, notice: "Signed in."
  end
end
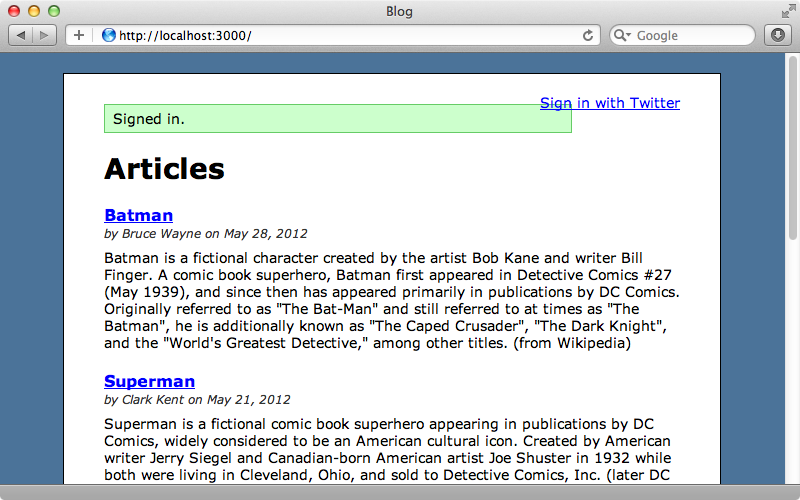
Now when we click the “Sign in” link we’re signed in automatically.
Displaying User Information
Even through we’re now logged in the link still invites us to sign in. We’ll change it so that it shows us our user information instead. We’ll need a way to fetch the currently logged-in user and we’ll do this in the ApplicationController so that it’s available in all controllers. This method will fetch a user by the user_id session variable if that session variable exists. We’ll cache the result in an instance variable to improve performance.
class ApplicationController < ActionController::Base
  protect_from_forgery

  private
  def current_user
    @current_user ||= User.find(session[:user_id]) if session[:user_id]
  end
  helper_method :current_user
end
We’ve made this method a helper method so that it’s available in the view. Now in the application’s layout file we can use this method to determine whether a user is currently logged-in.
<div id="user_nav">
  <% if current_user %>
    Signed in as <%= current_user.name %>
  <% else %>
    <%= link_to "Sign in with Twitter", "/auth/twitter"%>
  <% end %>
</div>
As we’ve logged in when we reload the page now we’ll see our username.
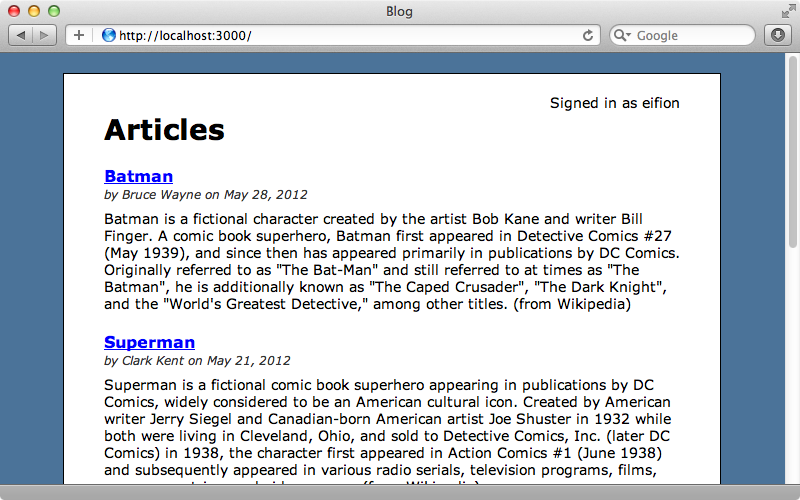
It would be nice to have a “sign out” link next to this information so we’ll do this next, creating a link to a signout_path that we’ll define shortly.
<div id="user_nav">
  <% if current_user %>
    Signed in as <%= current_user.name %>
    <%= link_to "Sign out", signout_path %>
  <% else %>
    <%= link_to "Sign in with Twitter", "/auth/twitter"%>
  <% end %>
</div>
We’ll define this path in the routes file and have it point to a destroy method in the SessionsController.
Blog::Application.routes.draw do
  resources :articles
  root to: 'articles#index'
  match 'auth/:provider/callback', to: 'sessions#create'
  match 'signout', to: 'sessions#destroy', as: 'signout'
end
This removes the session variable and then redirects back to the home page.
def destroy
  session[:user_id] = nil
  redirect_to root_url, notice: "Signed out."
end
Reloading the page now shows a sign-out link and clicking it signs us out and shows the sign-in link again. Clicking this signs us back in again.
Handling Failure
It’s a good idea to add a route that listens to the /auth/failure path. This path is triggered if for some reason the authentication fails, usually because a user is denied access. We’ll have this route redirect to the root but you can change this behaviour and maybe add some logic to show a message to the user if you want.
Blog::Application.routes.draw do
  resources :articles
  root to: 'articles#index'
  match 'auth/:provider/callback', to: 'sessions#create'
  match 'auth/failure', to: redirect('/')
  match 'signout', to: 'sessions#destroy', as: 'signout'
end
It’s a little tricky to test this callback in development mode as OmniAuth will remain an exception in development. Only in other environments will this callback URL be triggered.
Something else we can do is add a line to our OmniAuth initializer. This will set the OmniAuth logger to the Rails logger; by default it will log to stdout.
OmniAuth.config.logger = Rails.logger
Adding Other Providers
Our authentication is complete now and users can easily sign in through Twitter. The great thing about OmniAuth is that it’s easy to add other providers. We just need to add the relevant gem, mention the provider in the config and add a link for signing in through that provider. We just need to be aware that the hash that OmniAuth returns is different between providers.
With the approach we’ve used here each user can only use a single provider. If we want to allow multiple providers per user we’ll need to extract out some kind of authentication model that a user can have many of like we showed in episode 235. If we want to also support username and password authentication take a look at OmniAuth Identity which we covered in episode 304.


