#171 Delayed Job (revised)
- Download:
- source codeProject Files in Zip (84.4 KB)
- mp4Full Size H.264 Video (23.2 MB)
- m4vSmaller H.264 Video (10.5 MB)
- webmFull Size VP8 Video (10.6 MB)
- ogvFull Size Theora Video (25.6 MB)
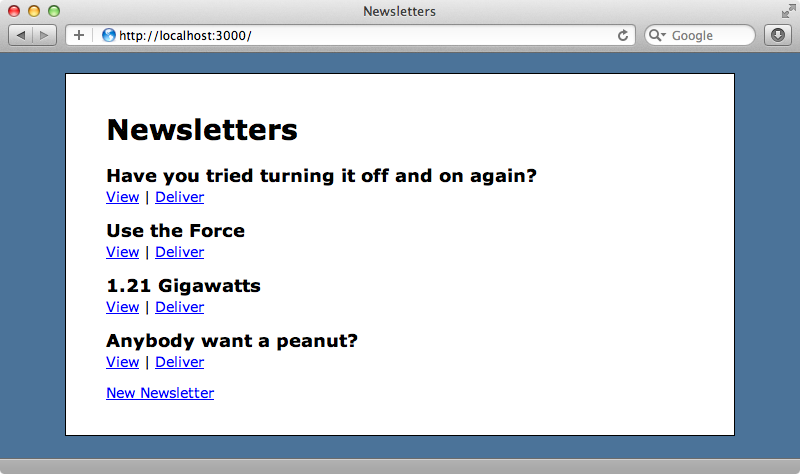
Below is a page from a Rails application that handles the delivery of newsletters to subscribers. The page shows a list of the available newsletters and to send one out we just click its “Deliver” link.

When we click one of the “Deliver” links the request takes a long time to process. This is bad because while the Rails instance is processing the request it can’t accept any other requests. When we’re faced with a long-running request we should consider moving it into a background process. If we do this the request can respond almost instantly and the long-running task will be processed in the background.
There are many ways to handle background tasks in Rails. One of the easiest to set up and use is Delayed Job as it allows us to use the same backend database our application uses and saves us from having to set up anything extra. It offers a simple interface that lets us call any method through a delay method to move it into the background. We’ll use Delayed Job in our application to move the delivery of the newsletters out into a background tasks.
Setting Up Delayed Job
There are a few different Delayed Job gems. As we’re using ActiveRecord in our application we need to add the delayed_job_active_record gem to the application’s gemfile and then run bundle to install it.
source 'http://rubygems.org'

gem 'rails', '3.1.3'

gem 'sqlite3'

# Gems used only for assets and not required
# in production environments by default.
group :assets do
  gem 'sass-rails',   '~> 3.1.5'
  gem 'coffee-rails', '~> 3.1.1'
  gem 'uglifier', '>= 1.0.3'
end

gem 'jquery-rails'
gem 'delayed_job_active_record'
Delayed Job supports other backends such as DataMapper and Mongoid so if your application uses one of those take a look at the project’s README file for information on using it with these.
To finish setting up Delayed Job we need to run a generator. This will create a migration for generating a table to handle the job queue so we’ll need to run rake db:migrate to create the table afterwards.
$ rails g delayed_job:active_record
      create  script/delayed_job
       chmod  script/delayed_job
      create  db/migrate/20120109185353_create_delayed_jobs.rb
Now that we have Delayed Job set up we can start it up and there’s a Rake task called jobs:work that will do this.
$ rake jobs:work
[Worker(host:noonoo.home pid:3031)] Starting job worker
Using Delayed Job in Our Application
Now that we have Delayed Job set up we can modify our Rails application so that clicking a “Deliver” link will execute the long-running process in the background. Clicking the link it triggers the NewslettersController’s deliver action and this action simulates the time taken to deliver the emails by sleeping for ten seconds.
def deliver
  @newsletter = Newsletter.find(params[:id])
  sleep 10 # simulate long newsletter delivery
  @newsletter.update_attribute(:delivered_at, Time.zone.now)
  redirect_to newsletters_url, notice: "Delivered newsletter."
end
First we need to move the code that’s taking a long time to run out into a separate method and it generally a good idea to move this code into the relevant model. We’ll move the slow code in the controller into a new deliver method in Newsletter.
def deliver
  @newsletter = Newsletter.find(params[:id])
  @newsletter.deliver
  redirect_to newsletters_url, notice: "Delivered newsletter."
end
We’ll create that deliver method now and paste the code that we’ve taken from the controller into it. We’ll need to modify it slightly to remove the @newsletter instance variable so that update_attribute is called on the current instance.
class Newsletter < ActiveRecord::Base
  def deliver
    sleep 10 # simulate long newsletter delivery
    update_attribute(:delivered_at, Time.zone.now)
  end
end
Now that we’ve moved the long-running task into its own method it’s easy to pass it off to a background process by calling deliver through delay in the controller.
def deliver
  @newsletter = Newsletter.find(params[:id])
  @newsletter.delay.deliver
  redirect_to newsletters_url, notice: "Delivering newsletter."
end
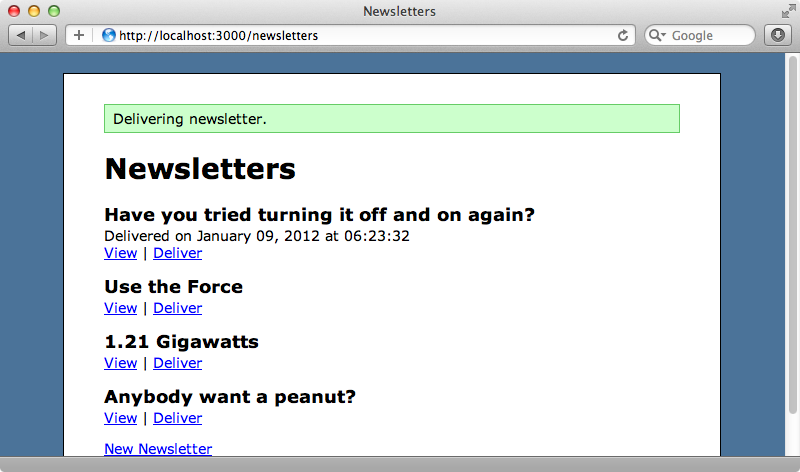
This code will add a new record to the delayed_jobs table in the database and this will tell Delayed Job to call the deliver method on the newsletter instance. Note that we’ve also changed the flash notice so that it better reflects what’s actually happening. When we click a “Deliver” link now the page is updated almost instantly but the newsletter we’ve delivered isn’t shown as delivered.

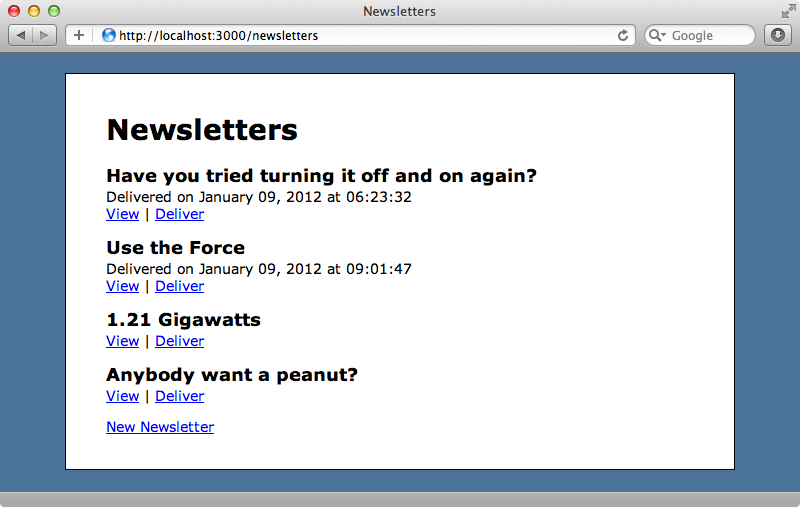
If we reload the page after waiting ten seconds or so the newsletter should be marked as having been delivered so the background process has picked up the task and has processed it.

Storing Simpler Objects
Delayed Job works by storing objects in the database. Any object that we call delay on as well as any arguments that we use in the method call will be serialized into YAML format in the database for Delayed Job to use in the background. Generally this isn’t an issue but as a rule of thumb it’s better to stick to simpler objects when you’re working with Delayed Job. For example instead of using a full newsletter instance we can use the Newsletter class and pass the id to it directly like this.
def deliver
  Newsletter.delay.deliver(params[:id])
  redirect_to newsletters_url, notice: "Delivering newsletter."
end
Now we’re calling delay on a class instead of an instance and passing a simple id to it. Next we’ll write a deliver class method in the Newsletter model that will find the newsletter with that id and call the deliver instance method on it.
class Newsletter < ActiveRecord::Base
  def self.deliver(id)
    find(id).deliver
  end

  def deliver
    sleep 10 # simulate long newsletter delivery
    update_attribute(:delivered_at, Time.zone.now)
  end
end
This isn’t a lot of code to add but it will make the job queue much simpler.
Passing Options to The Delay Method
Delayed Job supports a number of useful options on the delay method. One is queue which we can use to specify a named queue. This enables us to have different workers working on different queues.
Newsletter.delay(queue: "newsletter").deliver(params[:id])
Another useful option is priority. This defaults to 0 but if we set a higher value that job will be processed earlier. Similarly if we set it to a lower value the job will be processed later. We can also specify at run_at option to specify when we want this job to run at some point in the future.
Newsletter.delay(queue: "newsletter", priority: 28, run_at: 5.minutes.from_now).deliver(params[:id])
Delayed Job supports a number of different ways to add jobs to a queue. The delay method we’ve used so far is the preferred approach and should work for most situations. If we want a method in a class to always be called asynchronously we can use handle_asynchronously in a class and pass it a method name as a symbol. Delayed Job will then be used every time that method is called. Another approach is a custom job and to do this we create our own custom class for a job with a perform method. We can then add jobs manually to the queue by calling enqueue, like this:
class NewsletterJob < Struct.new(:text, :emails)
  def perform
    emails.each { |e| NewsletterMailer.deliver_text_to_email(text, e) }
  end
end

Delayed::Job.enqueue NewsletterJob.new('lorem ipsum...', Customers.find(:all).collect(&:email))
This option gives us a little more control but it’s usually not necessary.
Handling Failed Jobs
Delayed Job also has support for failure. Let’s say that an exception is raised while a job is being processed. In this case the job will be tried again at a later time. We have to be careful, though, as in certain situations this may cause issues. For our job if delivery fails part way through it could lead to the newsletter being delivered again to the same recipients so we should always ask ourselves what the side-effects of our asynchronous method being called more than once might be. In our case we’d need to keep a list of the recipients who have already received a given newsletter.
This behaviour can be configured by creating an initializer and putting some settings in it.
Delayed::Worker.max_attempts = 5
Delayed::Worker.delay_jobs = !Rails.env.test?
In this file we set options for the Delayed::Worker. We’ve set the maximum number of times that a job will be tried if it fails and also an option that will stop tasks being processed in the background if the current environment is test.
Using Delayed Job in Production
So far we’ve been starting Delayed Job by running rake jobs:work but in production we should use the delayed_job script provided in the script folder. We can start this up by running
$ script/delayed_job start
If we try this in our development environment we may see an exception as we need to add the daemons gem to our gemfile and run bundle again.
gem 'daemons'Once this has finished we can run the script again and it should work.
$ script/delayed_job start
delayed_job: process with pid 1672 started.
We can stop the script by passing stop.
$ script/delayed_job stop
To get Delayed Job working with Capistrano you should read the wiki page on this topic. There are also some recipes provided; we can require "delayed/recipes" and then add various tasks to our deployment scripts for starting and stopping Delayed Job.
If you want a way to monitor the job queue through a Web interface take a look at the Delayed Job Web gem. This is simple to install and use and will give us a nice interface for managing the job queue.
Delayed job isn’t a perfect fit for every situation so you should consider the alternatives such as Resque and Beanstalkd. There are episodes available on both of these.


