#87 Generating RSS Feeds (revised)
- Download:
- source codeProject Files in Zip (87.8 KB)
- mp4Full Size H.264 Video (19.6 MB)
- m4vSmaller H.264 Video (12.3 MB)
- webmFull Size VP8 Video (12.5 MB)
- ogvFull Size Theora Video (34.1 MB)
Below is a page from an application that shows a list of articles. Whenever we have a page like this that display a list of items that it regularly updated we should consider creating an RSS or Atom feed as this is a great way to fetch dynamic content.
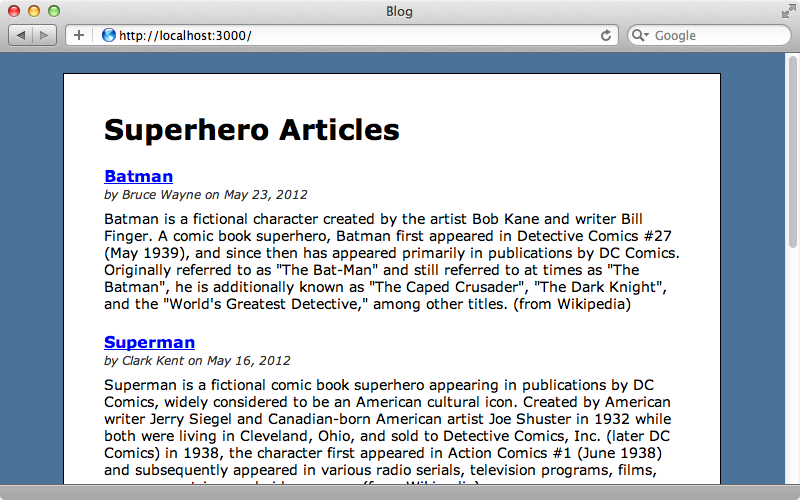
Even though feed readers may not be as popular as they were a few years ago many people still use them and its quite easy to create one in a Rails application. We’ll show you how in this episode.
Creating a Feed
First we’ll need to decide whether to provide an RSS or Atom feed. This page has a nice comparison of the two formats and provides an XML example of each one along with a nice table of tags showing the naming differences. Atom has better features but we’ll provide source code for both formats in this episode. You should choose just one format for your application, though, as providing multiple feeds can cause confusion and almost all feed readers today will be able to read either format.
We’ll add an Atom feed to the page that displays the list of articles. This page is served by the index action of an ArticlesController so we’ll modify it to handle an Atom response. We could add a respond_to block to the action which would handle both formats but as we’re just serving up view templates this isn’t necessary as Rails will automatically look up the correct view template that matches the requested format. This means that all we have to do is create a new view template for the Atom format. We could use erb to do this but instead we’ll use the XML builder library written by Jim Weirich as this gives us an easy way to generate XML through Ruby code. This provides an XML builder object and any method called on this object will generate a tag with that name. It we also pass in a block we can nest tags. We’ll keep our feed simple to start with and just give it a title.
xml.feed do |feed|
  feed.title "Superhero Articles"
end
We can now trigger this template by visiting the /articles.atom path. Safari will automatically detect that this is an Atom feed and display it as such.
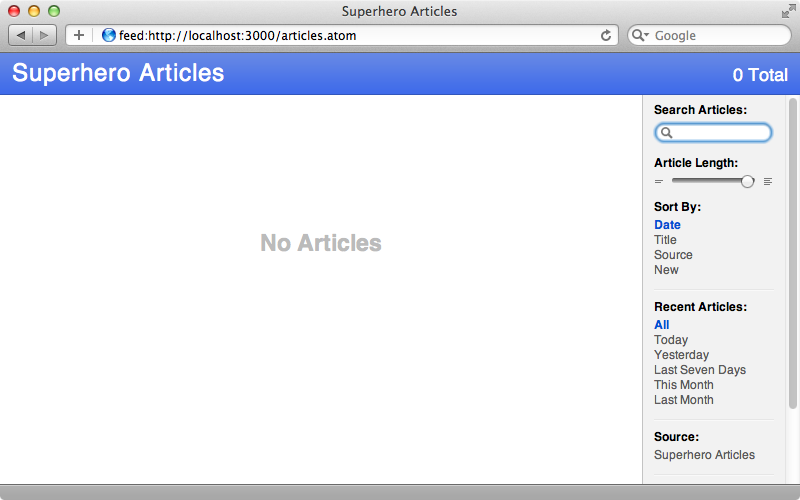
If we run curl and pass in the feed’s URL we’ll see the XML that we’ve generated.
$ curl http://localhost:3000/articles.atom
<feed>
  <title>Superhero Articles</title>
</feed>
Now we need to fill in the rest of the XML tags to create our feed. Rails provides a helper method to make generating an Atom feed easier so we don’t need to write all the XML from scratch. The Rails API documentation has a page that describes how this method works and we’ll use it in our template.
atom_feed do |feed|
  feed.title "Superhero Articles"
  @articles.each do |article|
    feed.entry article do |entry|
      entry.title article.name
      entry.content article.content
      entry.author do |author|
        author.name article.author
      end
    end
  end
end
Here we loop through all the articles and create an entry element for each one. We then give each entry title and content elements and also an author. The author element is defined using a block as an author can have multiple details, although here we’re just adding their name. When we reload the feed in Safari now it includes all the records and we can see the title, content and author name for each one.
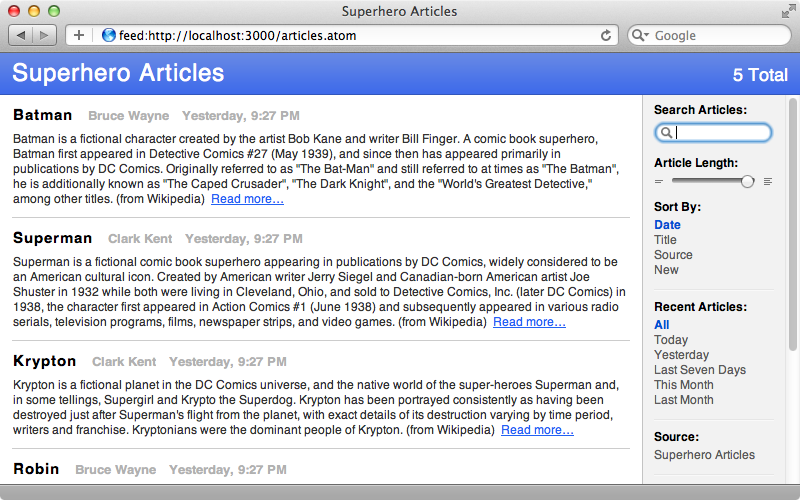
Some elements are automatically provided for us by Rails. The publication time has been set to the created_at column’s value and a link element has been added to each article which links to its page. If we want to customize these we can pass options to the entry method and a list of these can be found in the API documentation linked to above. Our articles have a separate published_at column so we’ll use this in our feed instead of the created_at time.
atom_feed do |feed|
  feed.title "Superhero Articles"
  @articles.each do |article|
    feed.entry article, published: article.published_at do |entry|
      entry.title article.name
      entry.content article.content
      entry.author do |author|
        author.name article.author
      end
    end
  end
end
Now, instead of using the time that the record was created at our published_at column will be used in the feed instead.
Validating a Feed
When we feel that our feed is ready it’s a good idea to validate it. The W3C provides a validation service which has an option to validate a feed that’s pasted in to a text box. This is a useful option to have while a feed is still under development. We can copy our feed to the clipboard (on OS X) by running this command.
$ curl http://localhost:3000/articles.atom | pbcopy
Our feed has one error when we validate it as it’s missing an updated element to say when the feed was last updated. We’ll update our feed and set this to the time that the most recent article in the feed was updated.
atom_feed do |feed|
  feed.title "Superhero Articles"
  feed.updated @articles.maximum(:updated_at)
  # rest of code omitted
end
Now when we validate our feed it is valid.
Linking To Our Feed
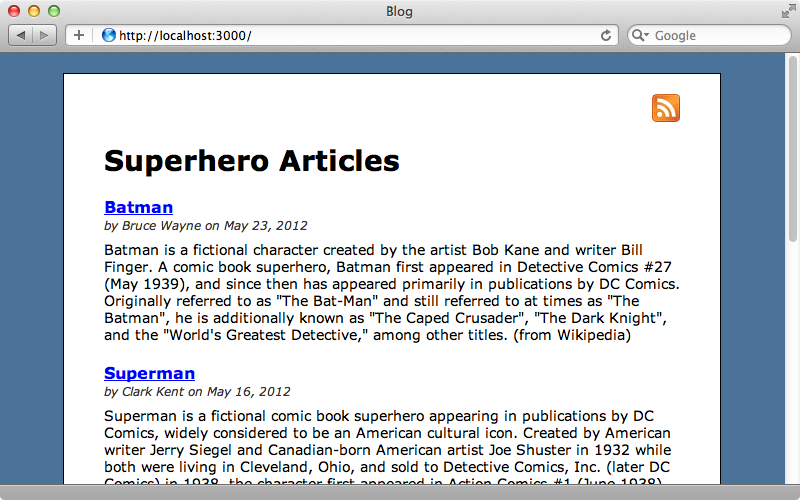
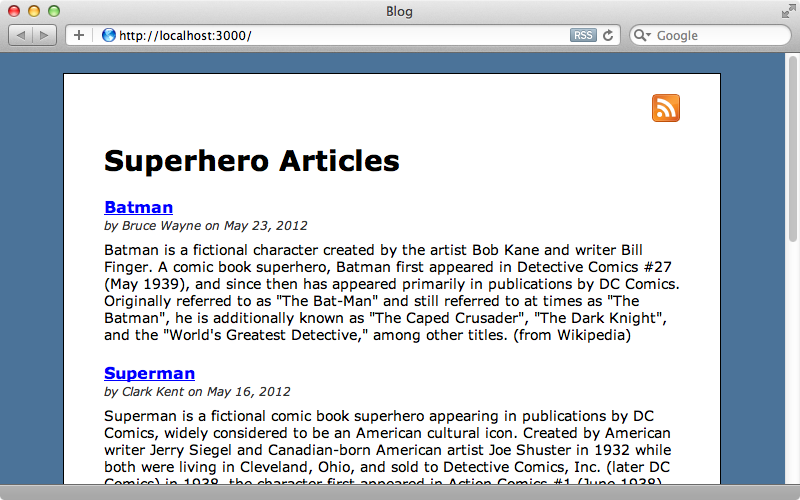
Now that we have a valid feed we can add a link to it from our articles page. This is usually done by using a standard feed icon and we can find these at the Feed Icons website. We’ll download the icons and copy them into our application’s /app/assets/images directory. Once we’ve done that we can add a link at the top of our articles page.
<%= link_to image_tag("feed-icon-28x28.png"), articles_url(format: "atom")%>Now we have a icon on the articles page that will link to our feed.
Another thing we should do is add an auto-discovery link tag. Rails provides a helper method called auto_discovery_link_tag to do this. We need to pass it the format we want to use, in this case :atom, and a URL. This will need to go inside the head section of the page so we’ll use content_for to put it there.
<%= content_for :head, auto_discovery_link_tag(:atom, articles_url(format: "atom")) %>We’ll need to add code to the layout to add the head placeholder by calling yield.
<head>
  <title>Blog</title>
  <%= stylesheet_link_tag    "application", media: "all" %>
  <%= javascript_include_tag "application" %>
  <%= csrf_meta_tag %>
  <%= yield :head %>
</head>
When we reload the page now we see an RSS icon in the address bar. Clicking on this will take us to our feed.
Providing an RSS Feed
It’s not taken us long to build a fully-valid Atom feed and to link to it from our page. As we mentioned earlier we could instead have written an RSS 2.0 feed and we’ll write the code now to do that. All we need to do is create a builder file like we did for our Atom feed.
xml.instruct! :xml, version: "1.0"
xml.rss version: "2.0" do
  xml.channel do
    xml.title "Superhero Articles"
    xml.description "From Batman to Superman"
    xml.link articles_url

    @articles.each do |article|
      xml.item do
        xml.title article.name
        xml.description article.content
        xml.pubDate article.published_at.to_s(:rfc822)
        xml.link article_url(article)
        xml.guid article_url(article)
      end
    end
  end
end
Rails doesn’t offer a helper method for generating an RSS feed but it’s easy to write from scratch through an XML builder. Note that here we create an item element rather than an entry for each article and we set various attributes for it in that block. The guid is an interesting element. This stands for Global Unique Identifier and is often set to the URL of the item but we need to make sure that it doesn’t change for an article once its set as RSS feed readers use this to determine whether an item as been read or not.
With this template in place we can visit the /articles.rss path and we’ll see the same feed but in RSS format. Generally we’ll only want to provide one format or the other but this is included so that you can decide which one to use.
If we want our feed to be private we can password-protect it and the easiest way to do with is to use HTTP Basic authentication. We won’t be covering this in detail here but it’s covered in the API documentation which has a good example on how to protect a feed like this. If we take this approach we’ll need to make sure that we’re using HTTPS to encrypt the password.


