#417 Foundation
- Download:
- source codeProject Files in Zip (49.7 KB)
- mp4Full Size H.264 Video (31.1 MB)
- m4vSmaller H.264 Video (18.5 MB)
- webmFull Size VP8 Video (18.4 MB)
- ogvFull Size Theora Video (50.3 MB)
In this episode we’re going to take a look at Zurb Foundation, a front-end framework similar to Twitter Bootstrap, which we covered in episode 328. One major difference between the two is that Foundation is built on SASS instead of LESS which can make it nicer to integrate into a Rails application.
Getting Started With Foundation
To demonstrate Foundation we’ll create a new Rails application and a scaffold for it so that we have something to work with. We’ll use the skip-stylesheets option with the scaffold as we don’t want to generate any stylesheets for it given that we’ll be using Foundation. We’ll also migrate the database.
$ rails new store
$ cd store
$ rails g scaffold product name price:decimal --skip-stylesheets
$ rake db:migrate
Installing Foundation is easy: all we need to do is add the zurb-foundation gem to the gemfile in the assets group.
# Gems used only for assets and not required
# in production environments by default.
group :assets do
  gem 'sass-rails',   '~> 3.2.3'
  gem 'coffee-rails', '~> 3.2.1'

  # See https://github.com/sstephenson/execjs#readme for more supported runtimes
  # gem 'therubyracer', :platforms => :ruby

  gem 'uglifier', '>= 1.0.3'
  gem 'zurb-foundation'
end
The Gemfile has no assets group in Rails 4 applications so here we can add the gem anywhere. To finish setting Foundation up we need to run a generator that the gem provides called foundation:install.
$ rails g foundation:install
This generates a number of files, including a layout file, and will ask us if we want to overwrite the application’s existing layout file. We’ll let it, although if you’re adding Foundation to an existing app you might want to copy the code from your layout file before allowing it to be overwritten. The framework consists of both JavaScript and stylesheets and it adds both to the asset pipeline. If we look at the application.js file we’ll see that it adds the foundation file and a line of code to initialize the framework when the page loads.
//= require jquery
//= require jquery_ujs
//= require foundation
//= require_tree .

$(function(){ $(document).foundation(); });
The application’s CSS file now requires a foundation_and_overrides file that was created by the generator. This loads in the Foundation framework and allows us to customize it by setting variables. We won’t show this file here as it’s very long, although most of it is comments showing us which variables we can customize. At the bottom it imports the Foundation framework and we should do any customization above this line. The final generated file is the layout file which provides some nice defaults for handling old versions of Internet Explorer, gives us a :title placeholder to setting the page’s title and includes the JavaScript and CSS files as necessary.
Using Foundation’s Grid System
Here’s what our application looks like, not too bad but there’s a lot we can do it improve it. We’ll add some structure to the page and include a sidebar with some “about us” content on the right.
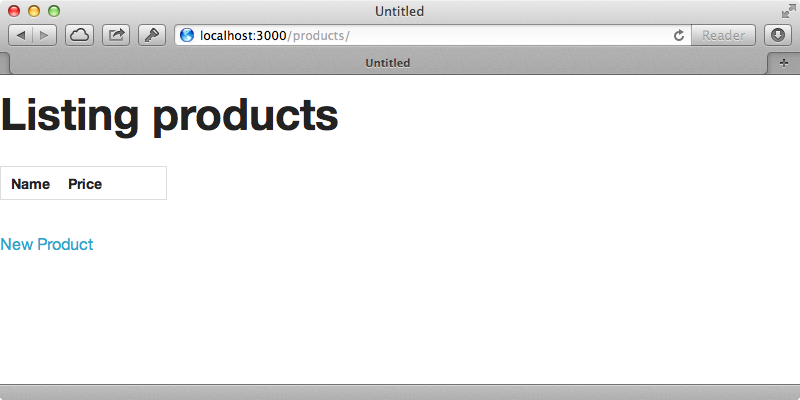
To do this we’ll need to understand Foundation’s grid system. This is based on twelve columns and we define these with CSS classes. We can give elements classes to define rows and columns and they will be laid out for us. We’ll use columns to add the sidebar with one column for the main content and another for the sidebar and we’ll modify the layout file to do this. We’ll use a div with a class of row to define the row then two with classes of large-8 columns and large-4 columns to wrap the main content and sidebar. This will make the main content twice as wide as the sidebar.
<body>
  <div class="row">
    <div class="large-8 columns">
      <%= yield %>
    </div>
    <div class="large-4 columns">
      <h2>About Us</h2>
      <p>Lorem ipsum dolor sit amet, consectetur adipisicing elit, sed do eiusmod
      tempor incididunt ut labore et dolore magna aliqua. Ut enim ad minim veniam,
      quis nostrud exercitation ullamco laboris nisi ut aliquip ex ea commodo
      consequat. Duis aute irure dolor in reprehenderit in voluptate velit esse
      cillum dolore eu fugiat nulla pariatur. Excepteur sint occaecat cupidatat non
      proident, sunt in culpa qui officia deserunt mollit anim id est laborum.</p>
    </div>
  </div>
  <%= javascript_include_tag "application" %>
</body>
When we reload the page now we have our sidebar.
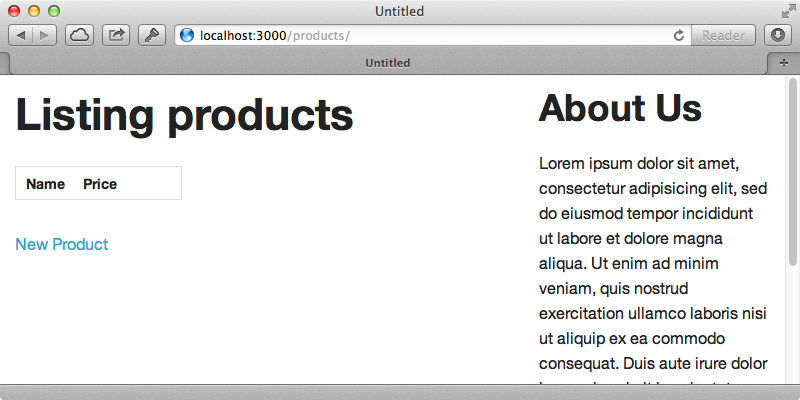
We used large columns here which means that they’re designed for larger screens. If we shrink the width of the window the columns will collapse underneath each other so on mobile devices the “about us” section will appear underneath the main content. If we don’t want this behaviour we can use small columns instead and these will render across all devices. Next we’ll add navigation bar to the top of the page. Foundation makes this easy, even if we want to add nested menus. All we need to do is to include some HTML with classes that define the structure. We’ll add a menu at the top of the page.
<nav class="top-bar">
  <ul class="title-area">
    <li class="name">
      <h1><%= link_to "Awesome Store", products_path %></a></h1>
    </li>
  </ul>
  <section class="top-bar-section">
    <ul class="right">
      <li class="divider"></li>
      <li><%= link_to "Browse Products", products_path %></li>
      <li class="divider"></li>
      <li><%= link_to "Price List" %></li>
      <li class="divider"></li>
      <li><%= link_to "Contact Us" %></li>
      <li class="divider"></li>
      <li><%= link_to "Cart" %></li>
    </ul>
  </div>
</nav>
Again the class define the different areas of the navigation. When we reload the page now we’ll see the navigation.
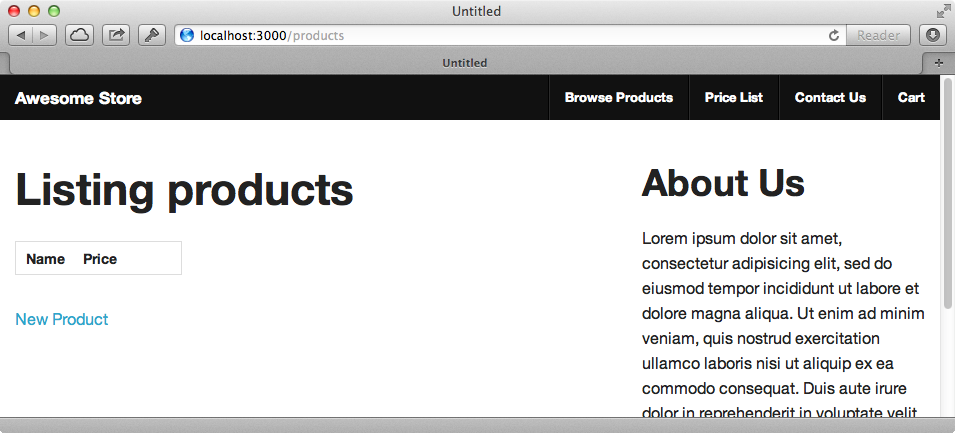
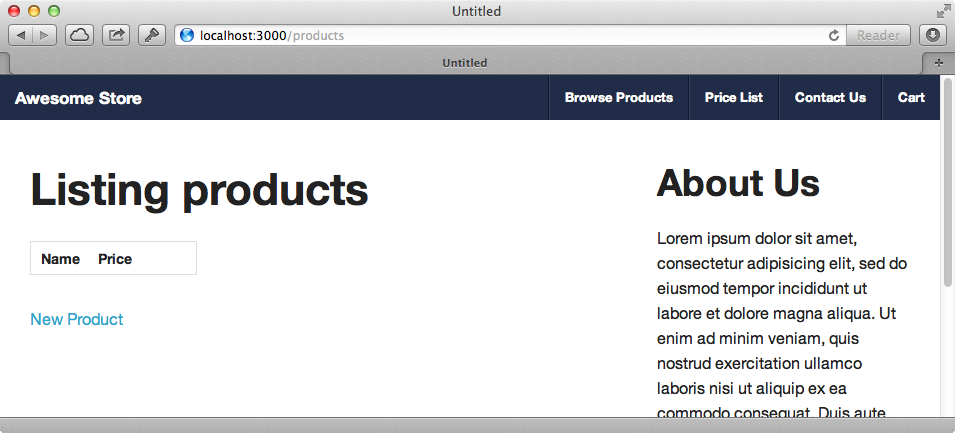
This looks quite good but we can customize it further if we want to change, say, the background colour. We’ll also alter the columns as they are a little too close to the page edge. We make these changes in the foundations_and_overrides stylesheet. In here are a number of variables related to the top bar and we can uncomment and change the ones we want to use. The variables related to the grid spacing are near the top and there are a few ways that we can use them to change the spacing. We could make the row-width smaller or we could change the column-gutter. We’ll use the second of these and change the gutter to 60px.
$topbar-bg: #212D48 !default;
$column-gutter: emCalc(60px);
When we reload the page to see how it looks it will take a short while to appear as the SCSS will need to be recompiled. Once it does we’ll see the changes to the top bar and the column padding.
Customising Our Page Further
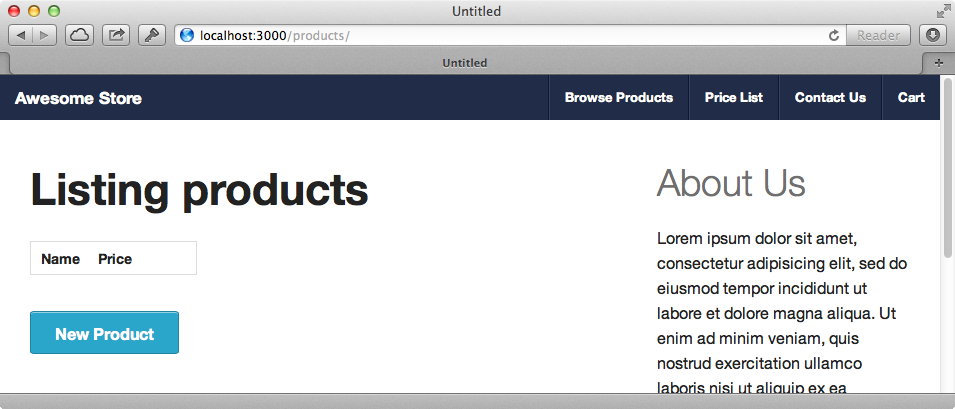
There’s a lot more that we can do with Foundation and a good overview can be found in the kitchen sink section of the documentation. This shows us some of the things that we can add with styling including alerts, buttons, embedded videos and a lot more. We can control all these by specifying classes. So if we want, say, our “About Us” header to be a little lighter we could add a subheader class. We can also turn the “new product” link on the products page into a button with rounded corners.
<%= link_to 'New Product', new_product_path, class: "button radius" %>Reloading the page will show us the changes.
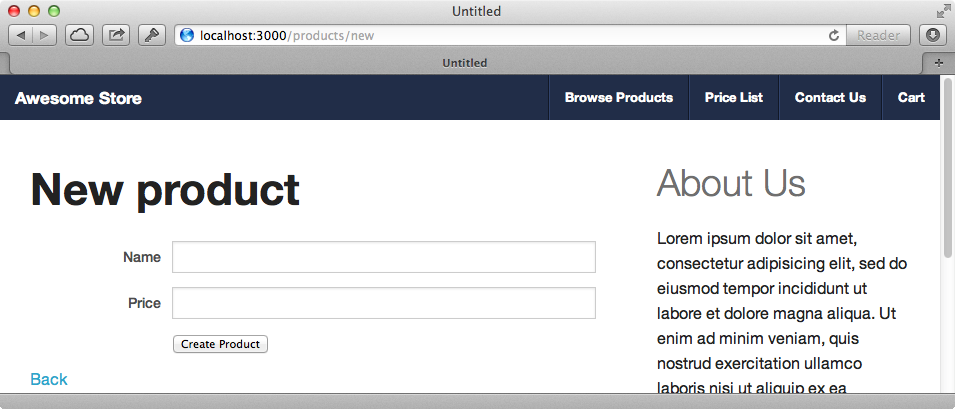
Next we’ll take a look at the page for creating a product. The text fields for the product’s name and price currently take us the full width of the main section of the page with their labels above them. We’ll change this so that the labels are inline using the same grid system we used for the layout as grid systems can be nested. Each field is currently wrapped in a div with a class of field; we’ll change this to row so that it uses the grid system and wrap the labels and text fields in their own separate divs. We’ll use similar classes to define the space that the label and text fields will take up and also to right-align the labels. We’ll also use the grid system for the submit button and here we’ll use one of the offset classes to move the button underneath the text fields.
<div class="row">
  <div class="small-3 columns">
    <%= f.label :name, class: "right inline" %>
  </div>
  <div class="small-9 columns">
    <%= f.text_field :name %>
  </div>
</div>
<div class="row">
  <div class="small-3 columns">
    <%= f.label :price, class: "right inline" %>
  </div>
  <div class="small-9 columns">
    <%= f.text_field :price %>
  </div>
</div>
<div class="row">
  <div class="small-9 small-offset-3 columns">
    <%= f.submit %>
  </div>
</div>
When we reload the page now it looks better but there’s too big a gap between each label and its text field. This is because we set the column gutter to a high value earlier. If we don’t want the gutters in a row we can use the collapse class to remove them. This will get rid of all the padding in the sub-grid so we’ll add some back manually in a new stylesheet.
label.right {
  padding-right: 10px;
}
When we reload the page now it looks like we want it to.
Tooltips
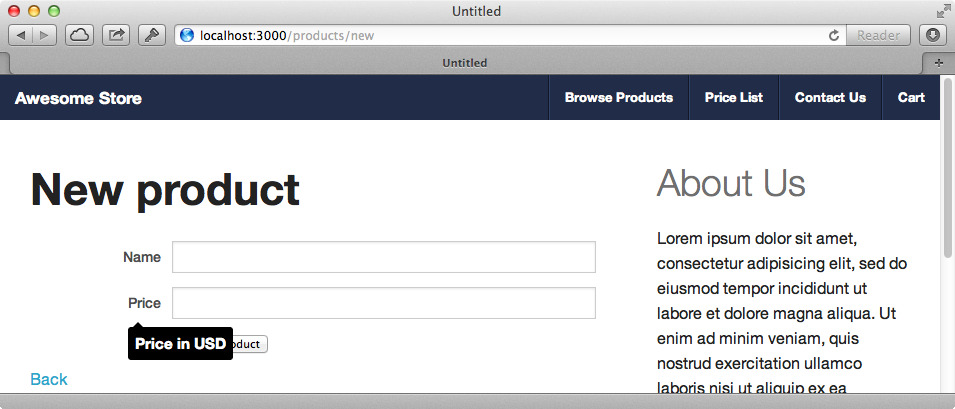
One more feature that we’ll show in this episode is tooltips which are particularly useful for forms. We’ll use them to show more information when we hover over a label. We’ll put the text into the title attribute and add a data attribute called tooltip which we set to true.
<div class="row collapse">
  <div class="small-3 columns">
    <%= f.label :price, class: "right inline", title: "Price in USD", data: {tooltip: true } %>
  </div>
  <div class="small-9 columns">
    <%= f.text_field :price %>
  </div>
</div>
When we reload the page and hover the cursor over the label the tooltip now shows.
Slimming Down Foundation
Foundation gives us a lot and we might not want to use all its features. We can remove the ones we don’t want so that we’re not sending as much JavaScript and CSS to the client by replacing the line @import 'foundation'; in foundation_and_overrides.css to control exactly what is imported. Doing this is actually quite simple. If we visit the Foundation project on Github and look in the scss directory we’ll find the foundation.scss file. This file imports all the separate parts of the framework and we can copy it and paste it in our file. We can then remove the sections that we don’t use in our application.
We can do something similar with the JavaScript. In the /js/foundation directory we’ll find an index.js file. This is a feature of Sprockets: if an index.js file is found it is loaded automatically if we’re trying to require the directory. Similarly to what we did with the CSS we can copy the contents of this file, this time into the application.js file and replace the line //=require foundation. We can then remove the sections we don’t use.
Another thing we can do to reduce the amount of JavaScript that we send to the client is replace jQuery with Zepto.js. This is quite a lot smaller and is supported by Foundation.


