#405 AngularJS pro
- Download:
- source codeProject Files in Zip (35.4 KB)
- mp4Full Size H.264 Video (33.3 MB)
- m4vSmaller H.264 Video (17.9 MB)
- webmFull Size VP8 Video (22.8 MB)
- ogvFull Size Theora Video (40.1 MB)
AngularJS is a framework for creating rich client-side applications. In this episode we’ll demonstrate some of what it can do and how to integrate it into a Rails application. The application we’ll build will be a simple raffling app where we can enter names and draw random winners. We used a similar app for demonstrating Backbone and Meteor in previous episodes so this will provide a good comparison. We’ll start by creating a Rails application with a RaffleController with an index action. We’ll also remove the default static index page.
$ rails new raffler
$ cd raffler
$ rails g controller raffle index
$ rm public/index.html
Next we’ll set this action up as the root action.
Raffler::Application.routes.draw do
  root to: "raffle#index"
end
We already have some CSS written for this application so we’ll add that to the raffle.css.scss file. We’ll also wrap the call to yield in the layout file in a div so that we can reference it from our stylesheets.
<!DOCTYPE html>
<html>
<head>
  <title>Raffler</title>
  <%= stylesheet_link_tag    "application", :media => "all" %>
  <%= javascript_include_tag "application" %>
  <%= csrf_meta_tags %>
</head>
<body>

<div id="container">
  <%= yield %>
</div>

</body>
</html>
We now have a single-page application, although it doesn’t do anything. Let’s add AngularJS to it. There are several ways that we can do this: one is to download the relevant files from the AngularJS website and add them to our application’s /vendor directory. Alternatively we can use a gem and we’ll add one called angularjs-rails to the assets group of our gemfile. As ever we need to run bundle to install it.
group :assets do
  gem 'sass-rails',   '~> 3.2.3'
  gem 'coffee-rails', '~> 3.2.1'

  # See https://github.com/sstephenson/execjs#readme for more supported runtimes
  # gem 'therubyracer', :platforms => :ruby

  gem 'uglifier', '>= 1.0.3'
  gem 'angularjs-rails'
end
We’ll use the assets that this gem provides in the JavaScript manifest file.
//= require angular
//= require_tree .
AngularJS is compatible with jQuery but it isn’t required. We’ve removed it from the manifest file so that we’re not tempted to fall back on to jQuery code while we’re learning Angular. To finish the setup process we need to enable Angular in our application and we do this by adding an attribute to the opening html tag. This will be picked up by the JavaScript.
<html ng-app>
We can now start to use Angular in our index template. At the top of this page we want a form where the user can add a name to go into the raffle so we’ll give it a text field. One of the cool features of Angular that we can use here is its two-way binding. We can bind a form field to some model data by adding an ng-model attribute whose value is a name.
<h1>Raffler</h1>

<form>
  <input type="text" ng-model="newEntry.name">
</form>

{{newEntry.name}}
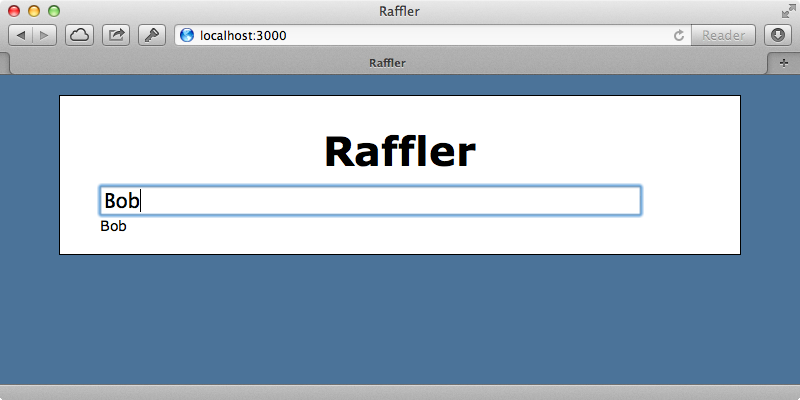
We’ve used newEntry.name here. One way to think of this is that newEntry is the object we’re working with in this form and name is the attribute that we’re managing through this text field. To see this binding in effect we display its value which we do by using double curly brackets. We’ll start up our application and load its home page now to try it out. As we start typing in the text box the value is instantly bound and what we’ve typed is repeated where we display the value.
Next we want to add a list of the existing entries below the text box. When we submit the form the new entry should be appended to this list. We can only get so far with simple bindings and to add custom behaviour we can add some JavaScript using a controller. Adding a controller is commonly done by using a div tag with an ng-controller attribute a nd a name ending in Ctrl.
<h1>Raffler</h1>

<div ng-controller="RaffleCtrl">
<form>
  <input type="text" ng-model="newEntry.name">
</form>

{{newEntry.name}}
</div>
We’ll write this controller in the raffle CoffeeScript file. This can be a simple function but in order for it be accessible we’ll use the @ symbol so that AngularJS can see it.
@RaffleCtrl = ($scope) ->
  $scope.entries = [
    {name: "Larry"}
    {name: "Curly"}
    {name: "Moe"}
  ]
This function takes a scope, which is an object that allows us to interact with a view. We can get and set variables and functions on this scope and we’ve set an entries variable and set it to an array of entries for the raffle. In our view template we want to render this data as a list which we do like this:
<ul>
  <li ng-repeat="entry in entries">
    {{entry.name}}
  </li>
</ul>
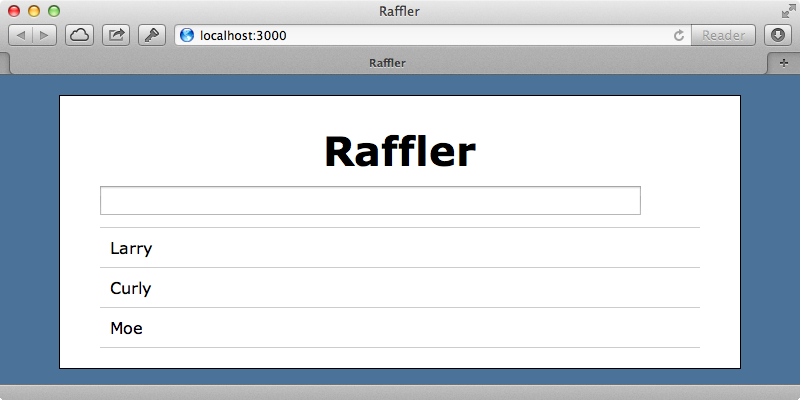
We now have an unordered list and we want to display each item in the collection in it. We’ve done this by adding an ng-repeat attribute to its li element and giving it a value of entry in entries. This loops through our entries array and repeats the element for each one and display its name. When we reload the page we’ll see the list of entries that we entered.
Next we’ll make changes so that when a new entry is entered in the text box and the form is submitted it’s added to the list. We’ll add a button to the form and hook into the submit event by adding an ng-submit attribute to the form. This will trigger a function on the scope that we’ll call addEntry.
<form ng-submit="addEntry()">
  <input type="text" ng-model="newEntry.name">
  <input type="submit" value="Add">
</form>
We’ll write this function in our CoffeeScript file. In it we just need to push the new entry to the array using $scope.newEntry which is the object that the form creates. We then set this to an empty object to clear the text box.
$scope.addEntry = ->
  $scope.entries.push($scope.newEntry)
  $scope.newEntry = {}
When we reload the page now the button is there and when we type an entry and submit the form it’s added to the list without a page reload.
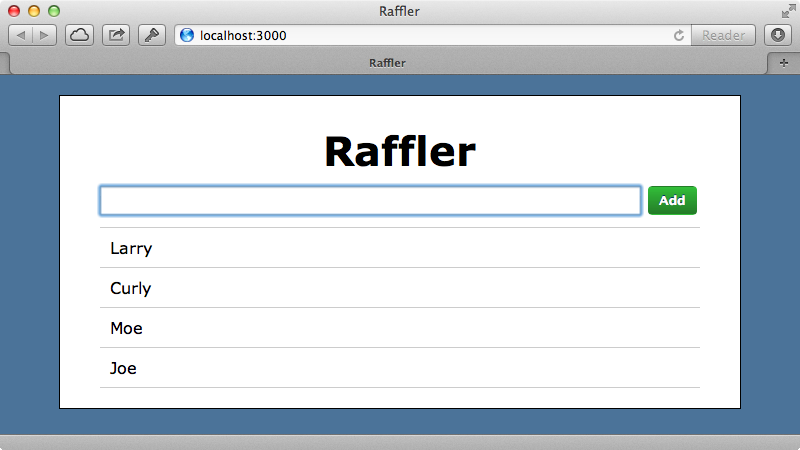
This shows how powerful Angular’s bindings are. With them we can change the data in the JavaScript and see that change instantly reflected in the view.
Drawing Winners
Next we’ll add a “Draw Winner” button below the list which will select a random entry and mark it as a winner. First we’ll add the button in the view below the list. To listen to its click event we use an ng-click attribute with a function.
<button ng-click="drawWinner()">Draw Winner</button>
We’ll write that function now. In it we pick a random entry and set its winner property to true.
$scope.drawWinner = ->
  entry = $scope.entries[Math.floor(Math.random() * $scope.entries.length)]
  entry.winner = true
In the view we’ll add some code to show winning users as winners.
<li ng-repeat="entry in entries">
  {{entry.name}}
  <span ng-show="entry.winner" class="winner">WINNER</span>
</li>
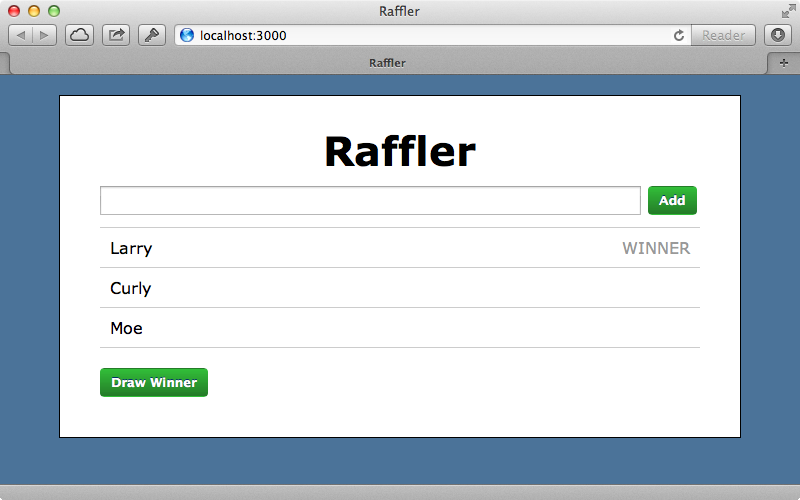
Here we use the ng-show attribute which only displays the element it’s attached to if its value returns true. If we reload the page now then click “Draw Winner” a random entrant should be marked as a winner.
We can select multiple winners and we’d like the most recently-selected winner to be displayed in red. To do this we’ll need to keep track of the most-recent winner so we’ll create a lastWinner variable in our scope.
 $scope.drawWinner = ->
  entry = $scope.entries[Math.floor(Math.random() * $scope.entries.length)]
  entry.winner = true
  $scope.lastWinner = entry
Now we’ll add a class to the span tag for the last winner. We use the ng-class attribute for this and give it an expression with single curly braces so that the highlight class is added if the entry is the last winner.
<li ng-repeat="entry in entries">
  {{entry.name}}
  <span ng-show="entry.winner" ng-class="{highlight: entry == lastWinner}" class="winner">WINNER</span>
</li>
When we reload the page now and click the “Draw Winner” button a couple of times we’ll see that the most recent winner is shown red just like we want.
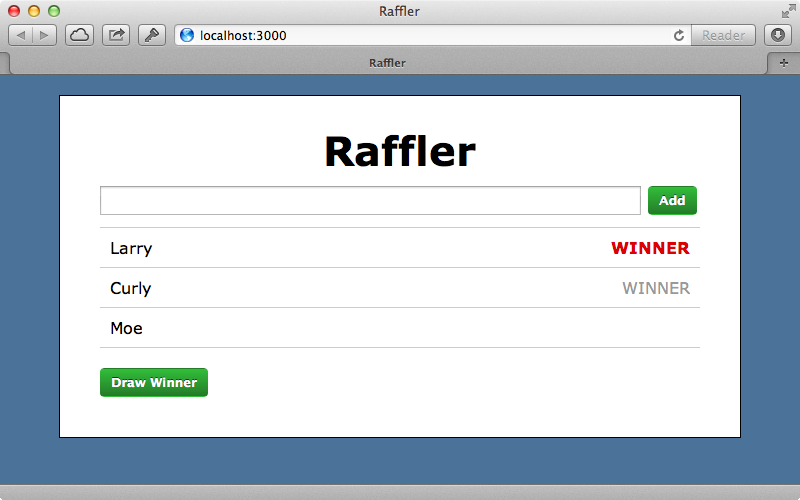
The next thing we want to do is change the behaviour of the “Draw Winner” button so that it doesn’t re-select a current winner, which it currently does. We want to choose only from the entrants who have yet to win so we’ll create a pool of the entrants who haven’t yet won and choose a winner from those.
$scope.drawWinner = ->
  pool = []
  angular.forEach $scope.entries, (entry) ->
    pool.push(entry) if !entry.winner
  if pool.length > 0
    entry = pool[Math.floor(Math.random() * pool.length)]
    entry.winner = true
    $scope.lastWinner = entry
We do this by using Angular’s forEach to loop through the entries and adding the ones what haven’t won to the pool. We then select our winners from this pool.
Persisting Changes to The Database
We’re pretty much done with the client-side behaviour of our application but any entrants we add or winners we pick are reset when we reload the page and aren’t persisted to the database. We’ll modify our app so that it communicates with the Rails back end and persists the changes we make to the database. We’ll generate an Entry resource with name and winner attributes then migrate the database.
$ rails g resource entry name winner:boolean
$ rake db:migrate
We want some initial data to work with so we’ll create some entries in the seeds file. We can then run rake db:seed to add them to the database.
Entry.create!(name: "Matz")
Entry.create!(name: "DHH")
Entry.create!(name: "Jose Valim")
Entry.create!(name: "Avdi Grimm")
Entry.create!(name: "Steve Klabnik")
Entry.create!(name: "Aaron Patterson")
We need to make a JSON API for this data so that we can communicate with AngularJS and we’ll write this in the EntriesController.
class EntriesController < ApplicationController
  respond_to :json

  def index
    respond_with Entry.all
  end

  def show
    respond_with Entry.find(params[:id])
  end

  def create
    respond_with Entry.create(params[:entry])
  end

  def update
    respond_with Entry.update(params[:id], params[:entry])
  end

  def destroy
    respond_with Entry.destroy(params[:id])
  end
end
The code for this is fairly simple. We use respond_to :json and respond in each each action. You’ll probably want to be more extensive in how you set up this API but our simple approach will work here. To communicate with the API we can use something called Angular Resource which is provided as a separate JavaScript file and which we’ll need to include in our app’s JavaScript manifest file.
//= require angular
//= require angular-resource
//= require_tree .
To use this in our application we’ll need to restructure the CoffeeScript code a little. We need to define the resource as a dependency and to do this we’ll need to make a module which we do by calling angular.module and giving it a name. We need to define ngResource as a dependency for this module to allow us to take advantage of the new file that we included and we’ll store the result of this in a variable. Now that we have our Angular Resource dependency set up we can pass the resource as an argument to our controller. This is a function that we can call to return an object that allows us to communicate over a REST API. The first argument passed to this function is the URL to the API and we use /entries/:id here which makes :id a parameter. The second argument specifies the default parameters and we’ll set the id to the @id which will be the current object’s id. If we’re passing an Entry object in to here which has an id assigned then this will be used in the URL otherwise it’s skipped and /entries is used. The third argument allows us to specify additional actions that we want to call on the API. The default values handle most of what we need except for the update action so we’ll add this and set its method to PUT.
If you want to learn more about how Angular Resource works take a look at the documentation which describes the arguments that we supplied and which shows the default actions which are get, save, query, remove and delete. We can trigger each of these actions as functions so we’ll replace the static list of entries in our code with a call to Entry.query() which will call our API that will fetch all the entries from the database.
app = angular.module("Raffler", ["ngResource"])

@RaffleCtrl = ($scope, $resource) ->
  Entry = $resource("/entries/:id", {id: "@id"}, {update: {method: "PUT"}})
  $scope.entries = Entry.query()
Since we’ve given our application a module name we’ll need to set this as the name in our layout file which we do by setting a value on the ng-app attribute.
<div ng-controller="RaffleCtrl">
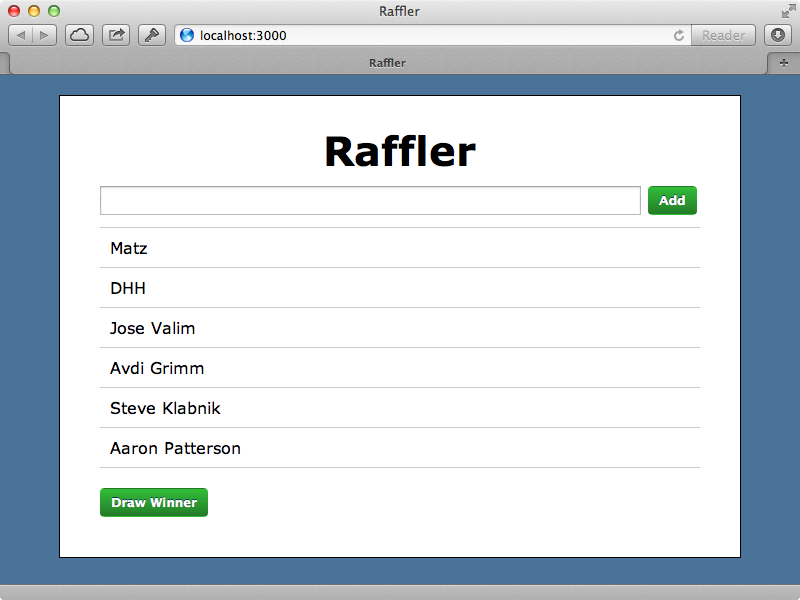
When we create an entry we want to save it before we add it to the list. We do this by calling the Entry.save function which will submit a POST request and trigger the create action in our Rails app.
$scope.addEntry = ->
  entry = Entry.save($scope.newEntry)
  $scope.entries.push(entry)
  $scope.newEntry = {}
When we mark an entry as a winner we need to update it in the database and we can do this by either calling Entry.update and passing in the entry or alternatively calling entry.$update as our entry is already a resource object that we can trigger actions on.
$scope.drawWinner = ->
  pool = []
  angular.forEach $scope.entries, (entry) ->
    pool.push(entry) if !entry.winner
  if pool.length > 0
    entry = pool[Math.floor(Math.random() * pool.length)]
    entry.winner = true
    entry.$update()
    $scope.lastWinner = entry
To see if this works we’ll reload the page again, add a new entrant and mark some entrants as winners. When we reload the page again the changes should persist.
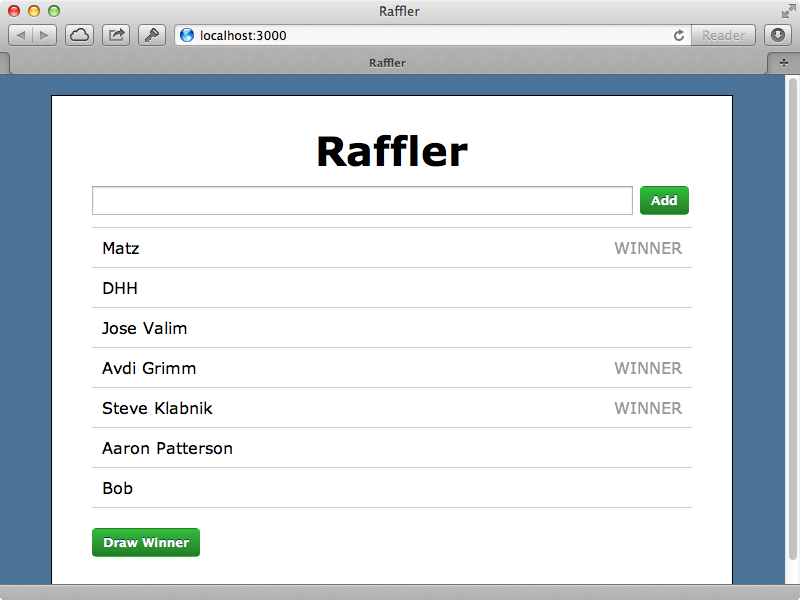
This has worked. The data has persisted as it was stored in the Rails database.
Services
We want to refactor resources out into services. A service is something that we can pass into our controller (scopes and resources are services). We want to pass the Entry resource into our controller instead of creating the resource there. To do this we can call app.factory to generate a resource that we’ll call “Entry”.
app = angular.module("Raffler", ["ngResource"])

app.factory "Entry", ($resource)
  $resource("/entries/:id", {id: "@id"}, {update: {method: "PUT"}} )

@RaffleCtrl = ($scope, Entry) ->
  $scope.entries = Entry.query()

  # rest of code omitted.
It’s important to understand what’s going on here. Angular does dependency injection which means that it takes a look at the arguments that this function accepts and gives it those services depending on the name of the argument. In this case the Entry argument will be trigger the Entry factory function and use whatever it returns. This means that we could even swap the two arguments and our application would still work as the arguments are supplied based on the name that we pass in.
This seems convenient but it presents a big problem when we move our application into production. Rails will automatically minify the JavaScript and convert the argument names into something smaller which means that the dependency injection will no longer work. There are a couple of ways that we can work around this. One is to move our function into an array and then specify the dependencies as strings in there, like this:
@RaffleCtrl = ("$scope", "Entry", $scope, Entry) ->This tells AngularJS what the dependencies are so that if the names do change it won’t matter. We have to do this for every function that accepts services, for example the one we have for creating resources.
app.factory "Entry", ["$resource", ($resource)
  $resource("/entries/:id", {id: "@id"}, {update: {method: "PUT"}} )
]
Another solution is to modify our production environment’s configuration file and configure how the compression is done.
config.assets.js_compressor = Sprockets::LazyCompressor.new { Uglifier.new(mangle: false)}
Doing this means that the names won’t be changed, although the minification won’t be as effective. Whichever approach you take it’s a good idea to thoroughly test your Angular applications in the production environment to make sure that there are no problems when it goes live.
Our application is now complete and AngularJS made it very easy to make a dynamic client-side app and it all syncs up nicely with our Rails back end. We’ve only scratched the surface of what AngularJS can do in this episode. It has routers, views and much more. The learning section of the size is well worth taking a look at for more details and the Egghead website has some free screencasts covering Angular. There are also several other Ruby gems available to help to integrate Angular into your Rails applications, for example AngularJS Scaffold.


