#403 Dynamic Forms pro
- Download:
- source codeProject Files in Zip (66 KB)
- mp4Full Size H.264 Video (25 MB)
- m4vSmaller H.264 Video (14 MB)
- webmFull Size VP8 Video (18.7 MB)
- ogvFull Size Theora Video (27.9 MB)
Below is a screenshot from a store application which doesn’t currently have any products. The form for creating a product only lets us give it a name and a price but we have several different types of products that we want to add, each with different attributes. For example for a book we want to store the author and number of pages while for an item of clothing we’ll store the sizes that are available and so on.
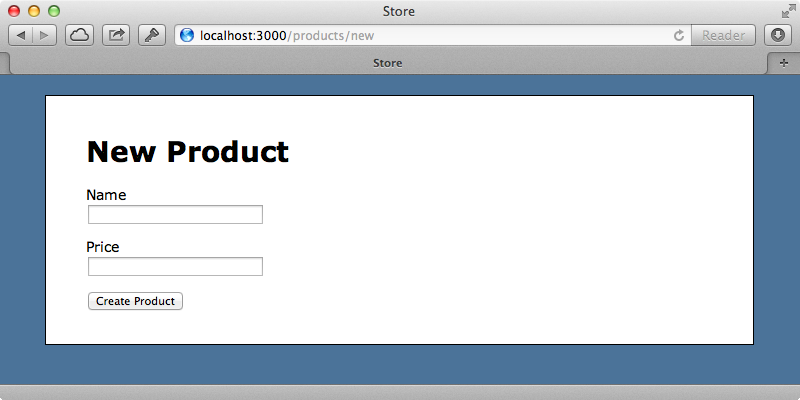
What we really want is for the form to have different fields depending on the type of product. We want to be able to manage these fields through a web browser so that they’re not hard-coded in the Rails application. How would we make a form that’s this dynamic? That’s what we’ll cover in this episode.
Adding Dynamic Fields
We need a way to select the type of product so that the form can show the correct fields. We’ll add a menu on the products page that contains a list of each type of product so that we can choose one. We need somewhere to store this list so we’ll create a ProductType scaffold so that we can easily manage the different types of product. We’ll skip the stylesheets so that they don’t interfere with our existing ones.
$ rails g scaffold ProductType name --skip-stylesheets
$ rake db:migrate
We’ll use our scaffold now to create a new product type called “Book”.
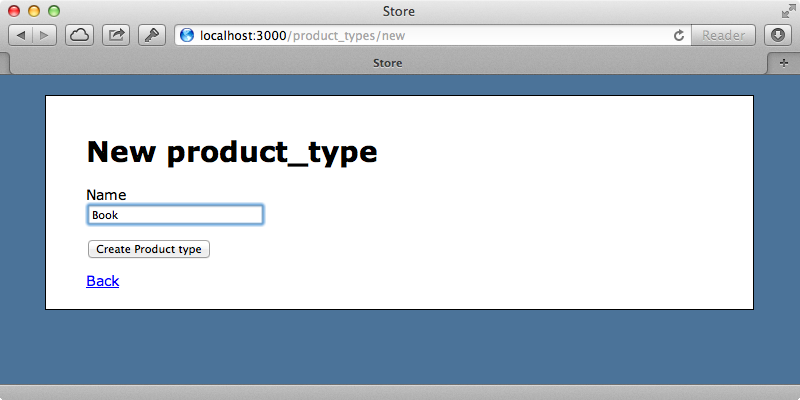
We need a page where we can define the different types of field that each product type will have. For our “book” type this means that we can add author and page number fields. As we want a product type to have many different product fields it sounds like we need another model so we’ll generate a ProductField model to store them. This will have a name attribute and a field_type attribute to store the type, such as text field, a checkbox field and so on. We’ll cover validations later but we’ll add a boolean attribute now in order to store whether a field is required. We need to associate this field with a product type so we’ll add an attribute for that too.
$ rails g model ProductField name field_type required:boolean product_type:belongs_to
$ rake db:migrate
Next we’ll define the association between ProductType and ProductField in the model files. A ProductType will have many product fields but as we want to avoid repeating the same prefix in the association we’ll call it fields.
class ProductType < ActiveRecord::Base
  attr_accessible :name
  has_many :fields, class_name: "ProductField"
end
We’d like to manage these product fields in the same form as the product type and as we covered how to do this in episode 196 so we’ll go through this quite quickly. The ProductType model needs to accept nested attributes for the fields. We do this with a call to accepts_nested_attributes_for and by adding fields_attributes to the list of accessible attributes.
class ProductType < ActiveRecord::Base
  attr_accessible :name, :fields_attributes
  has_many :fields, class_name: "ProductField"
  accepts_nested_attributes_for :fields, allow_destroy: true
end
In the form where we edit the product type we want to display a list of the fields for that type so that we can manage them. We’ll do this by adding the following code before the submit button.
<%= f.fields_for :fields do |builder| %>
  <%= render 'field_fields', f: builder %>
<% end %>
<%= link_to_add_fields "Add Field", f, :fields %>
This will render a partial, which need to write, for each field for the product type. We also have a link for adding a field which calls a link_to_add_fields helper method which we’ll also need to write. We’ll do the partial first.
<fieldset>
  <%= f.select :field_type, %w{text_field check_box} %>
  <%= f.text_field :name, placeholder: 'field_name' %>
  <%= f.check_box :required %><%= f.label :required %>
  <%= f.hidden_field :_destroy %>
  <%= link_to '[remove]', '#', class: 'remove_fields' %>
</fieldset>
Here we have a dropdown menu containing the different field types which we’ve hard-coded, although we could move them into a constant on the ProductField model so that we could perform validations on it to make sure that the type is correct. We also have a text field for the name, a checkbox for specifying whether the field is required and a link for removing each field. To make this functional we need to do two more things. First we need to write the link_to_add_fields helper method. There’s more information about what this does in episode 196.
module ApplicationHelper
  def link_to_add_fields(name, f, association)
    new_object = f.object.send(association).klass.new
    id = new_object.object_id
    fields = f.fields_for(association, new_object, child_index: id) do |builder|
      render(association.to_s.singularize + "_fields", f: builder)
    end
    link_to(name, '#', class: "add_fields", data: {id: id, fields: fields.gsub("\n", "")})
  end
end
We also need to get the JavaScript working which we do by adding this code to the product types CoffeeScript file. This comes again from episode 169 but has been modified slightly to make it compatible with Turbolinks.
$(document).on 'click', 'form .remove_fields', (event) ->
  $(this).prev('input[type=hidden]').val('1')
  $(this).closest('fieldset').hide()
  event.preventDefault()

$(document).on 'click', 'form .add_fields', (event) ->
  time = new Date().getTime()
  regexp = new RegExp($(this).data('id'), 'g')
  $(this).before($(this).data('fields').replace(regexp, time))
  event.preventDefault()
We can try this out now. If we reload the page we see an “Add Field” link. We’ll click it a few times so that we can create a new “Book” product type with author, page_count and paperback fields.
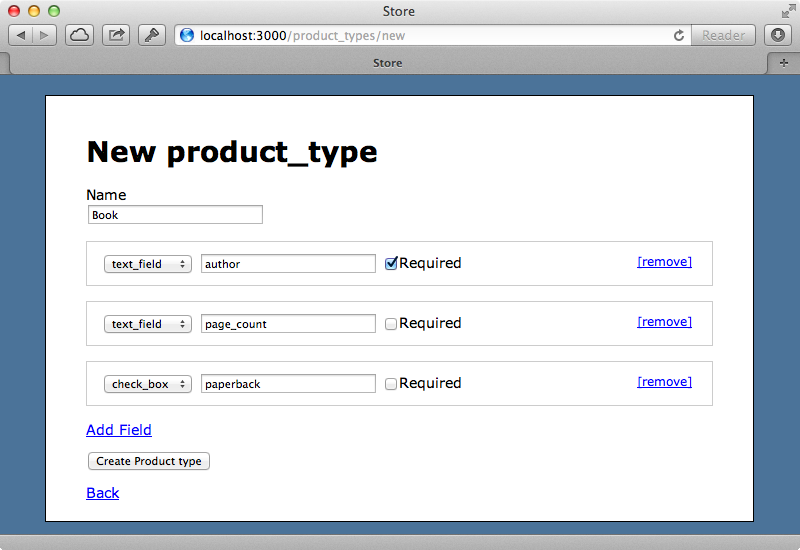
If we create this new product type now then try to edit it the correct fields are shown so it looks like they’re being persisted correctly.
Adding Custom Fields to the Product Form
Now that we have a way of defining product types we’ll replace the “New Product” link with a form that so that we can select a product type to create a new product from.
<%= form_tag new_product_path, method: :get do %>
  <%= select_tag :product_type_id, options_from_collection_for_select(ProductType.all, :id, :name) %>
  <%= submit_tag "New Product", name: nil %>
<% end %>
The form is submitted to the new_product_path and it makes a GET request so that the new action is triggered. The select menu gets its options from all the ProductTypes using options_from_collection_for_select. When we reload the page now we can choose a product type to create a product from (although we only have one type so far) and when we click the button we’ll be taken to the new product page with the product type’s id in the query string. We need to display the relevant fields for that product type on this form.
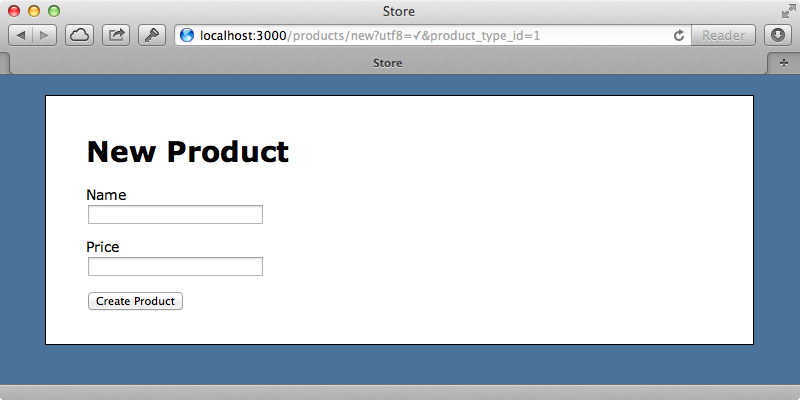
In the ProductsController’s new action we’ll pass in the product_type_id to the product we create.
def new
  @product = Product.new(product_type_id: params[:product_type_id])
end
The Product model doesn’t currently have a product_type_id but this is easy to fix by generating a migration to add it. We also want to set up a place to store the values that are entered into the form but this is tricky as these attributes are dynamic and will change depending on the type of the product so we don’t want concrete fields in our database for each one. We could use a separate table for these fields or store them in a serialized hash and this second option works quite well. That said, if we were using Postgresql as our database we could look at using hstore, which was covered in episode 345. To store the serialized hash we’ll also add a properties field to the Product model.
$ rails g migration add_type_to_products product_type_id:integer properties:text
$ rake db:migrate
We can now modify the Product model and set up the association with product_type. We’ll also serialize the properties attribute as a hash.
class Product < ActiveRecord::Base
  attr_accessible :name, :price, :product_type_id, :properties
  belongs_to :product_type
  serialize :properties, Hash
end
Now that we have access to a product’s type we can loop through the custom fields and display them in the form. First we’ll add hidden field that contains the product_type_id and then we’ll add the dynamic fields under the price field.
<%= f.hidden_field :product_type_id %>

<%= f.fields_for :properties do |builder| %>
  <% @product.product_type.fields.each do |field| %>
    <%= render "products/fields/#{field.field_type}", field: field, f: builder %>
  <% end %>
<% end %>
The new fields are wrapped in a call to fields_for. This is usually used with associations but we can also use it to namespace fields. We’ve called it properties so that each field inside it is added to the properties hash and is automatically serialized into the database as a hash when the form is submitted. Inside this we display all the custom fields for the product type. We want each different type of field to be rendered differently and we manage this through partials, rendering out a partial based on the product type’s field_type. Now we’ll create each partial starting with one for text fields.
<div class="field">
  <%= f.label field.name %><br/>
  <%= f.text_field field.name %>
</div>
Then a similar one for checkboxes.
<div class="field">
  <%= f.check_box field.name %>
  <%= f.label field.name %>
</div>
When we reload the page now we’ll see the new book-related fields.
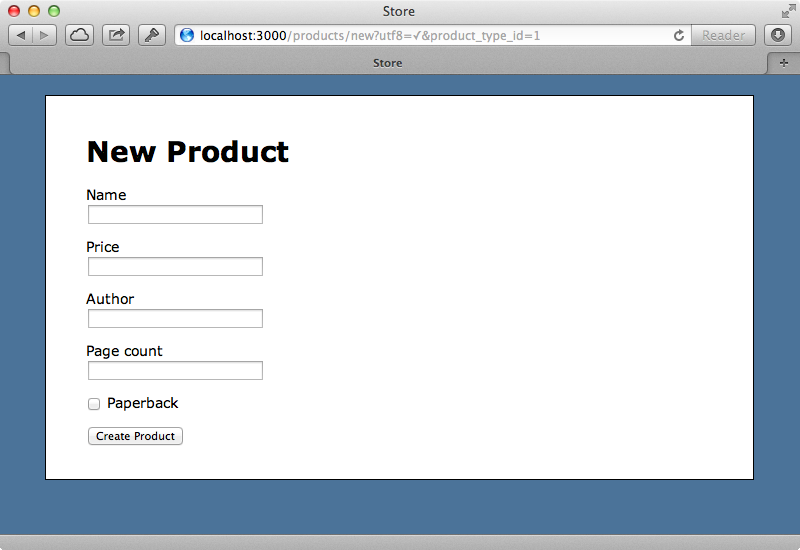
If we add a book through this form it’s created successfully. If we then go back to edit it, however, the dynamic fields aren’t populated. The fields are saved to the database but they aren’t shown on the form. The problem is that the call to fields_for :properties doesn’t detect the serialized hash and display the values from it. To get around this we can pass in an object representing the hash that allows getter methods to be called on it for the different keys.
<%= f.fields_for :properties, OpenStruct.new(@product.properties) do |builder| %>Now if we have a text field so, say, the author, the form builder will call .author on the object that’s passed in through the second argument. If we reload the page now the values in the dynamic fields are shown.
Validations
Next we’ll get validations working. We can currently submit a book with the author field empty even though we marked this field as required when we set up the “book” type. We can do this by adding a custom validation method in Product that we’ll call validate_properties.
class Product < ActiveRecord::Base
  attr_accessible :name, :price, :product_type_id, :properties
  belongs_to :product_type
  serialize :properties, Hash

  validate :validate_properties

  def validate_properties
    product_type.fields.each do |field|
      if field.required? && properties[field.name].blank?
        errors.add field.name, "must not be blank"
      end
    end
  end
end
This method loops through each field and for each one that’s required and which has a blank value it adds a validation error. We then call this method in a validation callback. Now if we try adding or updating a product without an author we’ll get a validation error.
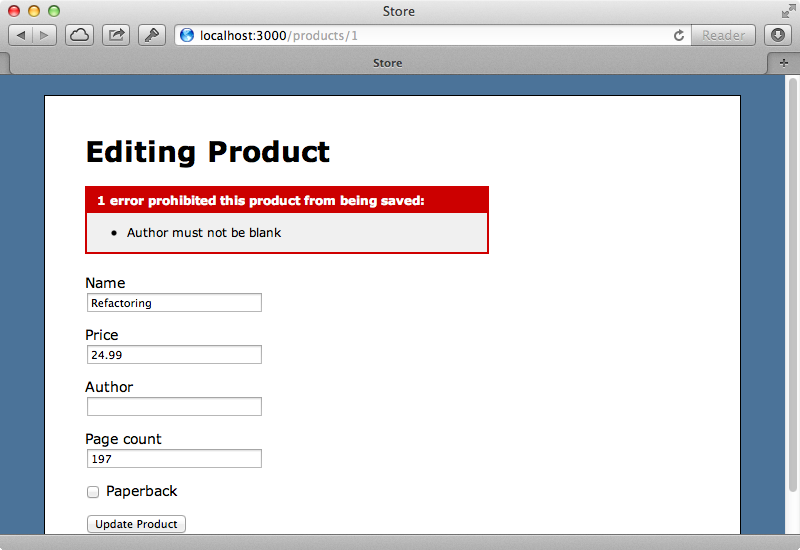
Handling More Complex Field Types
Next we’ll show how to handle more complex field types. Our current solution can only handle text fields and checkboxes but what if we want to handle a multi-select menu to say, select multiple sizes from a clothing product type. Creating a field type is easy: we just need to add a new option to our field_type select menu.
<%= f.select :field_type, %w{text_field check_box shirt_sizes} %>We’ll also need a new partial to render out this new field type.
<div class="field">
  <%= f.label field.name %><br/>
  <%= f.select field.name, %w[S M L XL], {}, {multiple: true} %>
</div>
We could make this field type as complex as we want to, say, by using checkboxes instead of having a select menu, or anything else we like. When we create a new product type now we have a shirt_sizes field type to choose from. We’ll create a new “Shirt” product type with one of these fields then try creating a new shirt.
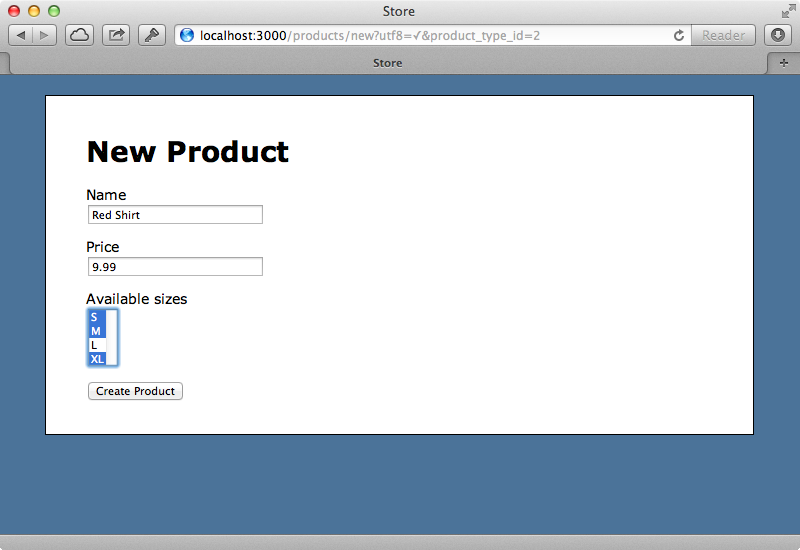
We can choose multiple sizes for this product and when we go back to edit it the sizes we chose will be selected. This field is serialized as an array in the properties hash so if you’re using hstore you’ll need to handle the serialization manually as this can’t store arrays. To finish off this episode we’ll modify the page that displays a product so that it displays these dynamic properties.
<% @product.properties.each do |name, value| %>
<p>
  <b><%= name.humanize %>:</b>
  <%= value %>
</p>
<% end %>
This won’t look good for every type of field. For example checkboxes will just show either 0 or 1 so we might be better off creating a partial for displaying each product type that we can customize how it’s displayed.


