#389 Multitenancy with PostgreSQL pro
- Download:
- source codeProject Files in Zip (71.6 KB)
- mp4Full Size H.264 Video (28.7 MB)
- m4vSmaller H.264 Video (14.5 MB)
- webmFull Size VP8 Video (11.1 MB)
- ogvFull Size Theora Video (33 MB)
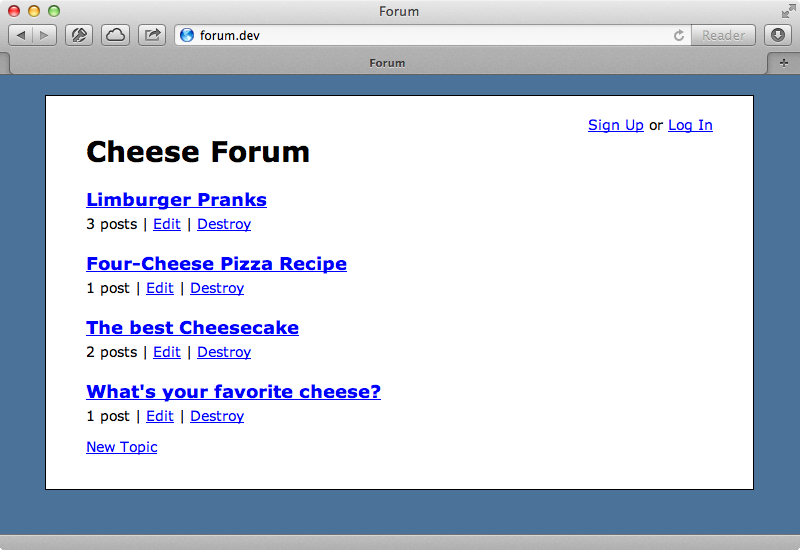
Last week we created a multi-tenanted application using ActiveRecord scopes. In this episode we’ll do the same thing but at the database-level using features that Postgres supports. We’ll work with the same example application which manages a forum dedicated to cheese. Each forum has topics each of which has many posts.

We want to turn this into a multi-tenant application where each tenant has their own forum and set of data. We’ll distinguish each forum with a subdomain so that cheese.forum.dev will point to this forum while chunkybacon.forum.dev will point to a new forum with its own set of data. Note that we’re using the Pow server so that we can use subdomains in development. Our application’s database configuration file is already set up to work with PostgreSQL like we showed in episode 342. Postgres provides an interesting feature called schemas which allows us to separate each tenant’s data. If you’re using MySQL or another database which doesn’t support this feature you can accomplish something similar by using a separate database for each tenant but this can get messy and has scaling issues.
Schemas and Search Paths
The documentation on Postgres schemas is good and worth taking the time to read. One way to think of them is as a way to namespace tables and this can become quite powerful when we combine it with search paths. We can set a search path in Postgres to specify which schemas the database should look in the data for. A good place to try this out is in the database console which we can open by running rails db from our app’s directory. If we type \dt here we get a list of tables for the current database and the schema that they belong to. Currently all the tables in our Rails application are in the public schema which is provided by default.
forum_development=# \dt
              List of relations
 Schema |       Name        | Type  | Owner
--------+-------------------+-------+--------
 public | posts             | table | eifion
 public | schema_migrations | table | eifion
 public | topics            | table | eifion
 public | users             | table | eifion
(4 rows)
We can get a list of the available schemas by running the \dn command.
forum_development=# \dn
  List of schemas
  Name  |  Owner
--------+----------
 public | postgres
(1 row)
We’ll create a new schema, that we’ll call foo.
forum_development=# CREATE SCHEMA foo;
CREATE SCHEMA
forum_development=# \dn
  List of schemas
  Name  |  Owner
--------+----------
 foo    | eifion
 public | postgres
(2 rows)
If we create a new table now it’s created in the public schema but we can prefix a table with a schema name to create it elsewhere.
forum_development=# CREATE TABLE foo.items ();
If we perform an action on this table it won’t work unless we specify the schema.
forum_development=# DELETE FROM items;
ERROR:  relation "items" does not exist
LINE 1: DELETE FROM items;
                    ^
forum_development=# DELETE FROM foo.items;
DELETE 0
To avoid having to specify the schema every time we can add it to our search path. By default this is set to the public schema for the current user but we can add other schemas to it. If we add the foo schema we’ll be able to delete from our items table without specifying a prefix.
forum_development=# SET search_path TO foo, public;
SET
forum_development=# DELETE FROM items;
DELETE 0
If we run the \dt command now we’ll see the tables from both schemas listed.
forum_development=# \dt
              List of relations
 Schema |       Name        | Type  | Owner
--------+-------------------+-------+--------
 foo    | items             | table | eifion
 public | posts             | table | eifion
 public | schema_migrations | table | eifion
 public | topics            | table | eifion
 public | users             | table | eifion
(5 rows)
Now that we’ve finished experimenting with our foo schema we can drop it and we’ll use the cascade option to delete all the data relevant to the schema.
forum_development=# DROP SCHEMA foo CASCADE;
NOTICE:  drop cascades to table items
DROP SCHEMA
Using Schemas in Our Application
Now that we know how schemas work we can use a different one for each tenant in our application to separate the data. First we’ll generate a model called Tenant with a subdomain attribute then migrate the database.
$ rails g model tenant subdomain
$ rake db:migrate
We’ll set this up in the Rails console. First we’ll create a new Tenant record called “cheese”. We’ll need to create a schema for this tenant and to do that we’ll need to interact directly with the database connection so we’ll get this from the newly-created tenant and store it in a variable. We’ll then use execute to execute some SQL to create the schema and call schema_search_path to set the search path to our new schema.
>> t = Tenant.create! subdomain: "cheese"
>> c = t.connection
>> c.execute("create schema tenant1")
>> c.schema_search_path = "tenant1"
As we haven’t included the public schema in the search path if we try to query anything on the database, such as calling Post.all, an exception will be raised as ActiveRecord won’t be able to find the table. Next we need to load all the tables in to this schema and we can do that by loading the schema.rb file in our Rails app.
>> load 'db/schema.rb'If we call Post.all now we’ll get an empty array returned as we don’t have any data in that table and this is what we want: each tenant can now have a separate set of data. That said there is some data that we do want to share between tenants, for example the tenants table. If we call Tenant.all now we get an empty array back when we want all of the tenants. To do this we need to drop the table in the current schema and change the search path to include both tenant1 and public. When we try to fetch all the tenants now we’ll see the tenants from that table in the public schema as this is now in our search path.
>> c.execute("drop table tenants")
=> #<PG::Result:0x007fbc0492bfe0>
>> c.schema_search_path = "tenant1, public"
=> "tenant1, public"
>> Tenant.all
  Tenant Load (1.0ms)  SELECT "tenants".* FROM "tenants"
=> [#<Tenant id: 1, subdomain: "cheese", created_at: "2012-11-12 18:46:29", updated_at: "2012-11-12 18:46:29">]
Post.all still returns nothing as the tenant1 schema’s version of that table doesn’t include any records even though the public schema has a table with the same name which does contain data. This shows that the order of the search path is important and that it stops at the first schema it finds with a matching table. To create a schema automatically whenever a tenant is created we can use a callback.
class Tenant < ActiveRecord::Base
  attr_accessible :subdomain, :name
  after_create :create_schema

  def create_schema
    connection.execute("create schema tenant#{id}")
    scope_schema do
      load Rails.root.join("db/schema.rb")
      connection.execute("drop table #{self.class.table_name}")
    end
  end

  def scope_schema(*paths)
    original_search_path = connection.schema_search_path
    connection.schema_search_path = ["tenant#{id}", *paths].join(",")
    yield
  ensure
    connection.schema_search_path = original_search_path
  end
end
This will do the same thing that we’ve done in the console, but automatically. We have an after_create callback which triggers a create_schema method and this method creates the schema then calls a scope_schema method that calls a block. This allows us to scope the search path to that tenant and any other paths that we pass in and means that we can load the schema to load the tables into the new schema. We then drop the tenants table from that schema so that any calls to it use the public version. There might be other tables that we want to drop here if we want other models to be available to all tenants such as maybe a users table but for our application dropping tenants is enough.
We can try this out in the console. First we’ll create a new chunkybacon tenant.
>> Tenant.create! subdomain: "chunkybacon"
When we do this now it creates not just a Tenant record but also sets up a new schema, loads all the tables into it then drops the tenants table from it. The time taken to do all this isn’t long but we might consider moving it into a background process, especially if we were loading in a large schema.
Fetching The Right Data For Our Forums
Now that we have our database set up we can hook it into our controller layer. We want our forum app to work so that if we specify a subdomain in the URL a schema will be used to restrict the data. We’ll do this in the ApplicationController so that it’s done globally. We’ll use an around_filter that calls a method called scope_current_tenant. In this method we’ll fetch the current tenant by calling a new current_tenant method and calling scope_schema on this which is the method that we set up in the Tenant model earlier and which changes the schema’s search path for that tenant. We can pass additional search paths into this and we’ll pass the public schema in as we want to include it in the scope. The current_tenant method is the same we had in last week’s episode where we find a Tenant by the subdomain based on the request’s subdomain. We’ll also make this method a helper method so that we can access it in the view.
class ApplicationController < ActionController::Base
  protect_from_forgery

  around_filter :scope_current_tenant

private

  def current_user
    @current_user ||= User.find(session[:user_id]) if session[:user_id]
  end
  helper_method :current_user

  def current_tenant
    @current_tenant ||= Tenant.find_by_subdomain!(request.subdomain)
  end
  helper_method :current_tenant

  def scope_current_tenant(&block)
    current_tenant.scope_schema("public", &block)
  end
end
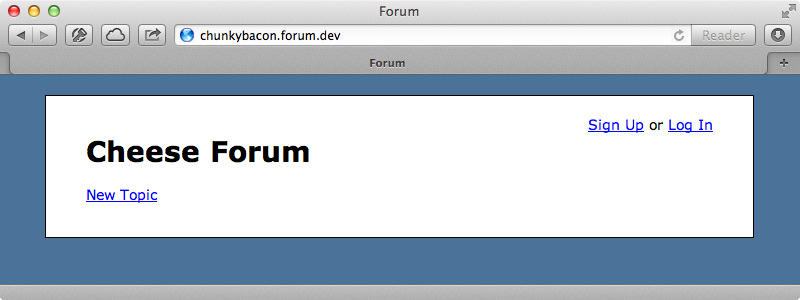
With this change in place we can try visiting chunkybacon.forum.dev. When we do we see a forum with no topics, just like we expect. We’re now working with a completely new set of data in a new schema with, as yet, no topics or posts.

If we try creating a new topic it should just be created in that schema’s topics table and it should not appear in the cheese forum.
Dealing With Migrations
With very little code we’ve successfully scoped all of the data for each tenant but there is a problem with migrations. To demonstrate this we’ll try adding a sticky column to the topics table.
$ rails g migration add_sticky_to_topics sticky:boolean
When we run rake db:migrate now this column is added to the topics table but only for the public schema; all of the tenants schemas tables are unaffected. What we need to do is loop through each of the tenants and migrate the database for each one. We’ll do this in a custom Rake task that we’ll put in the lib/tasks directory.
db_tasks = %w[db:migrate db:migrate:up db:migrate:down db:rollback db:forward]

namespace :multitenant do
  db_tasks.each do |task_name|
    desc "Run #{task_name} for each tenant"
    task task_name => %w[environment db:load_config] do
      Tenant.find_each do |tenant|
        puts "Running #{task_name} for tenant#{tenant.id} (#{tenant.subdomain})"
        tenant.scope_schema { Rake::Task[task_name].execute }
      end
    end
  end
end

db_tasks.each do |task_name|
  Rake::Task[task_name].enhance(["multitenant:#{task_name}"])
end
In this code we first make an array of the various Rake tasks that we want to add multi-tenancy to. We then make a multitenant namespace and loop through each of these tasks so that we can make a new task in this namespace for each one. This will loop through each tenant, scope it to that tenant’s schema then run the original Rake task. Optionally we might want to enhance the original task as well so at the bottom of the file we enhance each task which means that we add the multitenant task to the original task so that when we run, say, rake db:migrate it will automatically run the multitenant:db:migrate task. This means that when we run rake db:migrate now it’s run for each of our tenants.
$ rake db:migrate
Running db:migrate for tenant1 (cheese)
==  AddStickyToTopics: migrating ==============================================
-- add_column(:topics, :sticky, :boolean)
   -> 0.0020s
==  AddStickyToTopics: migrated (0.0021s) =====================================

Running db:migrate for tenant2 (chunkybacon)
==  AddStickyToTopics: migrating ==============================================
-- add_column(:topics, :sticky, :boolean)
   -> 0.0019s
==  AddStickyToTopics: migrated (0.0020s) =====================================
This is great but sometimes we might want to run a migration for only the public schema for instance when we add a column to the tenants table.
$ rails g migration add_name_to_tenants name
What we can do here is modify this migration so that it checks to see if a tenants table exists.
class AddNameToTenants < ActiveRecord::Migration
  def change
    add_column :tenants, :name, :string if table_exists? :tenants
  end
end
Now the migration won’t be run on other schemas as this table doesn’t exist there.
$ rake db:migrate
Running db:migrate for tenant1 (cheese)
==  AddNameToTenants: migrating ===============================================
-- table_exists?(:tenants)
   -> 0.0017s
==  AddNameToTenants: migrated (0.0018s) ======================================

Running db:migrate for tenant2 (chunkybacon)
==  AddNameToTenants: migrating ===============================================
-- table_exists?(:tenants)
   -> 0.0011s
==  AddNameToTenants: migrated (0.0012s) ======================================

==  AddNameToTenants: migrating ===============================================
-- table_exists?(:tenants)
   -> 0.0010s
-- add_column(:tenants, :name, :string)
   -> 0.0161s
==  AddNameToTenants: migrated (0.0173s) ======================================
We can see here that the table_exists? check was run for all the schemas but that add_column is only run for the public schema.
Customizing Each Forum
Now that we have a name attribute on our Tenant model we can use it elsewhere in our application. For example in the index view we display the name of the forum and this is currently hard-coded, but we can use this attribute instead.
<h1><%= current_tenant.name %> Forum</h1>
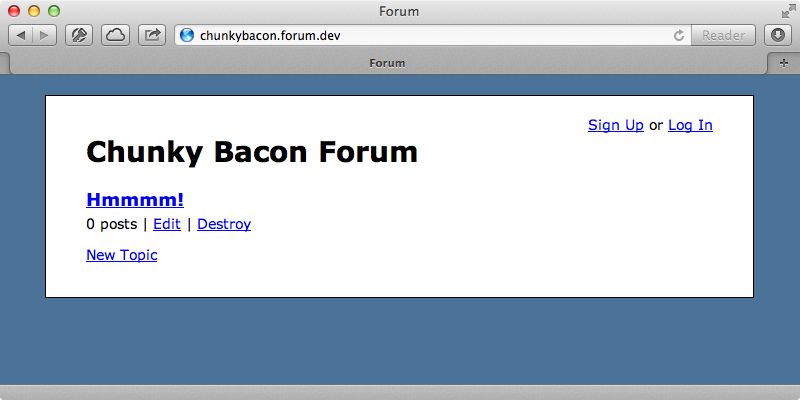
If we set the names of our two tenants then reload the “Chunky Bacon” forum we’ll see the correct title displayed and only the topics for this forum as it has its own data, completely set apart for the other forums’.

There’s more information about using Postgres schemas for multi-tenancy in this blog post. If you’d rather not implement this all from scratch take a look at the Apartment gem which gives you the tools to do most of what we’ve done here.
We’ve now implemented multi-tenancy in two different ways. How should we choose between scopes and schemas? A good question to ask is whether you’ll have a few large tenants or many smaller ones. If your application is going to have a lot of tenants it’s better to go with scopes so that you don’t have to manage a large number of schemas and run migrations on each one separately. If you’re going to only have a few tenants then Postgres schemas make more sense.


