#373 Zero-Downtime Deployment pro
- Download:
- source codeProject Files in Zip (74.5 KB)
- mp4Full Size H.264 Video (28.2 MB)
- m4vSmaller H.264 Video (16.8 MB)
- webmFull Size VP8 Video (17.5 MB)
- ogvFull Size Theora Video (42.6 MB)
When we redeploy an application we should aim to inconvenience its users as little as possible; our goal in this episode is make upgrading an application unnoticeable. We already have an application deployed to a VPS, like we showed in episode 337.
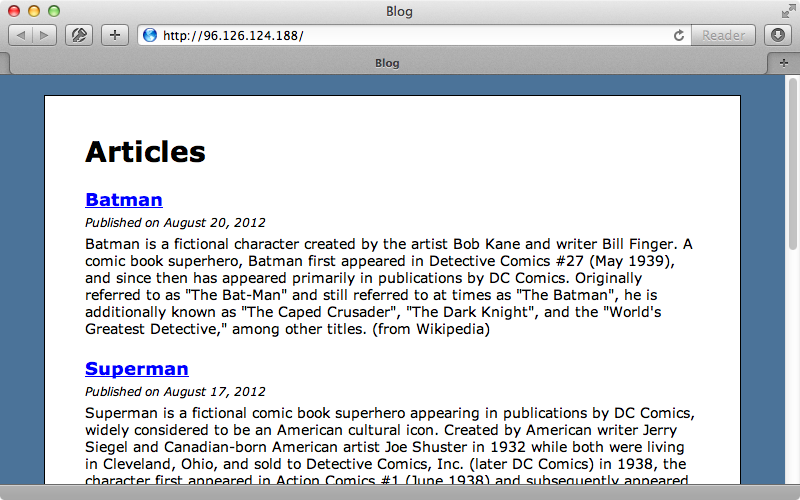
When we redeploy this app it starts up fairly quickly as it’s such a small application. To simulate the start-up of a larger application we’ll add a sleep to the config file.
sleep 10When we redeploy our application now it’s startup time will be more noticeable. We’ll commit and deploy this small change.
$ git commit -am 'simulating long app load'
$ git push
$ cap deploy
When we reload the page now it takes quite a while to load as the application takes a long time to start up. It would be good if the user didn’t see this delay and we can accomplish this by leaving the old version of the application up and running until the new one is ready to accept requests. There are many solutions to this problem: if we have a load balancer set up, such as HAProxy, we can do rolling restarts across multiple servers. This presents its own challenges, though, as it needs to detect the state of each server to see if it can pass requests to it. We won’t be going into detail on this approach here but it’s worth pointing out as an option.
Instead we’ll focus on solving this problem through Unicorn. Github’s blog post on this subject is a few years old but is still relevant and it provides some configuration options that we can use to accomplish zero downtime. One key option is called preload_app. This starts up the Rails app in the master Unicorn process so that spawning new workers happens quickly. Along with this we have a before_fork block. This is triggered after the application loads but before it spawns off new workers and this means that our application is ready to receive requests and so we can quit our old Unicorn process here.
before_fork do |server, worker|
  old_pid = RAILS_ROOT + '/tmp/pids/unicorn.pid.oldbin'
  if File.exists?(old_pid) && server.pid != old_pid
    begin
      Process.kill("QUIT", File.read(old_pid).to_i)
    rescue Errno::ENOENT, Errno::ESRCH
      # someone else did our job for us
    end
  end
end
It’s important to understand that when preloading an app the open socket connections won’t be carried over when the workers are forked off. It’s a good idea to add an after_hook block to reopen the socket connections, such as to the database, like this:
after_fork do |server, worker|
  ActiveRecord::Base.establish_connection
  CHIMNEY.client.connect_to_server
  # Rest of code omitted
end
We already have Unicorn set up in this application in the same way we did it in episode 337 but the technique we used there doesn’t do any app preloading. We’ll add some code to our config file to do this.
preload_app true

before_fork do |server, worker|
  # Disconnect since the database connection will not carry over
  if defined? ActiveRecord::Base
    ActiveRecord::Base.connection.disconnect!
  end

  # Quit the old unicorn process
  old_pid = "#{server.config[:pid]}.oldbin"
  if File.exists?(old_pid) && server.pid != old_pid
    begin
      Process.kill("QUIT", File.read(old_pid).to_i)
    rescue Errno::ENOENT, Errno::ESRCH
      # someone else did our job for us
    end
  end
end

after_fork do |server, worker|
  # Start up the database connection again in the worker
  if defined?(ActiveRecord::Base)
    ActiveRecord::Base.establish_connection
  end
end
We now call preload_app here and set it to true, and we’ve added a before_fork block. In it we disconnect from the database and quit the old Unicorn process while in the after_fork block we reconnect to the database. This isn’t enough, however, we also need to configure how we restart Unicorn after a deployment. Currently it sends an HUP signal to the process but if we have preload_app set to true this will have no effect. We should instead send USR2 which will start a new Unicorn process and send a QUIT signal to the old one. There’s a lot of great documentation on how to manage the worker processes that’s well worth reading through. We’ll make the change inside the Unicorn init script that our application uses. This script has a restart command which sends the HUP signal that we mentioned before. We’ll change this to USR2.
restart|reload)
  sig USR2 && echo reloaded OK && exit 0
  echo >&2 "Couldn't reload, starting '$CMD' instead"
  run "$CMD"
  ;;
To get these changes up to the server we’ll run the Unicorn setup task and the stop and start tasks, too.
$ cap unicorn:setup unicorn:stop unicorn:start
This stops and starts the server so that the new configuration is picked up. By the way it’s always useful to have Capistrano recipes for things like this so that we can manage the serve remotely. Before we redeploy our application we’ll make a small change to the index template so that we can see when the changes go live.
<h1>Articles 2</h1>
We’ll commit and push these changes now and run cap deploy to deploy them to the server. If we reload the page as soon as the deployment finishes we’ll still see the old version. This will be the case for approximately ten seconds but after that we’ll see the new version.
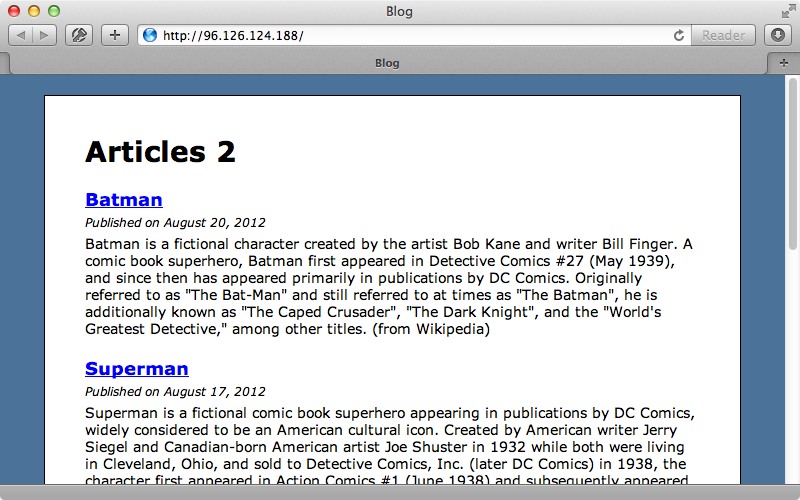
Since our application loads in the background the user won’t notice any delay when it switches over to the new version. We do need to bear in mind though that we have enough resources on the server to be able to load the application in the background while keeping the current version active and receiving requests.
Handling Migrations
Next we’ll move on to solving another piece of this zero downtime puzzle: migrations. Any changes we make to the database need to be compatible with the older release. For example we have an Article model with a content column and we want to rename this to body. We’ll generate a migration to do this.
$ rails g migration rename_articles_content_to_body
In the migration we’ll rename the column.
class RenameArticlesContentToBody < ActiveRecord::Migration
  def change
    rename_column :articles, :content, :body
  end
end
We’ll also need to rename the reference to this column in the view template. We’ll commit and push this change then run cap:deploy:migrations to see what happens. If we reload the page after the deployment finishes we get a 500 error.
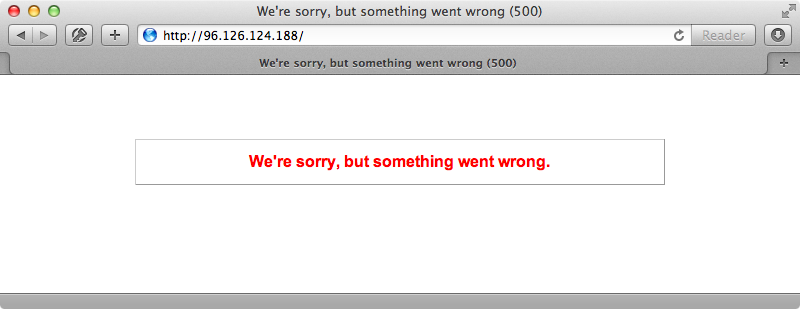
This happens because we’re still serving the old version which references the content column which no longer exists in the database. If we wait for around ten seconds and then reload the page it works again. How do we solve this problem? A good rule of thumb is to never destroy or rename a column that’s referenced in the currently hosted version, although adding columns is fine. Renaming columns can be tricky so how should we rename our body column back to content? What we can do is create a migration that adds a content column to the articles table.
$ rails g migration add_content_to_articles content:text
Next we can create another migration to copy the data from body into content.
$ rails g migration copy_article_content
The reason we’re doing this in a separate migration is due to the way that transactions work. We can’t add a column and update in the same transaction. In this second migration we’ll execute some SQL to update the articles table to copy the data from content to body.
class CopyArticleContent < ActiveRecord::Migration
  def up
    execute "update articles set content = body"
  end

  def down
    execute "update articles set body = content"
  end
end
We’ll commit these changes now and push them to the server. When we run cap deploy:migrations now we shouldn’t get an error as we’re adding a column not renaming one. When we reload the page now it works. Now that the current deploy no longer references the body column it’s safe to remove it. If we generate another migration and give it the right name and arguments Rails will generate a migration with the up and down methods filled in for us.
$ rails g migration remove_body_from_articles body:text
This generates the migration file shown below.
class CopyArticleContent < ActiveRecord::Migration
  def up
    execute "update articles set content = body"
  end

  def down
    execute "update articles set body = content"
  end
end
In order to rename a column we’ve had to use three migration files and make two deployments but at least we can make this change without downtime and the user won’t see any 500 errors while the updated version is being deployed. There is still a problem with this solution and this has to do with the migration file where we copy the body to the content column. What if just after this migration runs a user updates the body of an article while the server is still starting up with the new version of the application? Whether or not this is an issue depends on how frequently this column is updated. Updates usually don’t happen very often so the chance of one happening during the ten-second window while our application updates is fairly slim.
If this is a problem and we need to fix it, however, there are a couple of solutions. One is to lock this table after the migration runs and to keep it locked until the new version of the app has fully started up. This way no updates can take place during this time. That said, locks can get messy and the approach may not fully solve the problem anyway. Another option is to give up on zero downtime for this kind of situation and show a down for maintenance page while this kind of change is taking place. Capistrano provides a handy command called deploy:web:disable which will generate a maintenance HTML page in our application. When we run this command it will return some code to configure Nginx to use it. This code works best near the top of the Nginx config file so we’ll add it near the top of the server block.
if (-f $document_root/system/maintenance.html) {
  return 503;
}
error_page 503 @maintenance;
location @maintenance {
  rewrite  ^(.*)$  /system/maintenance.html last;
  break;
}
This code checks to see if a maintenance.html file exists and if it does it will return a 503 error and provide a custom error page for this status code and display this page to the user. We’ll run the cap nginx:setup command that we created in episode 337 which will copy over this file and restart the server. When we visit our application now we’ll see this maintenance page.
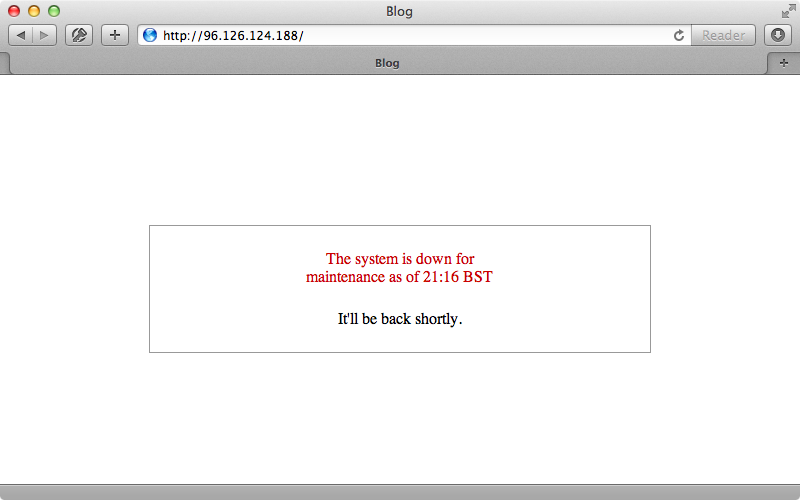
We can configure this page and customize it to fit the rest of our application. We can look at the full documentation for this by passing in the -e option.
$ cap -e deploy:web:disable
maintenance_template_path variable to change the HTML file that’s used to generate the maintenance page. We’ll do this now and make a new maintenance page.
<!DOCTYPE html>
<html>
  <head>
    <title>Blog</title>
    <style type="text/css">
    html, body {
      background-color: #4B7399;
      font-family: Verdana, Helvetica, Arial;
      font-size: 14px;
    }

    a {
      color: #0000FF;
      img { border: none; }
    }

    #container {
      width: 80%;
      margin: 0 auto;
      background-color: #FFF;
      padding: 20px 40px;
      border: solid 1px black;
      margin-top: 20px;
    }
    </style>
  </head>
  <body>
    <div id="container">
      <h1>The system is down for <%= reason ? reason : "maintenance" %></h1>
      <p>It will be back <%= deadline ? deadline : "soon" %></p>
    </div>
  </body>
</html>
This is pretty much a static HTML with some erb content to display the reason and deadline which are passed in from the environment variables. To use this template we need to modify our deployment file and set the maintenance_template_path variable.
set :maintenance_template_path, File.expand_path("../recipes/templates/maintenance.html.erb", __FILE__)
When we need to rename or delete a column now we can run cap deploy:web:disable to copy over our new template and any user who visits our site will see our customized maintenance page. When the migrations are finished we can run cap deploy:web:enable to remove the maintenance page. So, if we’re willing to show the maintenance page for a while we can change a column in a single migration instead of splitting it up into several.
Even with all this effort with a maintenance page this still isn’t a flawless solution. If a user comes to edit an article while we’re still using the body attribute and we rename this column while they’re editing the article their changes will be lost as they’ll be submitted as a body attribute which our application no longer accepts. If we are renaming a column we can go into our model and temporarily add a setter method for the old name and set it to the new attribute.
class Article < ActiveRecord::Base
  attr_accessible :content, :name, :published_on, :body

  def body=(body)
    self.content = body
  end
end
We’ll also need to make sure to add this attribute to the attr_accessible list. We can then remove this attribute on the next deployment. Most applications won’t need to go to this extreme to handle these kind of edge cases but sometimes we want to do everything we can to avoid losing any user data if records are updated frequently.
One final thing worth noting is that there is talk of removing the maintenance tasks from Capistrano. These tasks are fairly simple, however, so recreating them manually would be fairly simple if you want to.


