#363 Facebook Open Graph pro
- Download:
- source codeProject Files in Zip (174 KB)
- mp4Full Size H.264 Video (30.1 MB)
- m4vSmaller H.264 Video (15.4 MB)
- webmFull Size VP8 Video (16.4 MB)
- ogvFull Size Theora Video (37.8 MB)
In last week’s episodes we showed how to authenticate a user through Facebook and request certain permissions. One they had signed in we showed how to communicate with Facebook’s Graph API to fetch and post content as that user.
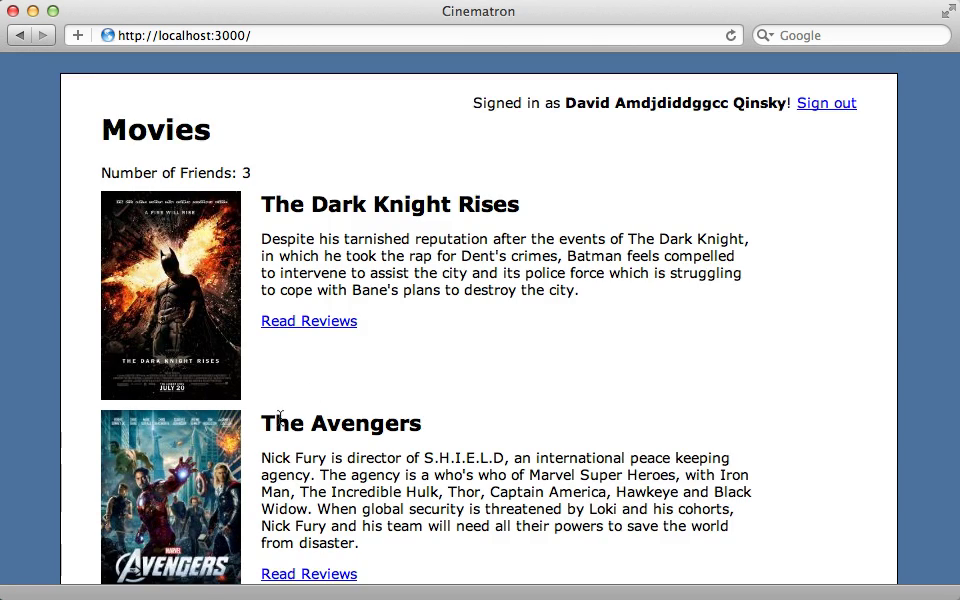
In this week’s episode we’ll build on this example app and integrate Facebook further by using the Open Graph protocol. When a user writes a review for a film in our application we want to add a notification on Facebook so that that user’s friends can read the review and add a review of their own.
Any page in our application can be treated as an object by the Open Graph Protocol and this allows users to interact with it. To do this we need to add meta tags to the page which describe it as an object. Facebook parses these which allows us to treat it as an object in the Graph API. We’ll use these within our application. As we’ll be jumping between testing an application and editing its settings it’s useful to use a separate browser so that we can be signed in as a test user in one browser and still edit the application’s configuration under our primary account in the other. To edit our application’s settings we need to go to the Open Graph section where we can define the action that’s performed on our site along with the object that the action is performed on. For our example app we’ll allow users to review a movie.
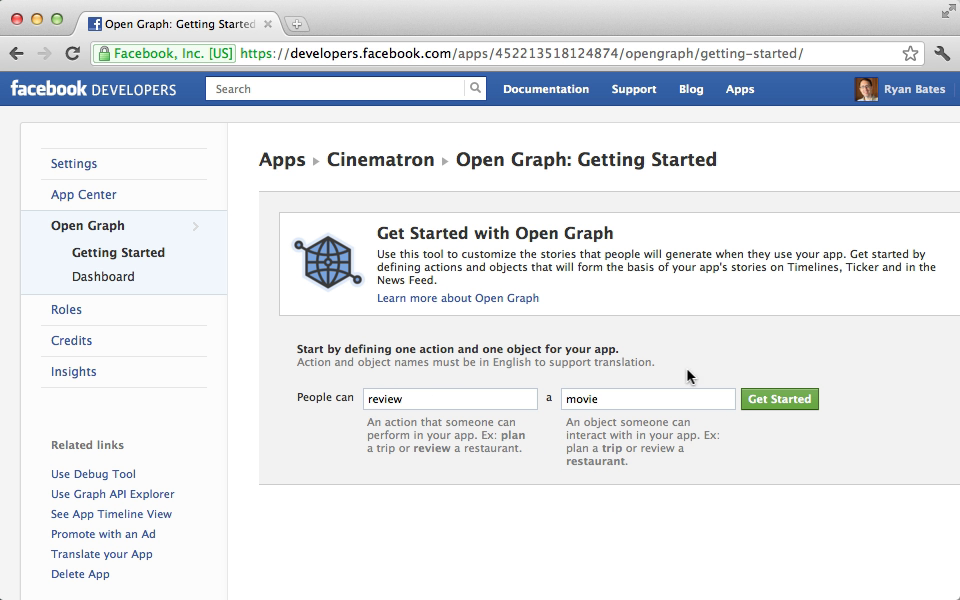
After we click “Get Started” here we’ll be taken to a page where we can customize this action by changing the various tenses, changing how it looks and so on. We’ll leave everything at the default value and save the changes. This will take us to a page where we can edit the object and this page will tell us what properties are required on our pages’ meta tags and which optional properties we can use. We can also add our own custom properties if we want to. Again we’ll leave everything at the defaults. The last step is aggregation. When a user performs multiple actions on our app, such as reviewing multiple movies, Facebook will aggregate these together. On this page we need to set what we want the aggregation to focus on, in this case the “review” action. We can then set a layout style and some other configuration on how the aggregation will look. When we save this we’ll have an action and a object that we can use in our application.
Some examples are provided to demonstrate how we can use these. A number of curl commands are shown that we can use to post a new review, delete one, or list all the reviews. There are a couple of things to note here. One is that the URL here has a path that ends with cinematron:review, i.e. application’s namespace followed by the action. The URL for the movie would normally be a URL in our application but an example URL is provided instead.
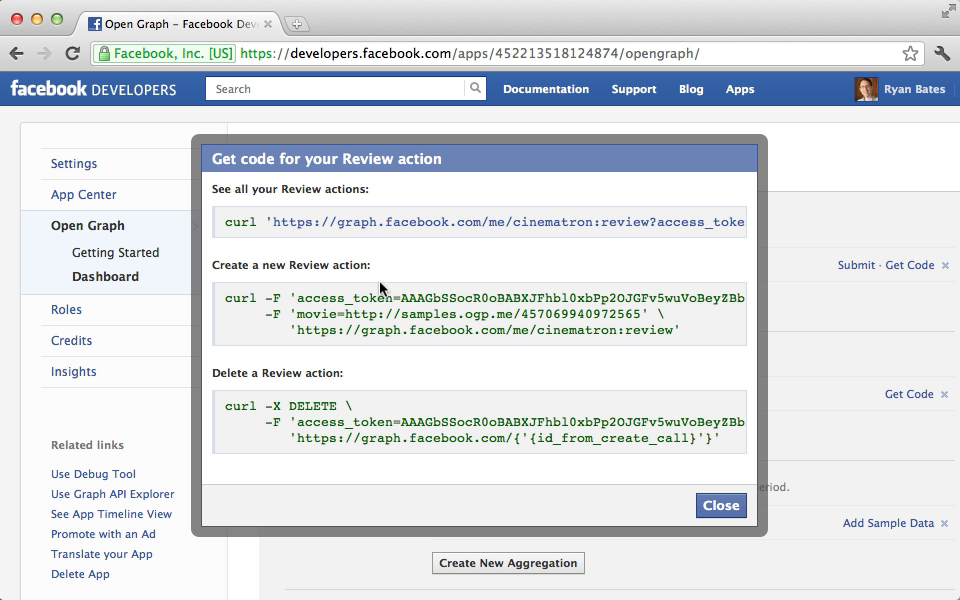
If we visit this example URL we’ll be taken to a page which is an example object that we can use for testing. If we view the source of this page we’ll see the Open Graph meta tags in the head section which means that we can be treated as an Open Graph object. This is useful as when we pass a URL to Facebook it will need to be able to parse these meta tags which can be difficult to do in our development environment. We can use this sample page as data that we can pass to Facebook.
The code in the screenshot above shows how we can publish actions through the curl command, but how do we do this in our Rails app with the Koala gem instead? We’ll show this in the console.
>> u = User.last
>> u.facebook.put_connections("me", "cinematron:review", movie: "http://samples.ogp.me/457069940972565")
=> {"id"=>"106998912778423"}
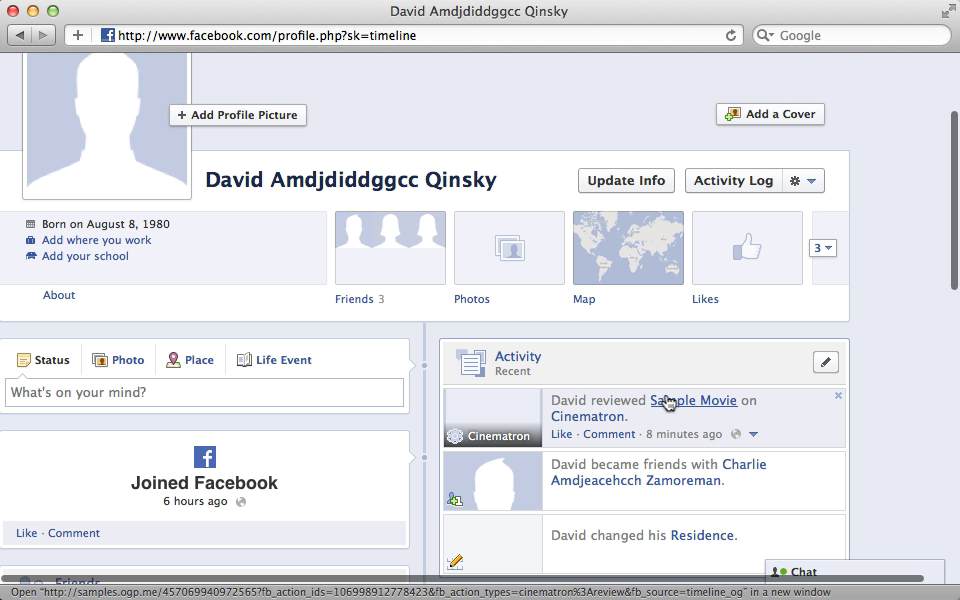
Here we fetch a User record from a user that has signed in through Facebook. We then call facebook on this user to instantiate a Koala client. To publish an action we call put_connections passing in who the connection is for, the action’s name, and the object that the action acts on. For the last parameter we pass the URL of the example movie we saw earlier. We get an id back from running this so it appears to have run successfully. We can check this by looking at the user’s timeline. This won’t be enabled by default but if we visit /about/timeline while logged in as that user we can enable it. Once we’ve done so this action will appear in that user’s recent activity.
Making Our Review Page an Open Graph Object
Instead of reviewing a sample movie we’ll review one of the movies from our application. To do this we’ll need to add meta tags to each movie so that it will work with Open Graph. These need to go in the head section, which is defined in our application’s layout file. We’ll add a call to yield in here so that we can insert content from other templates.
<head>
  <title>Cinematron</title>
  <%= stylesheet_link_tag    "application", media: "all" %>
  <%= javascript_include_tag "application" %>
  <%= csrf_meta_tag %>
  <%= yield :head %>
</head>In our movies’ show template we can now add the necessary meta tags.

/app/views/movies/show.html.erb
<% content_for :head do %>
  <%= tag :meta, property: "fb:app_id", content: ENV["FACEBOOK_APP_ID"] %>
  <%= tag :meta, property: "og:site_name", content: "Cinematron" %>
  <%= tag :meta, property: "og:type", content: "cinematron:movie" %>
  <%= tag :meta, property: "og:title", content: @movie.name %>
  <%= tag :meta, property: "og:url", content: movie_url(@movie) %>
  <%= tag :meta, property: "og:image", content: request.protocol + request.host_with_port + image_path(@movie.image) %>
<% end %>
When we reload the page for a given movie now and view the source we’ll see that it has right the meta tags.
<meta property="fb:app_id" />
<meta content="Cinematron" property="og:site_name" />
<meta content="cinematron:movie" property="og:type" />
<meta content="The Dark Knight Rises" property="og:title" />
<meta content="http://localhost:3000/movies/1" property="og:url" />
<meta content="http://localhost:3000/assets/dark_knight_rises.jpg" property="og:image" />
There is a problem here, however. There’s no way for Facebook to be able to access this page and parse its content as it’s hosted on our local machine. One solution is to deploy our application somewhere, but this isn’t always practical. The other solution is to use SSH tunnelling which is what we’ll do. There are many services available to help with tunnelling; we’ll use localtunnel which comes as a gem so which is very easy to install.
$ gem install localtunnel
If you’re using rbenv you’ll need to run rbenv rehash so that you can use the localtunnel command. We can now use this command, passing in the port that we want to make public. This first time we run this we’ll need to pass in the -k option and point it to our public key.
$ localtunnel -k ~/.ssh/rsa_id.pub 3000
Our Rails app should now be publicly available at a localtunnel.com subdomain.
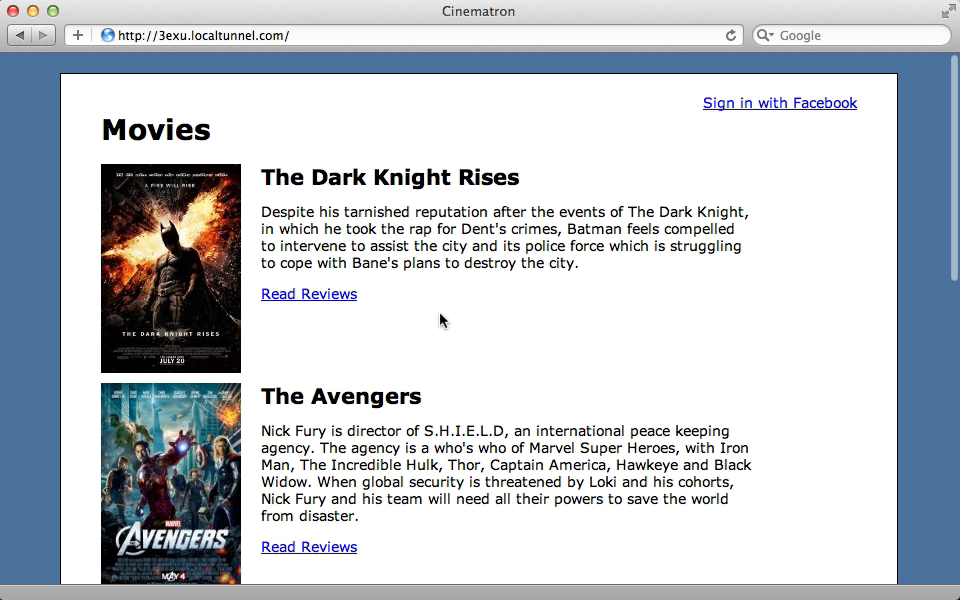
Bear in mind that anyone will be able to access this web application which is currently running in development. This means that if an exception is raised it might display sensitive information so we should consider running our app in production mode or on a staging environment when we do this. Next we need to edit our Facebook app’s settings and set this domain as our application’s domain and for the authentication domain. Remember, though, that if we close this tunnel or if it times out then our app will probably have a different domain the next time we open up the tunnel. We can try this out in the Rails console. Instead of publishing a review for the sample movie we’ll use our tunnel domain instead.
>> u = User.last
>> u.facebook.put_connections("me", "cinematron:review", movie: "http://3exu.localtunnel.com/movies/3")
=> {"id"=>"106998912778754"}
Again we get an id back so it looks like this has worked and if we visit the user’s time line again we’ll see that their review has been added. If we click the link in their review we’ll be taken to that movie’s page in our application.
Adding This to Our Application
Now that we have this working we’ll add this behaviour to our application. This should happen when a user posts a review, so when the review is saved we’ll check to see that there’s a current user and, if so, do the same that we did in the console to save the review to the user’s timeline.
class ReviewsController < ApplicationController
  def create
    @movie = Movie.find(params[:movie_id])
    @review = @movie.reviews.create!(params[:review])
    if current_user
      current_user.facebook.put_connections("me", "cinematron:review", movie: movie_url(@movie))
    end
    redirect_to @review.movie, notice: "Review has been created."
  end
end
We can try this now. If we sign in to our app through Facebook and create a review our app will communicate with Facebook and wait for a response. This time this takes a while to complete so it looks as if something is incorrect and when the response finally completes we get an error.
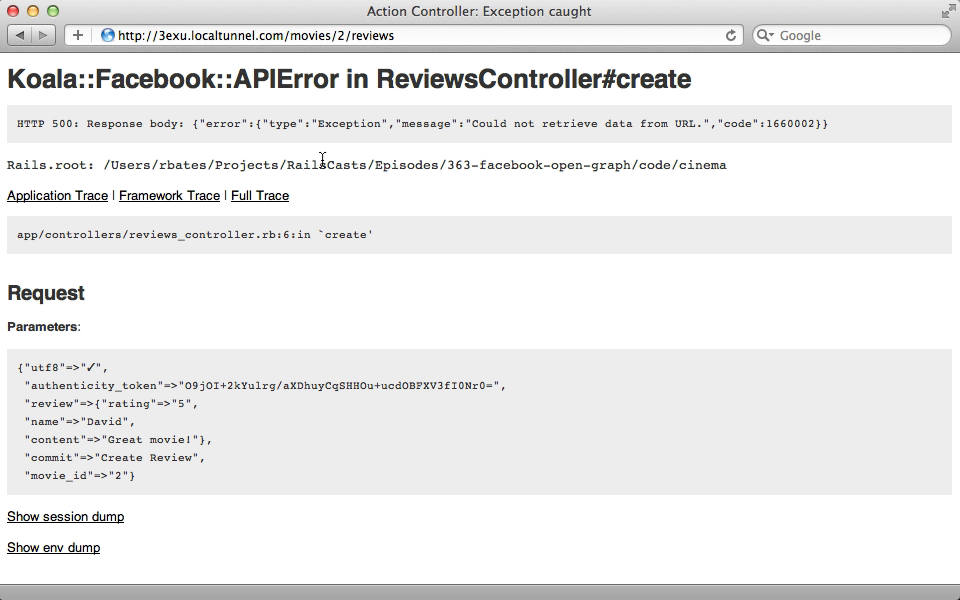
The error message says that Koala could not retrieve data from a URL so for some reason Facebook wasn’t able to connect to our application. The problem is that our Rails application is running on a single thread in development. When we communicate with Facebook to publish the action it tries to communicate back to our app to parse the meta tags. This can’t happen, however, as our app is still processing the create action and multiple actions can’t be processed at once.
We should be communicating with Facebook through a background process. If we do so and the job fails the user won’t affected and we can retry the job later. There are a number of gems that can handle background jobs in Rails and many of them have been covered in past episodes. In this episode we’ll be using Delayed Job as it has very few dependencies but you can choose whichever gem you prefer. To use it we’ll add it to the application’s gemfile and run bundle.
gem 'delayed_job_active_record'After the gem installs we’ll need to run the generator it provides to create the database migrations it uses to create its database table, migrate the database then run the Rake task to start the worker.
$ rails g delayed_job:active_record
$ rake db:migrate
$ rake jobs:work
We’ll move the Facebook communication behaviour from the ReviewsController into a new share_review class method in the User model to make it easier to move it into the background. To call this method as a background method we call delay before calling the method.
class ReviewsController < ApplicationController
  def create
    @movie = Movie.find(params[:movie_id])
    @review = @movie.reviews.create!(params[:review])
    if current_user
      User.delay.share_review(current_user.id, movie_url(@movie))
    end
    redirect_to @review.movie, notice: "Review has been created."
  end
end
Next we’ll add the share_review to User.
def self.share_review(user_id, movie_url)
  user = User.find(user_id)
  user.facebook.put_connections("me", "cinematron:review", movie: movie_url)
end
With all this in place and the Rails application restarted we can try submitting another review as your test user. This time we’re immediately retuned back to the page and told that the review is created. If we look in the terminal window where we started the background worker we should see that the job has been processed.
$ rake jobs:work
[Worker(host:eifion.local pid:53133)] Starting job worker
[Worker(host:eifion.local pid:53133)] Class#share_review completed after 2.1245
[Worker(host:eifion.local pid:53133)] 1 jobs processes at 0.4527 j/s, 0 failed ...
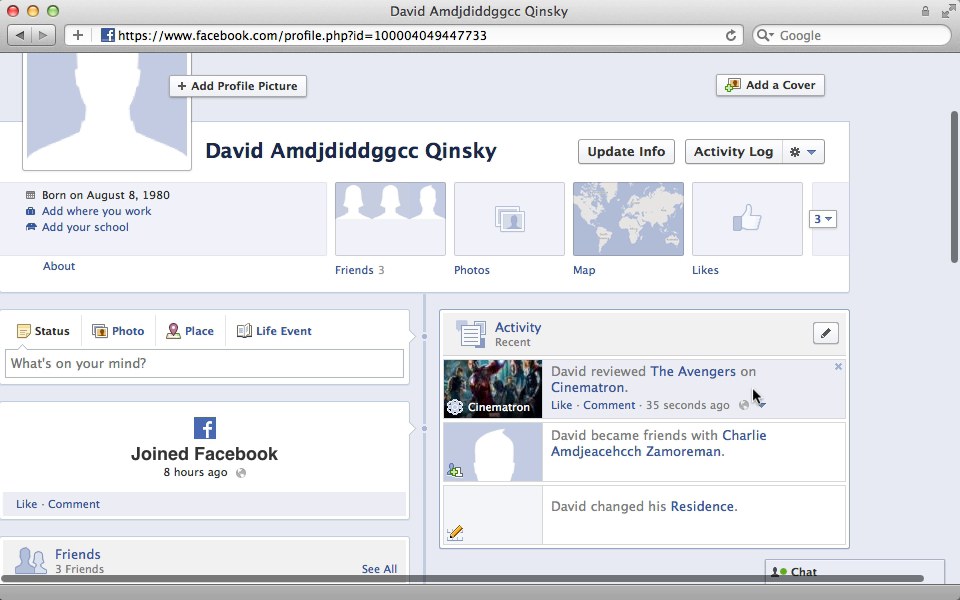
If we look at the user’s profile now we’ll see the review they’ve added.
Debugging
Sometime when working with Open Graph things don’t go smoothly. In these cases the Facebook Debugger Tool can be a great help to determine what’s gone wrong. We can pass this a URL to an Open Graph page and it will tell us whether Facebook was able to parse that page and if it encountered any problems when it did so. Any warnings will also be shown here, along with the object’s properties that were parsed correctly and the raw meta tags that were found on the page.
We should also be aware of Open Graph Permissions. We’ll need to have a publish_actions scope when authenticating a user so that we can share their activity. These are covered in more detail in episode 361. It’s a good idea to tell the user what activity we’ll be sharing on Facebook and provide an option to turn this off from within our application. Once we’re ready to go live we’ll need to submit our actions for approval as otherwise they’ll only be available to the developers and testers of our application. This process will tell us anything else we need to do make our application approved.


