#360 Facebook Authentication
- Download:
- source codeProject Files in Zip (191 KB)
- mp4Full Size H.264 Video (29.8 MB)
- m4vSmaller H.264 Video (15.9 MB)
- webmFull Size VP8 Video (17.6 MB)
- ogvFull Size Theora Video (40 MB)
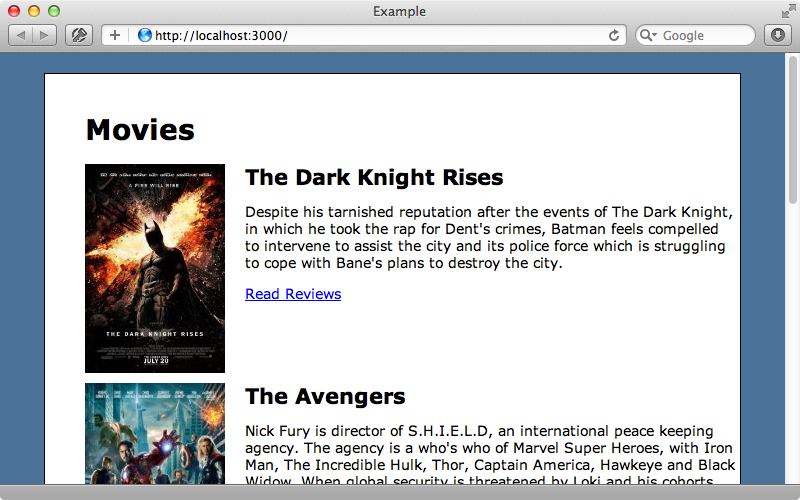
In the example application shown below we have a list of films that the app’s users can write reviews for. We want to add a little more social interaction by integrating Facebook into our app so that users will be able to share their reviews with their friends and in this episode we’ll show you how to do this.
Registering an App With Facebook
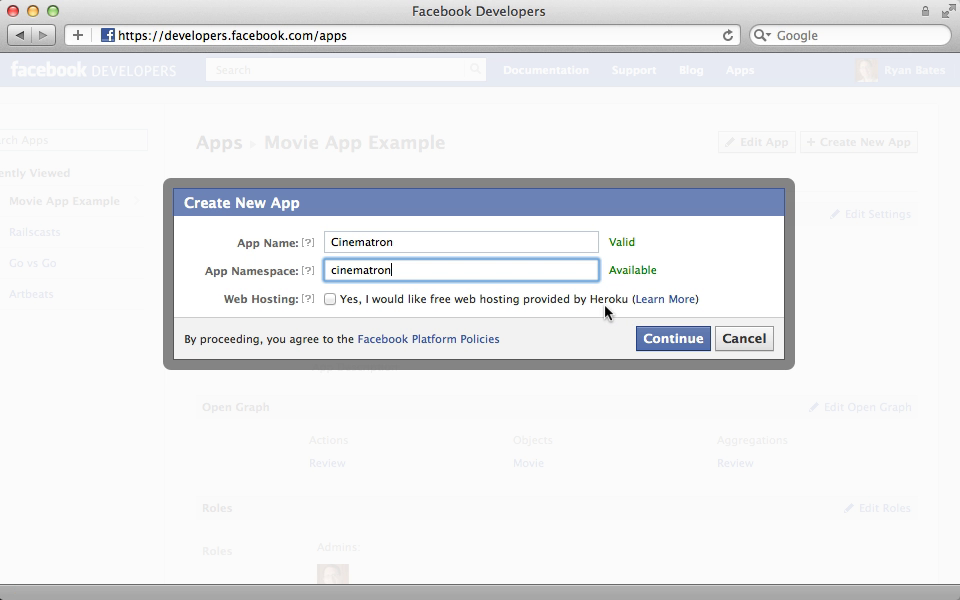
One of the easiest ways to add Facebook to an application is to use their social plugins and with these we can add a “Like” button, a comments section and more. If we want something that’s a little more integrated into the core functionality of our site these won’t really work for us so instead we’ll register our app on the Facebook developers site. Doing this will allow us to communicate with Facebook’s Graph API and their Open Graph platform. To register our app we just need to click the “Create New App” button on the developers page and give our app a name and a namespace. We’ll choose “Cinematron” for both of these but it’s important that the namespace is unique across all Facebook apps so you might need to try a few variations on your application’s name to find an unused one. Facebook has partnered up with Heroku for hosting web applications and if we check the box at the bottom of the form this will be set up for us, although we can use any host we want.
When we submit this form we’ll need to fill in a captcha. Once we’ve done that we’ll be taken to a page that displays some information about our page. This page contains an App ID and an App Secret and we’ll need these to communicate with Facebook’s API. There are a number of options we can specify on this page to further customize our app. One that we’ll need to enable is called “Website with Facebook Login”as this will enable our app’s users to authenticate through Facebook. If we enable this option we’ll need to specify a site URL for security purposes. While our app is in development we can set this to http://localhost:3000/ but when we deploy to production we’ll need to change this domain name to match. If we need to test our app locally after it’s gone into production we can change our machine’s HOSTS file so that it points the production domain name to our local system.
Next we’ll need to customize the “Auth Dialog”. This is what Facebook shows to the user when they authenticate. We’ll fill the form in with details about our application.
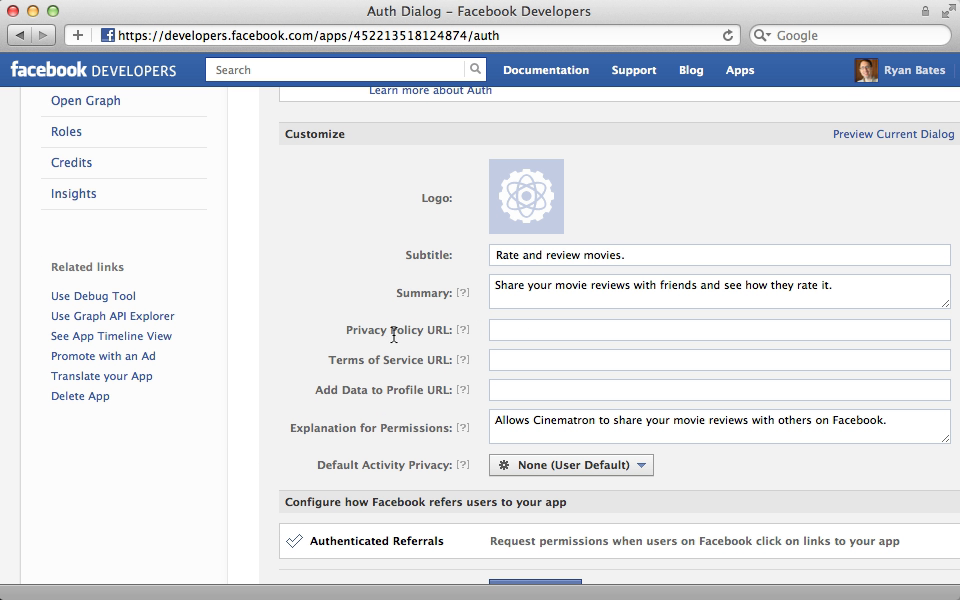
Note that we haven’t provided Privacy Policy or Terms of Service URLs. Facebook requires these unless our app is in sandbox mode. Once we’ve saved the changes here we can preview the dialog to see what the user sees when they authenticate. Next we’ll modify the advanced settings. It’s here that we can enable Sandbox Mode, which is disabled by default. This is the only change we’ll need to make here.
Integrating Facebook With Our Application
We’re ready now to integrate our application into Facebook. The user needs a way to authenticate through Facebook so we’ll add a “Sign in through Facebook” link to our application. We’ll use the OmniAuth Facebook gem to handle authentication. This gem is useful as it supports authentication both on the server and on the client through JavaScript. Its README is worth reading as it goes into a lot of detail on how to handle Facebook authentication. We’ll start, as ever, by adding the gem to our application’s gemfile and then running bundle to install it.
gem 'omniauth-facebook'Next we’ll create a new initializer file where we’ll put the OmniAuth configuration.
OmniAuth.config.logger = Rails.logger

Rails.application.config.middleware.use OmniAuth::Builder do
  provider :facebook, ENV['FACEBOOK_APP_ID'], ENV['FACEBOOK_SECRET']
end
Here we set the OmniAuth logger to the Rails logger and add OmniAuth to the Rack middleware, setting the provider to Facebook and passing in the App Id and App Secret through environment variables. When we restart our app and visit /auth/facebook we should now be redirected to the Facebook sign-in page. If we get an error here we should double check your environment variables and make sure that your app and secret are being passed in correctly to OmniAuth.
When we click ‘Go To App’ to sign in we’ll be redirected back to our app. We’ll get a routing error when we do this which is no surprise as our app doesn’t yet handle the callback. Fixing this is done in a similar manner to what we did in episode 241. First we’ll need to add some routes to handle the paths that OmniAuth uses.
Cinema::Application.routes.draw do
  match 'auth/:provider/callback', to: 'sessions#create'
  match 'auth/failure', to: redirect('/')
  match 'signout', to: 'sessions#destroy', as: 'signout'

  resources :movies do
    resources :reviews
  end
  root to: 'movies#index'
end
When Facebook redirects back to our app now it will look for the create action in a SessionsController. Our app doesn’t have this controller so we’ll write it now.
class SessionsController < ApplicationController
  def create
    user = User.from_omniauth(env["omniauth.auth"])
    session[:user_id] = user.id
    redirect_to root_url
  end
end
The code in this controller depends on a User model that we haven’t written yet, but which will find or create a user based on the data passed in by the OmniAuth hash. We should ask ourselves if we need to persist the user’s data in the database like this. If we don’t have any associations to set up with a user we might be able to store the OmniAuth hash directly in the session instead of creating a User record. We will be creating a User model, though, so we’ll do that next.
$ rails g model user provider uid name oauth_token oauth_expires_at:datetime
$ rake db:migrate
In the User model we store the provider and uid credentials that OmniAuth provides along with the name, oauth_token and oauth_expires_at information. Facebook OAuth tokens don’t last for ever so storing the expiry time is useful. If we look in the Facebook OmniAuth README we’ll find an example hash of the details that are provided. We might want to store some of these in the database, for example the image URL, so that we can display a user’s profile image.
Next we’ll modify our new User model and write the code for the from_omniauth method that we call from the SessionsController.
class User < ActiveRecord::Base
  def self.from_omniauth(auth)
    where(auth.slice(:provider, :uid)).first_or_initialize.tap do |user|
      user.provider = auth.provider
      user.uid = auth.uid
      user.name = auth.info.name
      user.oauth_token = auth.credentials.token
      user.oauth_expires_at = Time.at(auth.credentials.expires_at)
      user.save!
    end
  end
end
This code is different from what we’ve shown in the past. Here we try to find a user that matches the given provider and uid values from the hash and then we call first_or_initialize on the result of this. This is a new method provided in Rails 3.2 that will either return the first matching record or initialize a new record with the parameters that were passed in. We then call tap on this to pass that User instance to the block. Inside the block we set various attributes on the user based on values from the OmniAuth hash. Note, though, that we’re calling the hash keys as methods here. This is because OmniAuth uses the Hashie gem which us to call keys as methods to access hash values. Finally we save the record and return it. Note that we’re setting these attributes each time the user is requested, even for existing User records. This is important so that we get the latest authentication token but also so that if the user changes their name or any other of their credentials these changes are picked up.
There are a couple of changes we still need to make. In the ApplicationController we’ll add a method for fetching the current user.
class ApplicationController < ActionController::Base
  protect_from_forgery

  private
  def current_user
    @current_user ||= User.find(session[:user_id]) if session[:user_id]
  end
  helper_method :current_user
end
In the application layout file we’ll add some code to let users sign in and out.
<div id="user_nav">
  <% if current_user %>
    Signed in as <strong><%= current_user.name %></strong>!
    <%= link_to "Sign out", signout_path, id: "sign_out" %>
  <% else %>
    <%= link_to "Sign in with Facebook", "/auth/facebook", id: "sign_in" %>
  <% end %>
</div>
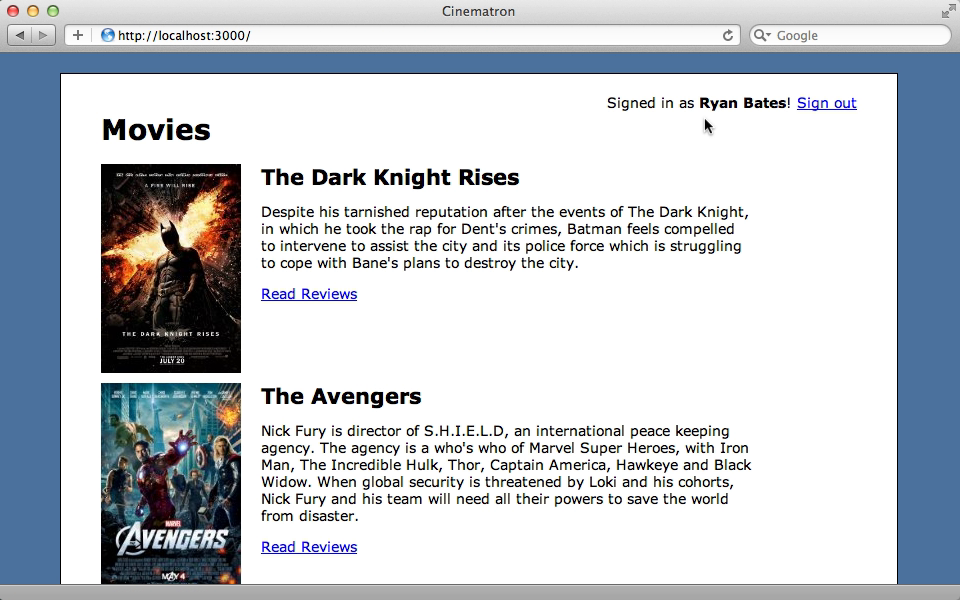
We can try this out now. If we reload the application’s home page we’ll see the sign-in link and if we click it we’ll be instantly signed in as we’ve already authorized this application with Facebook.
Authenticating on The Client
Facebook provides a JavaScript SDK that we can use to authenticate a user on the client-side so that it doesn’t look to them like they’ve left our application then returned. We’ll add this to our application and have it gracefully degrade to the server-side solution. All it takes to do this is some JavaScript, or in our case some CoffeeScript. Under the /app/assets/javascripts directory we’ll create a new facebook.js.coffee.erb file. The extra .erb extension is so that we can add some dynamic content.
jQuery ->
  $('body').prepend('<div id="fb-root"></div>')

  $.ajax
    url: "#{window.location.protocol}//connect.facebook.net/en_US/all.js"
    dataType: 'script'
    cache: true


window.fbAsyncInit = ->
  FB.init(appId: '<%= ENV["FACEBOOK_APP_ID"] %>', cookie: true)

  $('#sign_in').click (e) ->
    e.preventDefault()
    FB.login (response) ->
      window.location = '/auth/facebook/callback' if response.authResponse

  $('#sign_out').click (e) ->
    FB.getLoginStatus (response) ->
      FB.logout() if response.authResponse
    true
After the DOM has loaded we insert a div element with an id of fb-root at the top of the document’s body as Facebook expects this element to be here. We then make an AJAX request to Facebook’s JavaScript SDKs. This call will load this code asynchronously and interpret what’s returned as a script. After the script loads it triggers the fbAsyncInit function on the window. When this fires the SDK is fully-loaded and ready to use so we initialize it with some custom settings, including the app id which we set using the same environment variable we used earlier (this is where the erb comes in handy). We also enable cookies so that the user’s credentials are stored in a cookie which means that we can access them on the server-side.
Once this has all initialized we’ll listen to the click event on the sign-in link. Instead of the link performing its default behaviour we’ll trigger the FB.login function which will display a dialog to the user asking them to sign in and authenticate the app. Once they do this successfully they’ll be directed to the /auth/facebook/callback path so that the authentication can finish and generate the User record (or whatever it needs to do) on the server. We could trigger this through AJAX instead of directing the user there if we want to keep everything on the same page.
Lastly we have some code that runs when the sign out link is clicked. This checks to see if the user is currently signed-in and, if so, signs them out. This function returns true so that the link’s default behaviour is triggered which will sign them out of our application as well.
We can try this out now. We’ve deauthorized our application so that we can see the effect of signing in. When we click the sign in link now we get a pop-up dialog this time that asks us to authorize our application. When we click “Log in with Facebook” we’re signed in and a user record would be created if our application is designed to do that.
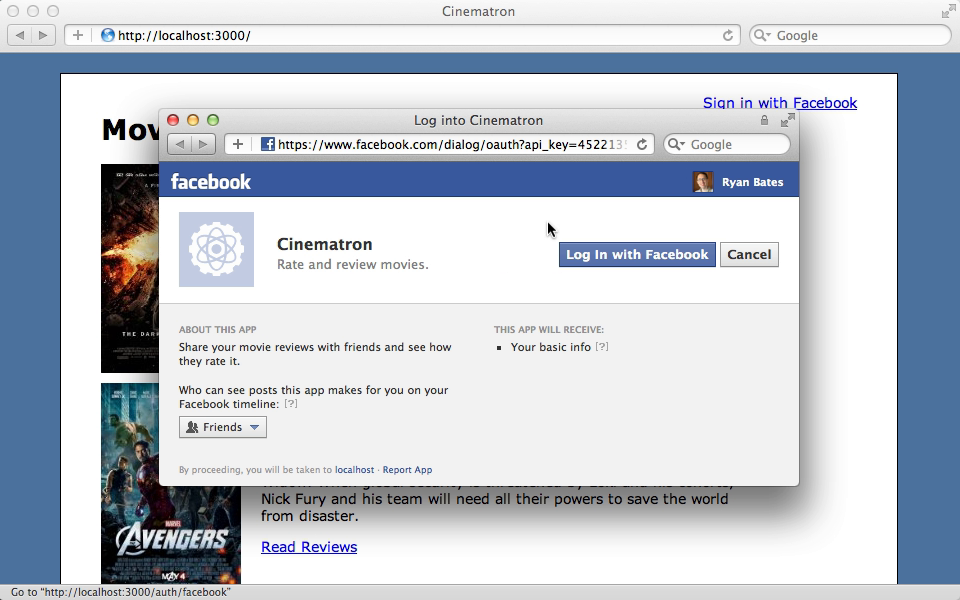
If we click the “Sign Out” link we’ll be logged out of both our application and Facebook so when we try to sign in again we’ll need to sign in to Facebook first, though when we do we’re automatically signed in to our app as well.
There can be some odd issues with this JavaScript solution. For example if we look in the browser console we’ll see a warning message. The JavaScript seems to work despite this but it would be nice to figure out how to stop this warning.
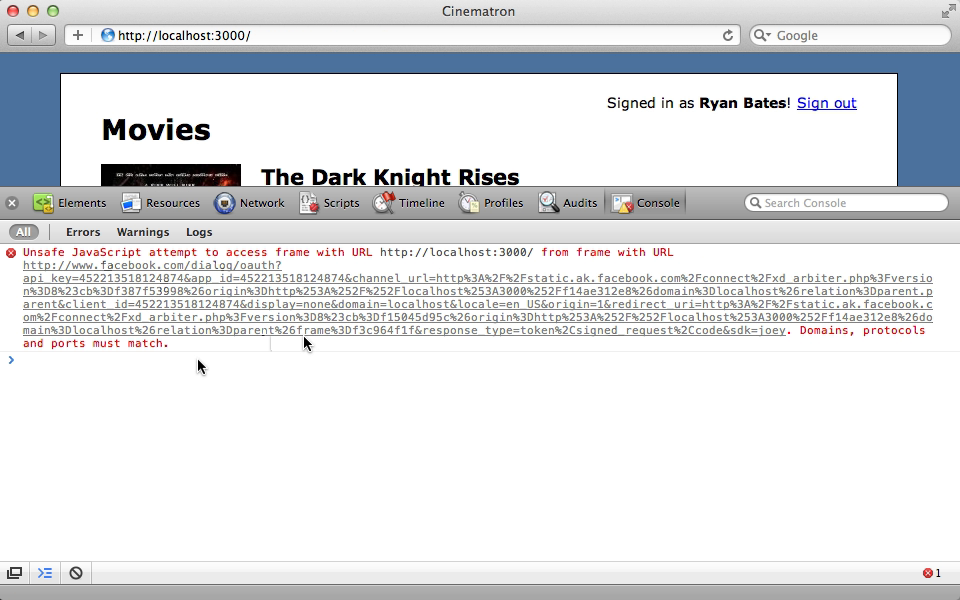
Also there might be cases when the Facebook login cookie and our app’s session cookie get out of sync with each other. This generally isn’t a problem but it might cause some odd behaviour so it’s worth keeping an eye out for this.
Interacting With Facebook
After we’ve successfully authenticated a user how do we interact with Facebook? We can do this through their JavaScript SDK or through Ruby with a gem called Koala7. This gem’s README has a good explanation of how this gem’s used to interact with the Facebook API and there’s more information on this topic in this week’s pro episode.


