#323 Backbone on Rails Part 1 pro
- Download:
- source codeProject Files in Zip (49.7 KB)
- mp4Full Size H.264 Video (37.3 MB)
- m4vSmaller H.264 Video (19.2 MB)
- webmFull Size VP8 Video (23.9 MB)
- ogvFull Size Theora Video (37.9 MB)
Backbone.js is a JavaScript library which can sync model data, render views, handle events and much more. There are a number of similar libraries around such as Amber, Spine and Knockout. We may cover some of these alternatives in future episodes but here we’re going to focus on Backbone.
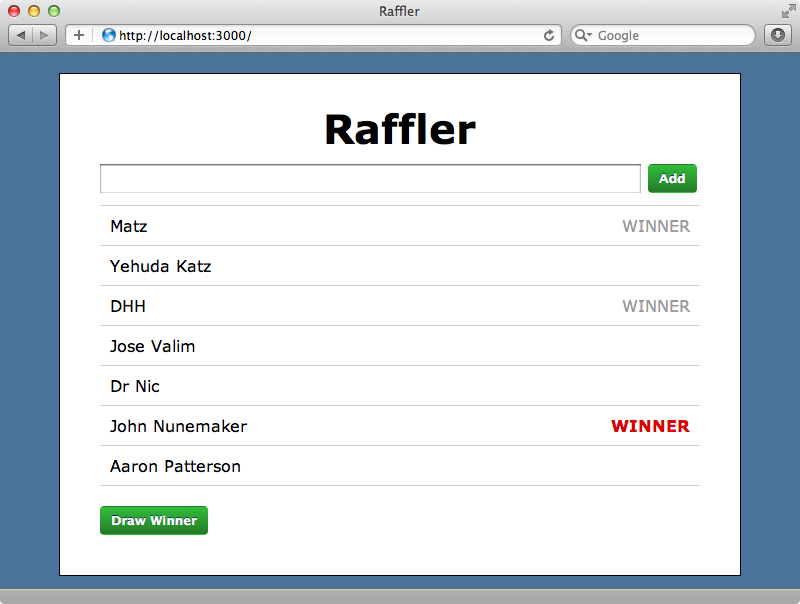
Below is a screenshot from the application we’ll be building over the this two-part episode. It’s called Raffler and we use it to add names to a list then click “Draw Winner” to select a random winner from the names. We can do this multiple times if we want to choose multiple winners. The s app is simple but it will serve as a good example for demonstrating the concepts in Backbone.
Creating The Application
We’ll start by generating a brand new Rails 3.2 application that we’ll call raffler.
$ rails new raffler
$ cd raffler
This app will need to serve a single HTML page which Backbone can change as necessary. We’ll generate a controller called main with an index action to serve up that page and we’ll use the skip-javascripts option to avoid confusion between Rails’ JavaScript files and Backbone’s.
$ rails g controller main index --skip-javascripts
We’ll leave the index action for now but we will change the view template, giving it a div with an id that we can use to insert views from Backbone and we’ll put some default text in it.
<div id="container">Loading...</div>
We’ll need to make changes to the routes file too as we want this action to be the root path.
Raffler::Application.routes.draw do
  root to: "main#index"
end
Now is also a good time to remove the default index page.
$ rm public/index.html
When we visit our application’s home page now we’ll see that index page.
Adding Backbone
Now it’s time to add Backbone. To add it to our application we’ll use the Backbone on Rails gem. This provides some generators for providing Backbone support. It’s installed in the usual way by adding it to the gemfile and running bundle.
gem 'backbone-on-rails'Next we’ll need to run a generator to install Backbone. This will add some code to our application.js file and create a raffler.js.coffee file along with some empty directories.
$ rails g backbone:install
      insert  app/assets/javascripts/application.js
      create  app/assets/javascripts/collections
      create  app/assets/javascripts/models
      create  app/assets/javascripts/routers
      create  app/assets/javascripts/views
      create  app/assets/templates
      create  app/assets/javascripts/raffler.js.coffee
If we take a look at the application.js file we’ll see the changes it’s added.
// WARNING: THE FIRST BLANK LINE MARKS THE END OF WHAT'S TO BE PROCESSED, ANY BLANK LINE SHOULD
// GO AFTER THE REQUIRES BELOW.
//
//= require jquery
//= require jquery_ujs
//= require underscore
//= require backbone

//= require raffler

//= require_tree ../templates
//= require_tree ./models
//= require_tree ./collections
//= require_tree ./views
//= require_tree ./routers
//= require_tree .
The Backbone generator has added underscore, which is one of Backbone’s dependencies, backbone itself and our newly-generated raffler file. It also includes all of the directories that are generated by Backbone. Note that there’s a warning in this file about empty lines and so we’ll remove the two blank lines from the file above.
Next we’ll take a look at the generated raffler file.
window.Raffler =
  Models: {}
  Collections: {}
  Views: {}
  Routers: {}
  init: -> alert 'Hello from Backbone!'

$(document).ready ->
  Raffler.init()
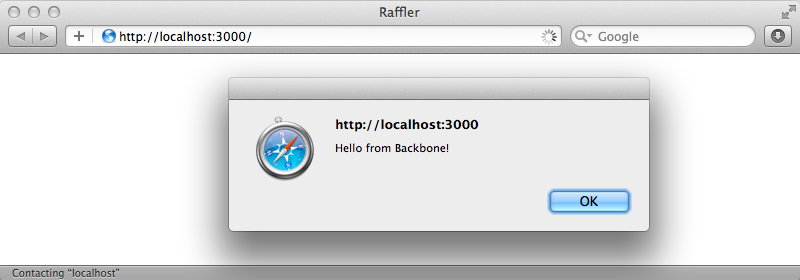
This sets up a Raffler object to act as a namespace for containing all the Backbone-related classes and objects. It also has an init function for starting up our Backbone application and this is called when the document loads. We can see that our Backbone app does start up by reloading the index page.
Adding The Entry Resource
We want our application to contain entries for a raffling contest so we’ll need some kind of entry resource. To do this we can use Backbone’s scaffold generator. This will generate various files for managing our new model.
$ rails g backbone:scaffold entry
      create  app/assets/javascripts/models/entry.js.coffee
      create  app/assets/javascripts/collections/entries.js.coffee
      create  app/assets/javascripts/routers/entries_router.js.coffee
      create  app/assets/javascripts/views/entries
      create  app/assets/javascripts/views/entries/entries_index.js.coffee
      create  app/assets/templates/entries
      create  app/assets/templates/entries/index.jst.eco
Most of the new files are blank class definitions so they don’t do much by default but they do give our Backbone app some structure. We’ll go through these new files one at a time and we’ll start with the routers file. A Backbone router takes a URL path and maps it to a JavaScript function. We define routes inside this class in a routes hash.
class Raffler.Routers.Entries extends Backbone.Router
  routes:
    '': 'index'

  index: ->
    alert "home page"
We’ve used an empty string to specify the route path and mapped it to an index function. For now we’ll just have this show an alert. This route won’t work yet as we haven’t set it up in our application. To do so we’ll need to instantiate the router class in our application when it loads. We do this by removing the alert in the raffler.js.coffee class and instead create a new instance of Raffler.Routers.Entries. We also have to call Backbone.history.start(). This triggers the matching router for whatever is in the URL.
window.Raffler =
  Models: {}
  Collections: {}
  Views: {}
  Routers: {}
  init: ->
          new Raffler.Routers.Entries
          Backbone.history.start()

$(document).ready ->
  Raffler.init()
Now when we reload the page we’ll see the home page alert.
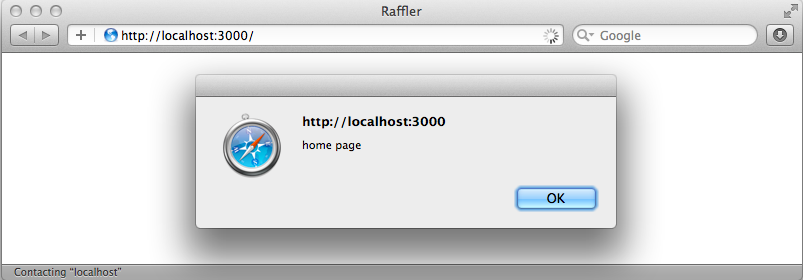
Next we’ll try defining another route, this time for a single entry.
class Raffler.Routers.Entries extends Backbone.Router
  routes:
    '': 'index'
    'entries/:id': 'show'

  index: ->
    alert "home page"

  show: (id) ->
    alert "Entry #{id}"
This route takes a parameter and we define this in the route by using :id, much as we would in a Rails route. We’ve defined this route so that it calls a show function and this function takes that id as argument. For now we’ll just alert that id. By default Backbone uses the anchor part of the URL as a path so to visit the page for entry 123 we’ll need to use the URL http://localhost:3000/#entries/123.
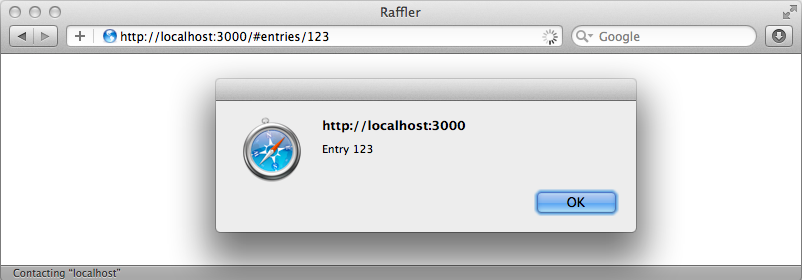
There are options to configure these URLs so that Backbone uses the actual path instead of an anchor but we’ll leave this as it is for now and cover this in part two.
Views
Normally we want a specific route to render out a given view and this brings us to our next section. When we created our Backbone entries entity it created an /app/assets/javascripts/views directory and an entries directory under it. The generator also created a file here called entries_index.js.coffee.
class Raffler.Views.EntriesIndex extends Backbone.View

  template: JST['entries/index']
This view has a template option set to entries/index. This means that it will use the index template at /app/assets/javascripts/templates/entries/index.jst.eco to render out the view. This template file is where the actual HTML code goes; the view just contains CoffeeScript. This might be a little confusing if you’re coming from Rails as the views in Backbone behave more like controllers in Rails, setting up data for the actual template and handling events. We need to tell the view how to render the template and we do so by using a render function.
class Raffler.Views.EntriesIndex extends Backbone.View

  template: JST['entries/index']

  render: ->
          $(@el).html(@template())
          this
To render a template we call @template() which renders the template and returns it as a string. Each view has a dedicated HTML element that we access by calling @el. By using some jQuery code we can set the contents of this element to by whatever is returned by the template. Finally this function needs to return this view so that we can chain other view functions on it and to do this we return this (as this is CoffeeScript we could also use @ but we’ll stick with this here).
We still need to instantiate this view and render it out inside the router. We’ll replace the alert in the index function and create a new Raffler.Views.EntriesIndex view instead. We then render the view into the container element on our index page.
class Raffler.Routers.Entries extends Backbone.Router
  routes:
    '': 'index'
    'entries/:id': 'show'

  index: ->
    view = new Raffler.Views.EntriesIndex()
    $('#container').html(view.render().el)

  show: (id) ->
    alert "Entry #{id}"
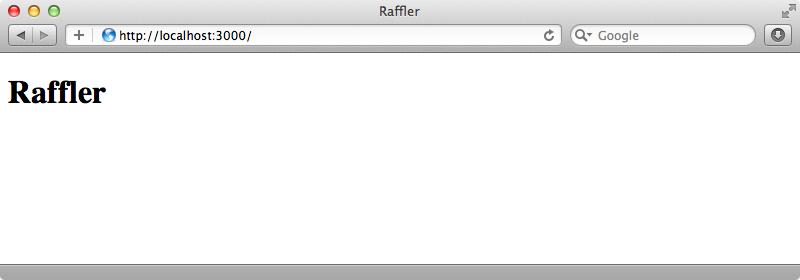
This will render the index.jst.eco template into out container div. This template is currently empty so we’ll put something in it so that we can see that it is being rendered.
<h1>Raffler</h1>
When we visit the home page now we’ll see that template rendered out.
Rendering Dynamic Content
We want to render some dynamic content in our template and as it has an .eco extension the Eco templating engine is used to render it out. This behaves similarly to Erb and uses the same <% %> tags, but the code between the tags is CoffeeScript instead of Ruby. When we render the template from the view we can pass in an object with attributes and the template will be scoped to that object context. To demonstrate this we’ll add an entries attribute with some placeholder data.
class Raffler.Views.EntriesIndex extends Backbone.View

  template: JST['entries/index']

  render: ->
    $(@el).html(@template(entries: "Entries goes here."))
    this
We now have access to that attribute in the template.
<h1>Raffler</h1>

<%= @entries %>
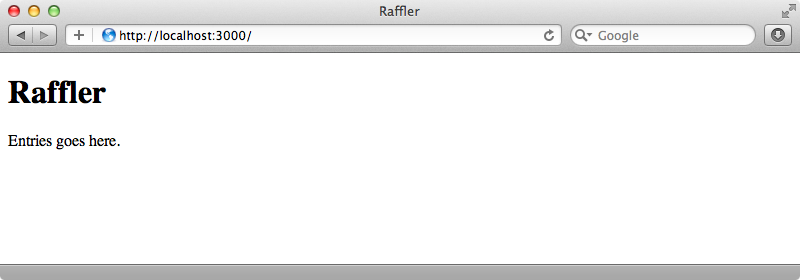
When we reload the page now we’ll see that attribute’s value.
Displaying
Instead of showing some placeholder text we want to show a list of Entry records and this brings us to the last two parts of our backbone application: models and collections. A model represents a single record and a model’s file (under the /app/assets/javascripts/models directory) is a good place to put logic that acts on a model’s attributes. We’ll leave our entry.js.coffeescript file blank for now.
A collection contains multiple models and provides some conveniences for managing them. We’ll set the url option on our Entries collection. This is the URL that it expects the server to respond to for managing this collection of records and it expects it to be a JSON REST API.
class Raffler.Collections.Entries extends Backbone.Collection
  url: '/api/entries'
When this class fetches the records it will send a GET request to this URL. Similarly when it creates a new record it will send a POST request to it. To fetch a single Entry it will send a GET request to /api/entries/<entry_id> and it will also use that URL to update an entity, with PUT, or delete it with DELETE. This means that it works in the same way that a REST interface in Rails does. Note that we’ve mapped this under an /api path so that there’s no potential conflict with the Backbone routing.
We’ll need to modify our Rails application so that it responds to this URL. and we’ll use Rails’ resource generator which is similar to the scaffold generator but without the controller actions. We’ll give the Entry resource name and winner fields. We’ll skip the JavaScript files again, too, just to avoid confusion.
$ rails g resource entry name winner:boolean --skip-javascripts
After this generator has run we’ll need to add the new table to the database by running rake db:migrate. Next we’ll need to modify the controller so that it responds with JSON to those RESTful actions. There are a variety of ways that we can generate the JSON but here we’ll keep it simple and use respond_to and also respond_with in each action with the appropriate model call for each action.
class EntriesController < ApplicationController
  respond_to :json

  def index
    respond_with Entry.all
  end

  def show
    respond_with Entry.find(params[:id])
  end

  def create
    respond_with Entry.create(params[:entry])
  end

  def update
    respond_with Entry.update(params[:id], params[:entry])
  end

  def destroy
    respond_with Entry.destroy(params[:id])
  end
end
We’ll need to change the routes file now so that the entries resources is scoped under the /api path.
Raffler::Application.routes.draw do
  scope "api" do
    resources :entries
  end

  root to: "main#index"
end
Finally, we’ll seed the database with some example data.
Entry.create!(name: "Matz")
Entry.create!(name: "Yehuda Katz")
Entry.create!(name: "DHH")
Entry.create!(name: "Jose Valim")
Entry.create!(name: "Dr Nic")
Entry.create!(name: "John Nunemaker")
Entry.create!(name: "Aaron Patterson")
To populate the database with this data we’ll need to run rake db:seed. Now, when we visit http://localhost:3000/api/entries.json we’ll see a JSON representations of those entries.
$ curl http://localhost:3000/api/entries.json
[{"created_at":"2012-02-12T22:00:11Z","id":1,"name":"Matz","updated_at":"2012-02-12T22:00:11Z","winner":null},{"created_at":"2012-02-12T22:00:12Z","id":2,"name":"Yehuda Katz","updated_at":"2012-02-12T22:00:12Z","winner":null},{"created_at":"2012-02-12T22:00:12Z","id":3,"name":"DHH","updated_at":"2012-02-12T22:00:12Z","winner":null},{"created_at":"2012-02-12T22:00:12Z","id":4,"name":"Jose Valim","updated_at":"2012-02-12T22:00:12Z","winner":null},{"created_at":"2012-02-12T22:00:12Z","id":5,"name":"Dr Nic","updated_at":"2012-02-12T22:00:12Z","winner":null},{"created_at":"2012-02-12T22:00:12Z","id":6,"name":"John Nunemaker","updated_at":"2012-02-12T22:00:12Z","winner":null},{"created_at":"2012-02-12T22:00:12Z","id":7,"name":"Aaron Patterson","updated_at":"2012-02-12T22:00:12Z","winner":null}]
We can get a better understanding of how models and collections work by visiting http://localhost:3000/ and then opening up the browser’s JavaScript console. If we create a new Entries collection there, its length will be zero by default.
> entries = new Raffler.Collections.Entries()
  Entries
> entries.length
  0
To fill it with data from the server we call fetch. This will make a JSON request and get all the entries.
> entries.fetch()
  Object
> entries.length
  7
There are many methods that we can call on a collection thanks to the Underscore library and these are listed in the documentation. Many of these methods will look familiar as they are similar to Ruby methods. For example if we want to fetch a random winner we can call shuffle and if we call this on our collection of entries it will return them as an array in a random order.
> entries.shuffle()
  [Object, Object, Object, Object, Object, Object, Object]
We’ll get a single entry by getting the first element of the array. We can then use the get function to get any of the model’s attributes.
> entry = entries.shuffle()[0]
  Object
> entry.get(‘name’)
  "Dr Nic"
Similarly we can set attributes with the set function, passing in a hash of attributes.
> entry.set({‘winner’: true})
  Object
This doesn’t save the record or submit any requests back to the Rails application. To do this we need to call save. This will submit a PUT request to the server.
> entry.save()
  Object
If we want to create a new record we can use create.
> entries.create({'name': 'Advi Grimm'})This will save the new record to the database by making a POST request to our Rails app.
Displaying Records
Back now to our Backbone app. The next thing we need to do is fetch the entry records then loop through them and display them on the index page. We’ll need to create a new Entries collection and we’ll do that in the entries router class. If we create an initialize function in this class it will be fired when a router is created.
class Raffler.Routers.Entries extends Backbone.Router
  routes:
    '': 'index'
    'entries/:id': 'show'

  initialize: ->
    @collection = new Raffler.Collections.Entries()
    @collection.fetch()

  index: ->
    view = new Raffler.Views.EntriesIndex(collection: @collection)
    $('#container').html(view.render().el)

  show: (id) ->
    alert "Entry #{id}"
In initialize we create a new Entries collection then call fetch on it to get the records from the server. Ideally this would be pre-populated when we visit the page so that we don’t have to make a second request to fetch the records but this will work for now. We need to render the entries in the index view and so we need to pass this collection into it when we create it. Thankfully there’s a collection option we can use that will do just this. In that view now we’ll have access to this collection and we can pass this into the template instead of the placeholder text we’ve got now.
class Raffler.Views.EntriesIndex extends Backbone.View

  template: JST['entries/index']

  render: ->
    $(@el).html(@template(entries: @collection))
    this
Now in the template we can loop through these entries and display them in a list. For now, though, we’ll just output the length of the collection to make sure that our code it working as we expect.
<h1>Raffler</h1>

<%= @entries.length %>
When we view the page in the browser we don’t get the figure we’re expecting, however.
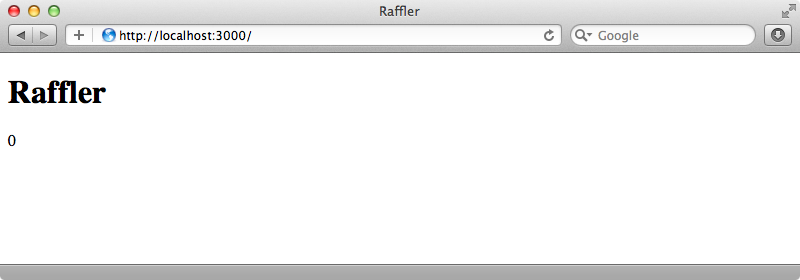
For some reason the collection is empty when we render the view. The problem is that when we call fetch on the collection it sends a request to the Rails app to fetch the records but it does this asynchronously. The view is rendered before the records are returned and so the collection is empty. To get around this we can use Backbone events so that we’re notified when the collection is loaded and we’ll do this inside the index view.
class Raffler.Views.EntriesIndex extends Backbone.View

  template: JST['entries/index']

  initialize: ->
    @collection.on('reset', @render, this)

  render: ->
    $(@el).html(@template(entries: @collection))
    this
We do this by overriding the initialize function that is triggered when the view is created. To listen to an event on a collection we call @collection.on and we’re listening to the reset event which is triggered when the records have been loaded into the collection. When event fires we want to trigger the render function so that the view is re-rendered and so we pass this as the second argument. We also need to pass this as a third argument which is the context binding for the function as it’s called.
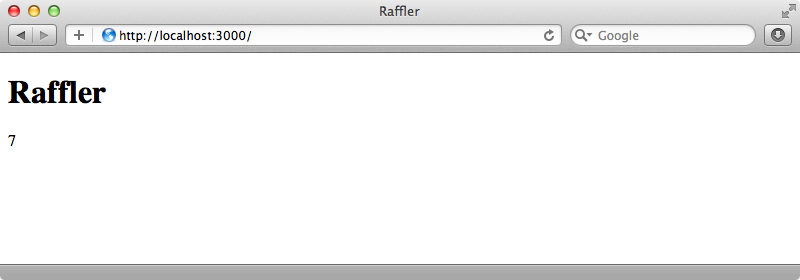
When we reload the page now we’ll see the correct number of entries listed. If we reload the page repeatedly we’ll see that when the page first loads it still shows zero records but that this is quickly replaced with the correct value when the collection is returned back from the server.
Now we just need to loop through these records and display them in a list.
<h1>Raffler</h1>

<ul>
<% for entry in @entries.models: %>
  <li><%= entry.get('name') %></li>
<% end %>
</ul>
The entries collection isn’t a simple array and so we have to call models on it to get an array of models. Note that it’s necessary to put a colon at the end of this line in Eco as it doesn’t use significant whitespace. In the loop we simply get the name attribute for each entry. When we reload the page now we’ll see the list of names.
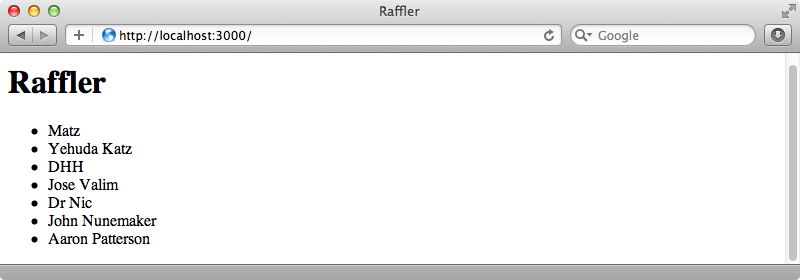
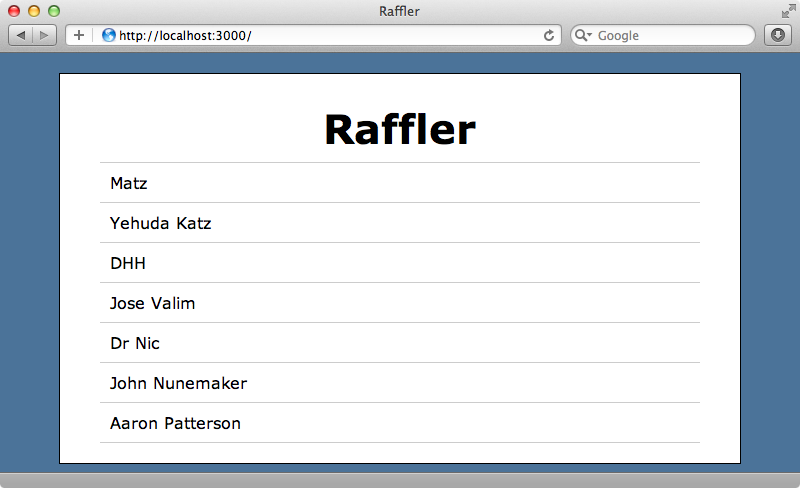
The view now has the correct data but it looks fairly ugly. We’ll make it look better by adding some CSS.
There’s still a lot to be done here. We still need a way to add entries and a t randomly select a winner. These are things that we’ll tackle in part two of this series which will be coming soon. In the meantime take some time to read through Backbone’s documentation. This is nicely done and Backbone isn’t a large framework so it won’t take long to read through.


