#235 Devise and OmniAuth (revised)
- Download:
- source codeProject Files in Zip (88.8 KB)
- mp4Full Size H.264 Video (22.1 MB)
- m4vSmaller H.264 Video (11.8 MB)
- webmFull Size VP8 Video (14.1 MB)
- ogvFull Size Theora Video (27.6 MB)
In last week’s revised episode we used Devise to add authentication to an application. In this episode we’ll add OmniAuth support to this existing Devise setup so that users can authenticate through services like Twitter or Facebook.

If you’re unfamiliar with OmniAuth take a look at episode 241 where we add it to an application from scratch as in this episode we’ll concentrate more on the Devise-specific details.
Adding Twitter Support
To authenticate through Twitter we’ll need to visit the Twitter Developer site and sign up our application. This will give us a consumer key and secret that we’ll need to use in our Rails application and once we’ve done this we can get started. The first step is to add the omniauth-twitter gem to the application’s gemfile and then run bundle to install it.
gem 'omniauth-twitter'Next we’ll modify the Devise initializer file and configure OmniAuth here. There’s a commented-out section of this file what we can modify and use. We’ve stored our key and secret in environment variables so we’ll use these here.
config.omniauth :twitter, ENV["TWITTER_CONSUMER_KEY"], ENV["TWITTER_CONSUMER_SECRET"]
Now that this is configured we’ll need to add the omniauthable model to the devise method in our User model.
class User < ActiveRecord::Base
  devise :database_authenticatable, :registerable, :omniauthable,
         :recoverable, :rememberable, :trackable, :validatable

attr_accessible :email, :password, :password_confirmation, :remember_me, :username

  validates_presence_of :username
  validates_uniqueness_of :username
end
When we restart the server and visit the sign-up page now we’ll see that Devise has added a “Sign in with Twitter” link on this page and on the login page, too.
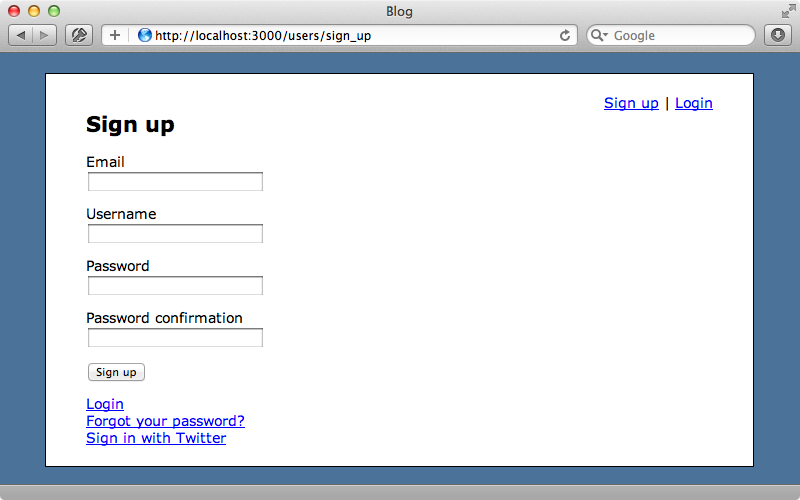
We want this link to be in the layout file so that it shows up on every page so we’ll add a link there. This will point to the user_omniauth_authorize_path, which is a path that Devise sets up for us and we need to pass the name of the provider in as an argument.
<div id="user_nav">
  <% if user_signed_in? %>
    Logged in as <strong><%= current_user.email %></strong>.
    <%= link_to 'Edit profile', edit_user_registration_path %> |
    <%= link_to "Logout", destroy_user_session_path, method: :delete %>
  <% else %>
    <%= link_to "Sign up", new_user_registration_path %> |
    <%= link_to "Login", new_user_session_path %> |
    <%= link_to "Sign in with Twitter", user_omniauth_authorize_path(:twitter) %>
  <% end %>
</div>
When we reload the page now we’ll see the new link and when we click it we’ll be taken to the Twitter site where we can give authorize our application to access our account. After we do so we’re redirected back to our account where we’ll see an error message.
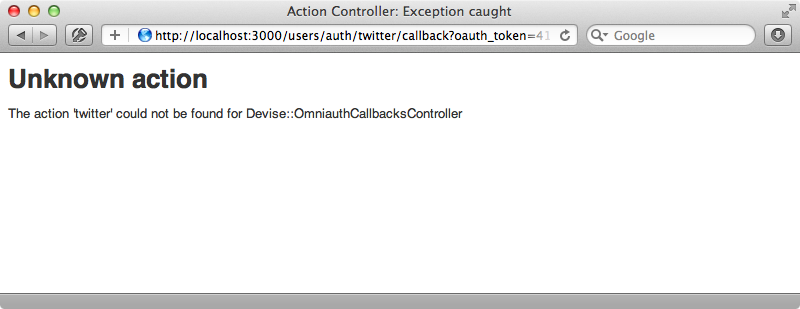
This happens because we need to create a controller to handle the OmniAuth callback. We’ll do that now.
$ rails g controller omniauth_callbacks
Next we’ll modify our routes file and tell Devise to use this controller in the devise_for call. We can do this by passing in a controllers option and setting omniauth_callbacks.
Blog::Application.routes.draw do
  devise_for :users, path_names: {sign_in: "login", sign_out: "logout"}, controllers: {omniauth_callbacks: "omniauth_callbacks"}

  resources :articles
  root to: 'articles#index'
end
This option might seem a little bit strange but what we’re doing here is telling Devise not to use the Devise namespace for this controller. Next we’ll add some actions to this controller to handle the callback.
class OmniauthCallbacksController < Devise::OmniauthCallbacksController
  def all
    raise request.env["omniauth.auth"].to_yaml
  end
  alias_method :twitter, :all
end
This controller needs to inherit from Devise::OmniAuthCallbacksController instead of the usual ApplicationController so that it has some extra features such as handling failures. We can define an action for each provider that we want to support but the logic for each different type of provider is pretty similar so instead of creating an action for each provider we create a single action called all and use alias_method to point each provider to this action. In all we have access to the usual OmniAuth hash of details and for now we’ll just raise this to make sure that everything is working as it should be. When we try signing in through Twitter now that callback action is triggered and we’ll see the contents of the hash.
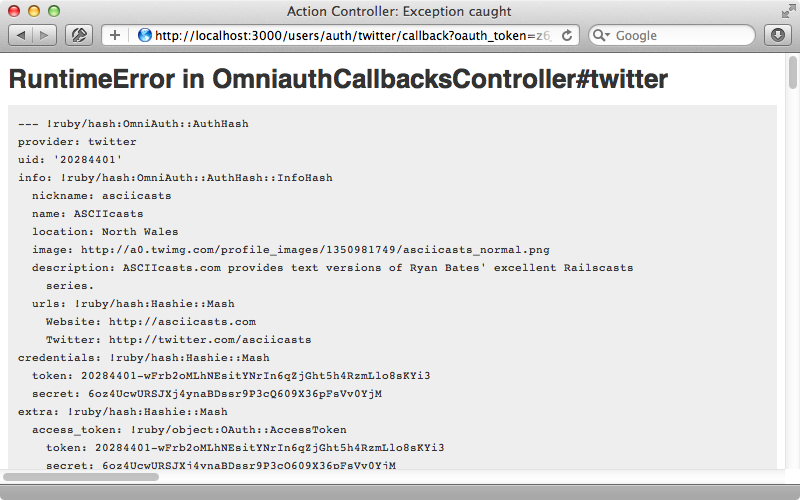
Instead of raising these details we’ll need to either find or create a user that matches the hash. We’ll do this using a new from_omniauth method that we’ll write shortly.
class OmniauthCallbacksController < Devise::OmniauthCallbacksController
  def all
    user = User.from_omniauth(request.env["omniauth.auth"])
  end
  alias_method :twitter, :all
end
Before we write this method we’ll generate a new migration file to add some OmniAuth details to the users table so that we can persist them.
$ rails g migration add_omniauth_to_users provider uid
$ rake db:migrate
An alternative solution here is to create a separate authentication model and then store these credentials there. The advantage of this approach is that a user can then authenticate through multiple providers with a single account. This extra complexity isn’t always necessary and we won’t be covering this here but this option is worth considering if you want to support more than a single provider.
Now we can write the from_omniauth method in the User model.
def self.from_omniauth(auth)
  where(auth.slice(:provider, :uid)).first_or_create do |user|
    user.provider = auth.provider
    user.uid = auth.uid
    user.username = auth.info.nickname
  end
end
Here we look for a user with a provider and uid that matches the details from the hash and if one isn’t found we’ll create one with the relevant attributes from the hash. We can now complete the sign-in process back in the controller we can complete the sign-in process for the user record that’s returned.
class OmniauthCallbacksController < Devise::OmniauthCallbacksController
  def all
    user = User.from_omniauth(request.env["omniauth.auth"])
    if user.persisted?
      sign_in_and_redirect user, notice: "Signed in!"
    else
      redirect_to new_user_registration_url
    end
  end
  alias_method :twitter, :all
end
There’s a chance that the validations fail and that the user isn’t created so we first check that the user has been persisted to the database. If they have then we can call a method that Devise provides called sign_in_and_redirect to sign them in. If the user wasn’t created successfully we redirect them to the new user registration page so that they can complete the registration process and fix any validation errors.
If we click the “Sign in with Twitter” link on the homepage now we’re taken back to the callback controller and this brings us to the signup page as for some reason our user validations have failed. No validation error is shown, though, so the user has no idea as to what has gone wrong. We need a way to persist the user’s attributes when the validations fail and we’ll do this in the session. If we create a session variable whose name begins with devise. Devise will automatically clean it up for us so that we don’t have to remove the session later. We create a session variable in the OmniAuthCallbacksController to store the user’s attributes when user hasn’t been persisted.
def all
  user = User.from_omniauth(request.env["omniauth.auth"])
  if user.persisted?
    sign_in_and_redirect user, notice: "Signed in!"
  else
    session["devise.user_attributes"] = user.attributes
    redirect_to new_user_registration_url
  end
end
Now all we have to do is set these attributes back on the model and validate it on the sign-up form. Thankfully Devise has a hook for doing this in the User model. All we have to do is override a class method called new_with_session which takes a params hash and the session.
def self.new_with_session(params, session)
  if session["devise.user_attributes"]
    new(session["devise.user_attributes"], without_protection: true) do |user|
      user.attributes = params
      user.valid?
    end
  else
    super
  end
end
Here we check for the session variable that is set if the user wasn’t persisted and if we find it we create a new User record based on the value of this variable. We don’t want to run this through mass-assignment protection as we already trust this hash so we use the without_protection option here. We then pass the user instance into a block and set its attributes based on the values in the params hash which contains the values entered in the form. Finally we validate the user to ensure that any validation errors are displayed.
If the session variable doesn’t exist we call super which will falls back to the normal Devise behaviour of creating a new User instance. When we click the “Sign in with Twitter” link now we’re taken back to the signup form and we see the validation errors.
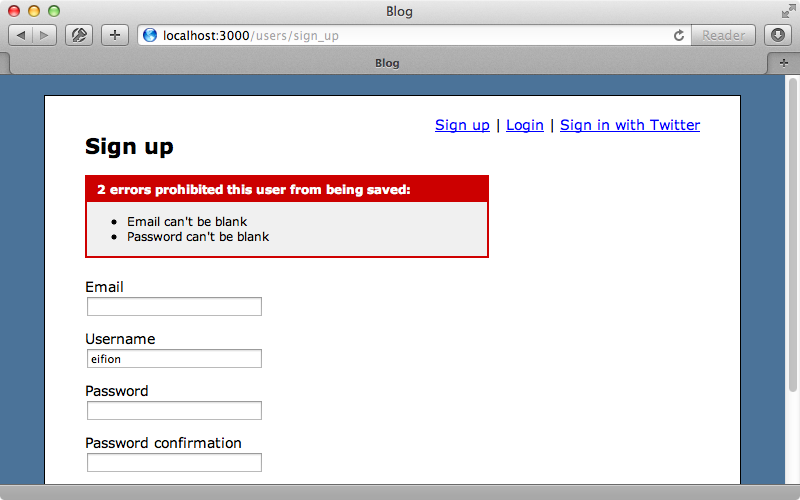
A password isn’t required when a user signs in through Twitter so we’ll fix this next. We can override a method on the User model called password_required? to do this. We’ll modify this so that its default behaviour is only triggered if the provider is blank.
def password_required?
  super && provider.blank?
end
When we reload the page now we only see an error related to the email field. The password fields still show, however, so we’ll hide them when they’re not required. We do this inside one of the Devise templates that we generated in episode 209 by using password_required? to see if the password is required.
<h2>Sign up</h2>

<%= form_for(resource, :as => resource_name, :url => registration_path(resource_name)) do |f| %>
  <%= devise_error_messages! %>

  <div class="field"><%= f.label :email %><br />
  <%= f.email_field :email %></div>

  <div class="field"><%= f.label :username %><br />
  <%= f.email_field :username %></div>

  <% if f.object.password_required? %>
    <div class="field"><%= f.label :password %><br />
    <%= f.password_field :password %></div>

    <div class="field"><%= f.label :password_confirmation %><br />
    <%= f.password_field :password_confirmation %></div>
  <% end %>

  <div class="field"><%= f.submit "Sign up" %></div>
<% end %>

<%= render "devise/shared/links" %>
The password fields will now be hidden when we’re logging in through Twitter. All we have left to fix is the email validation that shows. We could override the email_required? method like we did with the password but we’ll leave this as it is for now and have the user enter their email address.
When we enter our email address now and submit the form we’re successfully signed in to the site. If we log out then click the “Sign in” link again we’ll be logged in automatically but we don’t get a flash message telling us that we’ve signed in. The sign_in_and_redirect method doesn’t support the notice option so we’ll need to set the flash message separately.
class OmniauthCallbacksController < Devise::OmniauthCallbacksController
  def all
    user = User.from_omniauth(request.env["omniauth.auth"])
    if user.persisted?
      flash.notice = "Signed in!"
      sign_in_and_redirect user
    else
      session["devise.user_attributes"] = user.attributes
      redirect_to new_user_registration_url
    end
  end
  alias_method :twitter, :all
end
Now when we log in the flash message is displayed.
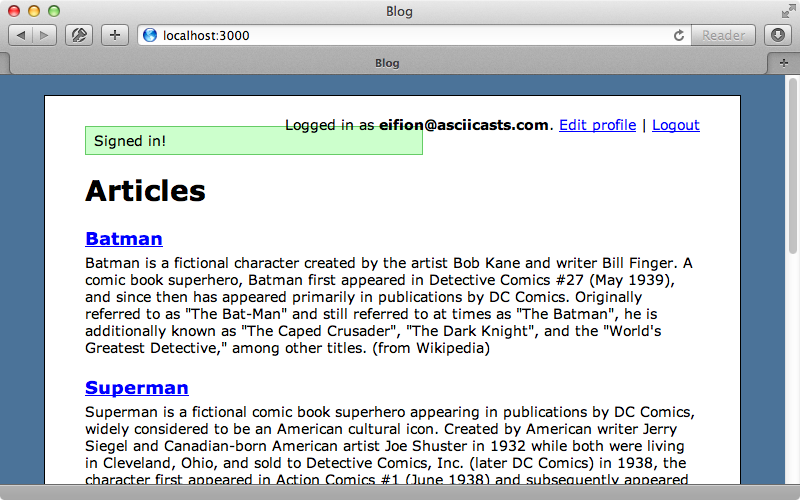
There’s one problem remaining with our application. When a user edits their profile our application requires them to enter their current password but users who have signed up through Twitter won’t have a password to enter here. We can change this behaviour in the User model by overriding the update_with_password method.
def update_with_password(params, *options)
  if encrypted_password.blank?
    update_attributes(params, *options)
  else
    super
  end
end
Here we check to see if the user has a password and if not we update the attributes directly. If they do have a password we’ll fall back to the default behaviour of checking that it matches. We’ll also update the template to hide the field for the current password if the user doesn’t need to enter it.
<% if f.object.encrypted_password.present? %>
  <div class="field"><%= f.label :current_password %> <i>(we need your current password to confirm your changes)</i><br />
  <%= f.password_field :current_password %></div>
<% end %>
Now when we edit our profile we can update our details without entering a password.


