#209 Devise (revised)
- Download:
- source codeProject Files in Zip (72.5 KB)
- mp4Full Size H.264 Video (24.8 MB)
- m4vSmaller H.264 Video (15.6 MB)
- webmFull Size VP8 Video (14.2 MB)
- ogvFull Size Theora Video (41.9 MB)
Devise is one of the most popular authentication solutions in Rails and is a great option if you don’t want to build your own authentication from scratch. It’s a Rails engine which means that it manages the entire process for us, including the view layer. Devise is also customizable: at its core it’s made up of twelve modules that we can choose from to fully control the user’s authentication experience. In this episode we’ll show you how to add Devise to an existing Rails application and what better app to use than a blogging application?

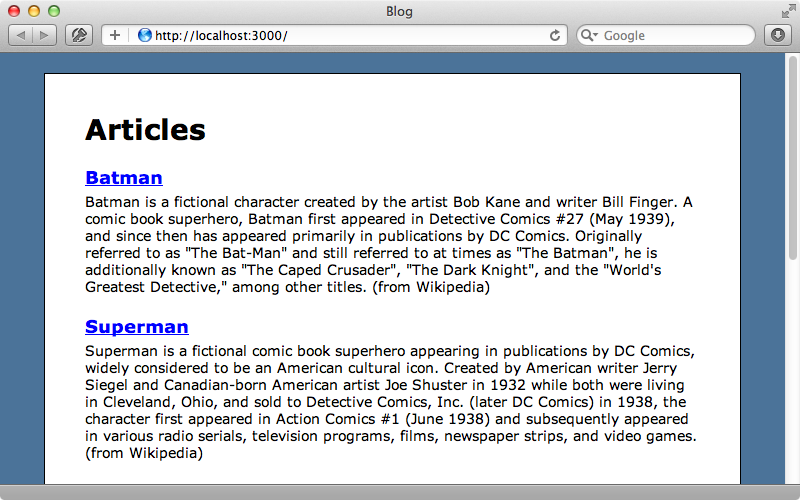
There’s currently no user authentication on our blog. Our goal is to add “Log in” and “Register” links on the page. The first step is to add the devise gem which is added in the usual way by adding it to the gemfile and running bundle.
gem 'devise'Next we’ll run Devise’s installer generator to generate some configuration files.
$ rails g devise:install
  create  config/initializers/devise.rb
  create  config/locales/devise.en.yml
This generator will also give us some instructions on the rest of the setup that needs to be completed. We need to add a line to our development config file, make sure we have a root route and that our application displays flash notices called notice and alert. There’s also a configuration setting that we’ll need to set if we want to deploy our application to Heroku. We only need to do the first of these in our application to set a host for the mailer.
config.action_mailer.default_url_options = { :host => 'localhost:3000' }Before we put our application into production we’ll need to add this configuration option there too, setting it to the domain name that our application will be using in production. The installer also generated an initializer. This is too long to view here but there’s one part of it we’ll need to set: the mailer_sender setting. All the configuration options are well-commented and it’s worth taking the time to read through the rest of this file to see what they do.
config.mailer_sender = "please-change-me-at-config-initializers-devise@example.com"With Devise set up we can generate a Devise model to handle the authentication. This is often called user but we can call it whatever we like. If we already have an existing model with this name it will add Devise to that model instead of generating a new one.
$ rails g devise user
This generates several files; lets take a look at some of them.
class User < ActiveRecord::Base
  # Include default devise modules. Others available are:
  # :token_authenticatable, :confirmable,
  # :lockable, :timeoutable and :omniauthable
  devise :database_authenticatable, :registerable,
         :recoverable, :rememberable, :trackable, :validatable

  # Setup accessible (or protected) attributes for your model
  attr_accessible :email, :password, :password_confirmation, :remember_me
  # attr_accessible :title, :body
end
The User model is a normal ActiveRecord::Base subclass but it has a call to a devise method. This method allows us to choose the modules we want to use to customize the authentication experience and these are all listed in the README. There are options for recovering and resetting passwords, for remembering passwords and many more. The README has information about each option and we can view the source code for each option to see exactly what it does. This way if we wanted to manage, say, validations ourself we can remove that module and add them manually. This makes Devise quite flexible and allows us to pick and choose exactly what we want to use. That said we have to be careful that if we change the modules that we use we also look at the migrations that were generated. These list the columns required for each module and we can add or remove these as needed before we run the migrations. Once we’ve decided which modules we’re going to use we can migrate the database.
rake db:migrate
We’re almost there now but we still need to add links to allow the user to sign up. We’ll add these to the application’s layout file.
<div id="container">
  <div id="user_nav">
    <% if user_signed_in? %>
      Logged in as <strong><%= current_user.email %></strong>.
      <%= link_to 'Edit profile', edit_user_registration_path %> |
      <%= link_to "Logout", destroy_user_session_path, method: :delete %>
    <% else %>
      <%= link_to "Sign up", new_user_registration_path %> |
      <%= link_to "Login", new_user_session_path %>
    <% end %>
  </div>

  <% flash.each do |name, msg| %>
    <%= content_tag :div, msg, id: "flash_#{name}" %>
  <% end %>

  <%= yield %>
</div>
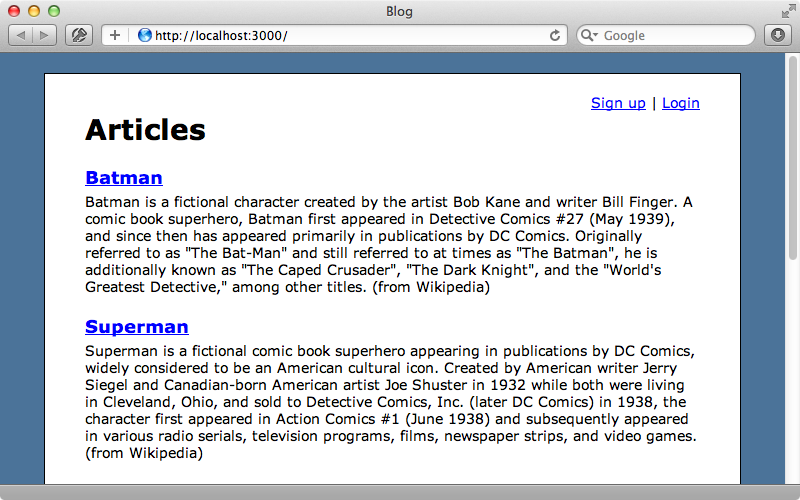
There are several helper methods that Devise provides that we use here. First we use user_signed_in? to see if the current user is signed in. If they are we display their email address and linked to edit their profile and sign out. If they aren’t signed in we display links to allow them to sign up or log in. We’ll need to start our Rails app for all these changes to be picked up but once we do and reload the page we’ll see the links.

We’ll use the “Sign up” link to create a new account. We’ll need to provide an email address and a password to do so and once we have we’ll be signed in. Now we can edit our profile or log out.
Customizing Flash Messages
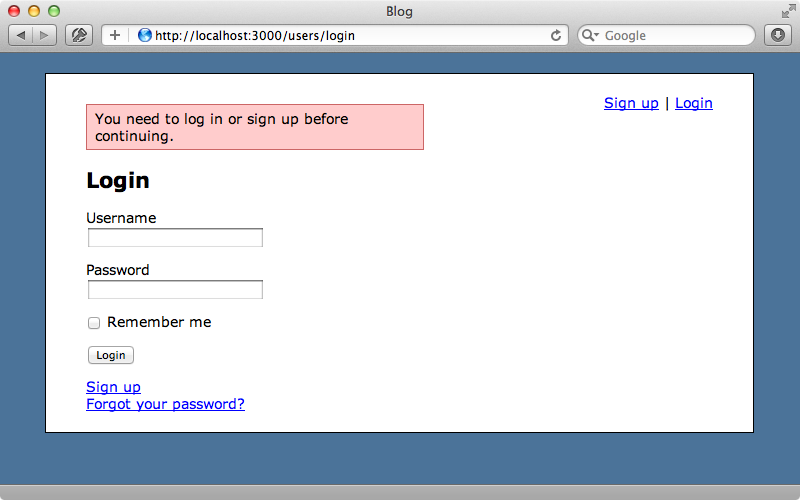
We now have a full authentication solution set up with just a new steps. Next we’ll customize this to make it look and work the way we want. We’ll start by changing the way the flash messages look. This can be done in the config/locales directory . There’s a devise.en.yml file here where we can configure the wording of the various messages. We could create files for other languages here too to support internationalization, but we’ll just change a few of the English messages.
# Additional translations at https://github.com/plataformatec/devise/wiki/I18n

en:
  errors:
    messages:
      expired: "has expired, please request a new one"
      not_found: "not found"
      already_confirmed: "was already confirmed, please try signing in"
      not_locked: "was not locked"
      not_saved:
        one: "1 error prohibited this %{resource} from being saved:"
        other: "%{count} errors prohibited this %{resource} from being saved:"

  devise:
    failure:
      already_authenticated: 'You are already logged in.'
      unauthenticated: 'You need to log in or sign up before continuing.'
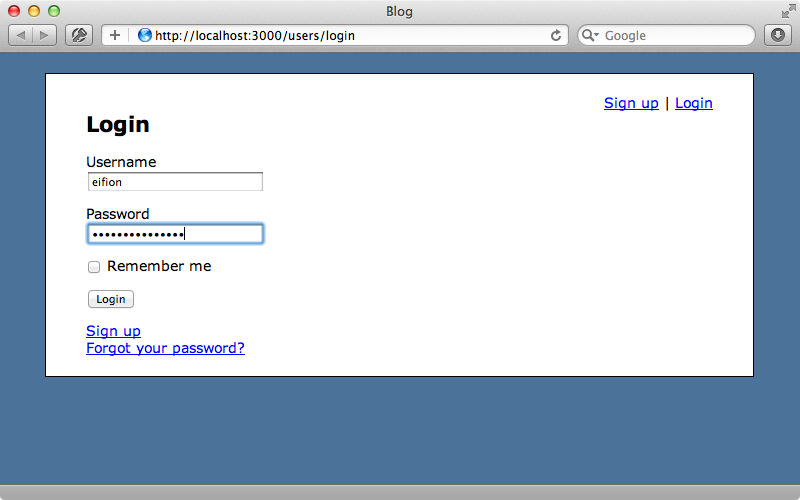
We’ve changed each “sign in” or “signed in” to “log in” or “logged in” so now when we log in we get the message we want. There are still several views that have the other wording, however. For example if we try logging in now we’ll still see “Sign in” in the view template as the internationalization file only covers so much. To configure the views we’ll need to make templates to override them and we can do so with the devise:views generator.
$ rails g devise:views
This copies a number of files over from the engine that we can customize to our heart’s content. We’ll change the devise/sessions/new template to better suit our application.
<h2>Login</h2>

<%= form_for(resource, :as => resource_name, :url => session_path(resource_name)) do |f| %>
  <div class="field"><%= f.label :email %><br />
  <%= f.text_field :email %></div>

  <div class="field"><%= f.label :password %><br />
  <%= f.password_field :password %></div>

  <% if devise_mapping.rememberable? -%>
    <div class="field"><%= f.check_box :remember_me %> <%= f.label :remember_me %></div>
  <% end -%>

  <div class="field"><%= f.submit "Login" %></div>
<% end %>

<%= render "devise/shared/links" %>
We can, of course, customize this form further if we want to. The page looks much better now but its URL still ends in sign_in where we want it to end with login. To change this we need to look at the routes file. Here we’ll find a call to devise_for which was added by the generator and we can pass in various options to this to customize the authentication’s routing.
Blog::Application.routes.draw do
  devise_for :users, path_names: {sign_in: "login", sign_out: "logout"}

  resources :articles
  root to: 'articles#index'
end
Clicking the “Login” link now will take us to the /users/login path.
The RDocs are the best place to go for documentation on the devise_for method. It tells us the routes that it generates and the options that we can use to configure it.
Changing Authentication Fields
What do we do if we want to customize the fields that are used for authentication? We’ve been using an email and password but say we want to use a username instead of the email address. We’ll need to store this new value in the database so we’ll start by generating a migration to create it.
$ rails g migration add_username_to_users username
$ rake db:migrate
In the new session template we’ll change the email field to a username field.
<%= form_for(resource, :as => resource_name, :url => session_path(resource_name)) do |f| %>
  <div class="field"><%= f.label :username %><br />
  <%= f.text_field :username %></div>

  # Other fields omitted.
<% end %>
We’ll need to add this username field to the edit and new registration templates too and make some changes to the Devise initializer config file, too, where we’ll need to uncomment the config.authentication_keys option and set it to username instead of email. We’ll also need to set the case_insensitive_keys and strip_whitespace_keys.
config.authentication_keys = [ :username ]
config.case_insensitive_keys = [ :username ]
config.strip_whitespace_keys = [ :username ]
Finally we need to add this field to the list of accessible fields in the User model so that it can be set through mass-assignment and add a validator for it too.
class User < ActiveRecord::Base
  # Include default devise modules. Others available are:
  # :token_authenticatable, :confirmable,
  # :lockable, :timeoutable and :omniauthable
  devise :database_authenticatable, :registerable,
         :recoverable, :rememberable, :trackable, :validatable

  # Setup accessible (or protected) attributes for your model
  attr_accessible :email, :password, :password_confirmation, :remember_me, :username
  validates_presence_of :username
end
We can test this out now by creating a new user with a username.

Checking That a User is Logged In
We’ll finish off this episode by showing you how you can check that a user is logged in before performing certain controller actions. Let’s say that we only want users who are logged in to be able to create new articles. This can be done by adding a before filter to the controller and pointing it to a method that Devise provides called authenticate_user!.
class ArticlesController < ApplicationController
  before_filter :authenticate_user!, except: [:index, :show]

  # Actions omitted
end
Now if we log out and try to create a new article we’re redirected to the login page.

That’s it for our look at Devise. One thing we haven’t mentioned is that it’s based on Warden, which is a Rack-based authentication system. This was covered in more detail in episode 305. This is useful if we need to authenticate outside our Rails application, maybe through some middleware or other engines.


