#192 Authorization with CanCan
- Download:
- source codeProject Files in Zip (107 KB)
- mp4Full Size H.264 Video (26.1 MB)
- m4vSmaller H.264 Video (17.3 MB)
- webmFull Size VP8 Video (43.9 MB)
- ogvFull Size Theora Video (36.9 MB)
A few episodes ago we covered Declarative Authorization. While it is an excellent authorization plugin for Rails it can be a little heavy for simpler sites. After writing the Railscast on Declarative Authorization Ryan Bates looked for an alternative solution and, failing to find one that suited his needs, decided to write his own, CanCan. CanCan is a simple authorization plugin and Ryan has tried to keep everything as simple as he could when writing it. Let’s dive in and take a look at it.
In this episode we’ll be working with the same basic blog application that we used in the Declarative Authorization episode. The application has a number of articles, each of which belongs to a user and each article can have many comments associated with it.
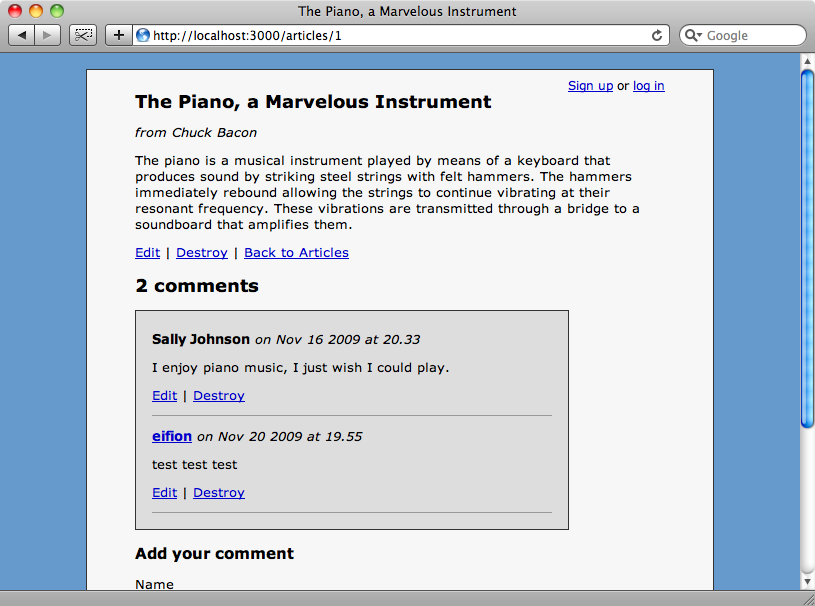
Notice in the screenshot above that although there is no logged-in user the links to edit and destroy articles and comments are visible. We want to use authorization to restrict access to what each user can do. We already have authentication in our application so that users can sign up and log in and we’ve used Authlogic to do this, although any authentication solution will work.
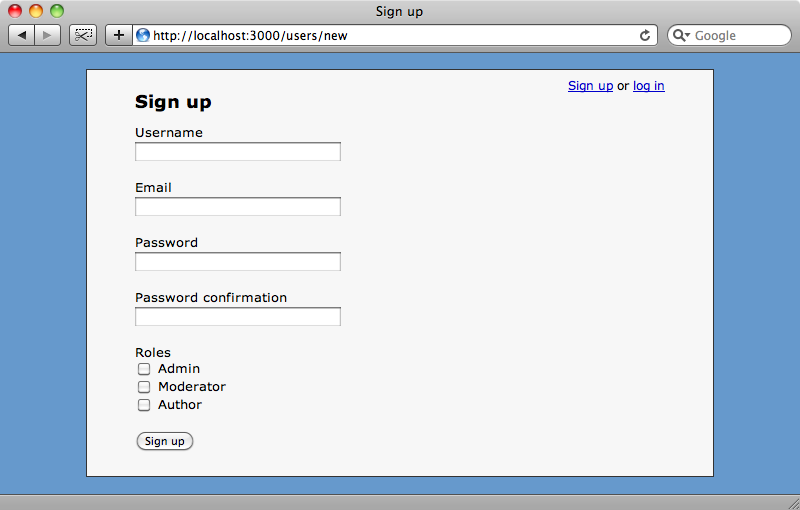
On the sign-in page we have a number of checkboxes to allow a user to select the roles they want to be a member of. An admin will be allowed to do everything; a moderator can edit anyone’s comments and an author can create articles and update the articles they have written. Users who don’t belong to any role can create comments and update those comments.
Installing CanCan
CanCan is supplied as a gem. To add it to our application we need to add the following line in the Rails::Initializer.run block of our /config/environment.rb file.
config.gem "cancan"We can then make sure that the gem is installed by running
sudo rake gems:install
If you installed an earlier version of CanCan you’ll need to make sure that you’ve upgraded to the latest version as there are some features that are only available since version 1.0.0.
Using CanCan
To use CanCan we need to create a new class called Ability, which we’ll place in our /app/models directory. The class needs to include the CanCan::Ability module and also an initialize method that takes a user object as a parameter and it’s in this method that we’ll define the abilities for each type of user.
class Ability
  include CanCan::Ability

  def initialize(user)

  end
end
The abilities are defined with the three-letter method can which is at the heart of CanCan. This method takes two parameters: the first is the action that we want to perform and the second is the model class that the action applies to. Alternatively, to apply an action to all models we can pass :all. If we want all users to just be able to read all models we can do this:
class Ability
  include CanCan::Ability

  def initialize(user)
    can :read, :all
  end
end
As our authorization stands no one can edit or delete articles or comments but there are still links to the edit and destroy actions on each article’s page. In the view code for the article’s show action we can use can? (note the question mark) to determine whether the current user is authorized to perform the action that each link links to. While the can method defines the abilities, can? is a boolean method that determines whether the current user has that ability. Like can, can? takes two parameters, an action and a model, in this case an Article. We’ll use can? in the show view so that the edit and destroy links are hidden unless the current user has the appropriate ability. To do this we’ll wrap the articles links in if statements so that they’re only shown if the current user can perform the appropriate action on an article.
<p>
  <% if can? :update, @article %>
    <%= link_to "Edit", edit_article_path(@article) %> |
  <% end %>
  <% if can? :destroy, @article %>
    <%= link_to "Destroy", @article, :method => :delete, :confirm => "Are you sure?" %> |
  <% end %>
  <%= link_to "Back to Articles", articles_path %>
</p>
Lower down in the same view code we’ll make a similar change to each comment link.
<p>
  <% if can? :update, comment %>
    <%= link_to "Edit", edit_comment_path(comment) %> |
  <% end %>
  <% if can? :destroy, comment %>
    <%= link_to "Destroy", comment, :method => :delete, :confirm => "Are you sure?" %>
  <% end %>
</p>
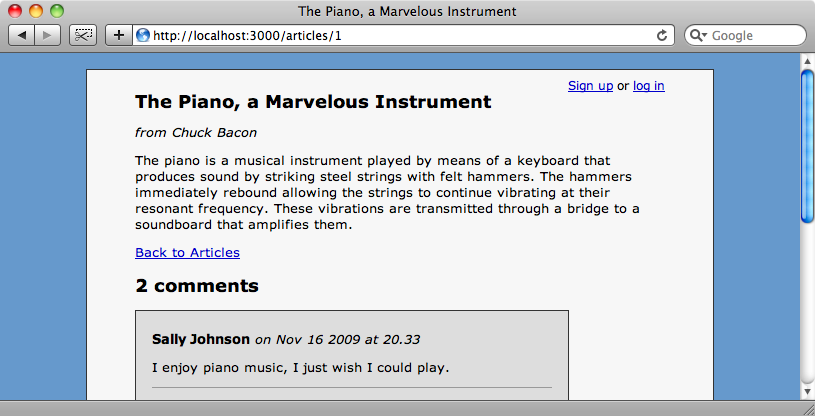
We can load the page for an article now and see that the links to edit or delete articles and comments have gone as there are no users with the ability to edit or alter them.
Protecting the Controllers
Although we’ve removed the links to edit articles and comments the actions themselves are still available and if we directly visit the edit action for an article we can still update it. So as well as making changes to the view layer we’ll need to modify our controllers so that users can only access the actions they are authorized to. There are two ways to do this with CanCan. The first works at the level of an action and we’ll use the ArticleController’s edit action as an example.
def edit
  @article = Article.find(params[:id])
  unauthorized! if cannot? :edit, @article
end
To stop the action being executed we call unauthorized! which will raise an exception. Obviously we only want this exception raised if the user does not have the appropriate authorization. To check this we can use can? as we did in the view or, as we have here, cannot? to check the authorization.
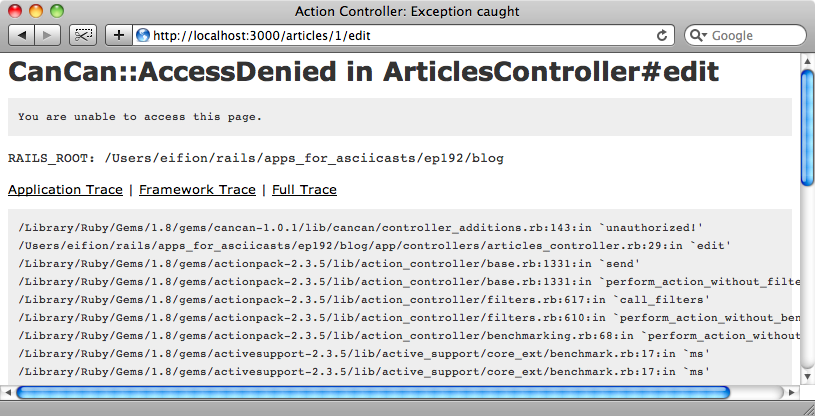
If we try to access the edit action directly now we’ll be stopped from doing so and an error will be raised.
We could repeat this across every action in our controllers, but as we’re using the RESTful convention there’s an easier way to do this. At the top of the controller we can call load_and_authorize_resource which will load and authorize the appropriate resource in a before filter. As this method loads the necessary resource for us based on the action we can remove the lines of code that set the instance variable in each action (in this case @article) making our ArticlesController code look like this:
class ArticlesController < ApplicationController

  load_and_authorize_resource

  def index
    @articles = Article.all
  end

  def show
    @comment = Comment.new(:article => @article)
  end

  def new
  end

  def create
    @article.user = current_user
    if @article.save
      flash[:notice] = "Successfully created article."
      redirect_to @article
    else
      render :action => 'new'
    end
  end

  def edit
  end

  def update
    if @article.update_attributes(params[:article])
      flash[:notice] = "Successfully updated article."
      redirect_to @article
    else
      render :action => 'edit'
    end
  end

  def destroy
    @article.destroy
    flash[:notice] = "Successfully destroyed article."
    redirect_to articles_url
  end
end
With this in place users won’t be able to create edit or delete any articles.
We’ll need to make a similar change to the CommentsController to restrict access to its actions too. Once again we’ll use load_and_authorize_resources to load the Comment resource and check the authorization for it. If Comment was a nested resource under Article in the routes we could use :nested with load_and_authorize_resources to load the comments through the Article resource.
load_and_authorize_resource :nested => :article
We’re not using nesting here, however, so we don’t need to do this.
Adding Abilities
Now that our application is secure we can start to define the abilities that each role will have. This is done back in the Ability class we created earlier. The abilities we define in the initialize method will be reflected through the rest of our application.
class Ability
  include CanCan::Ability

  def initialize(user)
    can :read, :all
  end
end
We pass in the current user to initialize so we can change the abilities according to the currently logged-in user. We’ll start with the users in the administrator role who should be able to manage everything.
The user passed to initialize can be an object of any type which means that the authentication is completely decoupled from the authorization. What defines a user as, say, an administrator entirely depends on the authentication system used. We might, for example, have an admin? boolean field in our User model. In our application a user can have many roles and we’ll have a role? method to tell us if a user is a member of a role. We’ll use that method to set the abilities.
class Ability
  include CanCan::Ability

  def initialize(user)
    if user.role? :admin
      can :manage, :all
    else
      can :read, :all
    end
  end
end
Our code now checks to see if the current user is an admin and if so allows them to manage all models. Passing :manage as an action means that the user can perform all actions on a model.
We still need to define the role? method in the User model. We’ve set up in the roles here in the same way we did in Episode 189 [watch, read] but it doesn’t matter how you set up your roles as long as you can determine which role or roles a user belongs to.
class User < ActiveRecord::Base
  acts_as_authentic
  has_many :articles
  has_many :comments

  named_scope :with_role, lambda { |role| {:conditions => "roles_mask & #{2**ROLES.index(role.to_s)} > 0 "} }

  ROLES = %w[admin moderator author editor]

  def roles=(roles)
    self.roles_mask = (roles & ROLES).map { |r| 2**ROLES.index(r) }.sum
  end

  def roles
    ROLES.reject { |r| ((roles_mask || 0) & 2**ROLES.index(r)).zero? }
  end

  def role?(role)
    roles.include? role.to_s
  end

end
The role? method we’ve added here checks that the role passed is included in the user’s roles.
Back in the Ability class we need to make one more change. In initialize we’re checking to see if the user belongs to a role but for guest users, i.e. users who have not yet logged in, user will be nil. We could check for nil before trying to check the user’s role but instead we’ll create a guest user if the user passed in is nil. This way we can still call methods like role? for users who have not yet set up an account.
class Ability
  include CanCan::Ability

  def initialize(user)
    user ||= User.new # Guest user
    if user.role? :admin
      can :manage, :all
    else
      can :read, :all
    end
  end
end
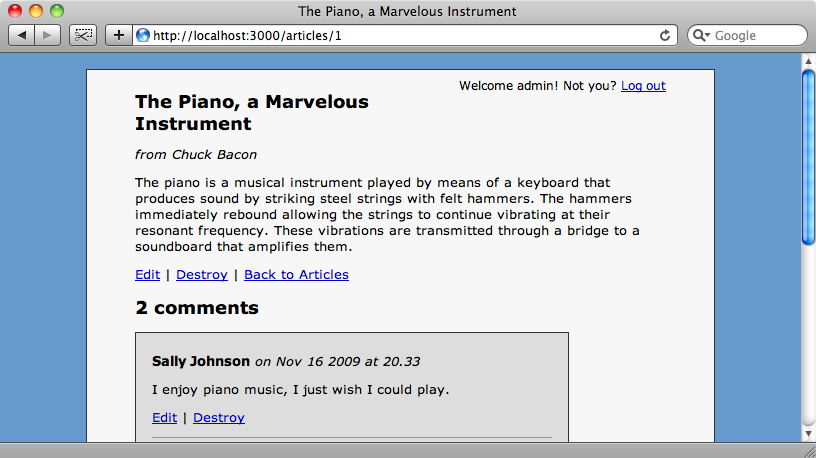
If we go back to our application again we still won’t be able to edit or destroy comments, but if we log in as a user in the admin role then the links will be shown.
Having got authorization working for administrators we now need to set up the abilities for the other roles. We’ll start with guest users, those who have no roles assigned to them. These should be able to create comments and update comments that they have written. To do this we’ll modify our Ability class thus:
class Ability
  include CanCan::Ability

  def initialize(user)
    user ||= User.new

    if user.role? :admin
      can :manage, :all
    else
      can :read, :all
      can :create, Comment
      can :update, Comment do |comment|
        comment.try(:user) == user
      end
    end
  end
end
Writing the code to enable guest users to create comments is straightforward but the update code is a little trickier as users should only be able to update comments they have written. To do this we pass can a block which will pass in the instance of the model we’re checking. The block should return true or false depending on whether the action should be allowed so in the block we’ll check that the comment’s user is the current user. There’s a possibility that the comment might be nil so we’ll use Rails’ try method to read the user attribute so that nil is returned if the comment is nil instead of an exception being raised.
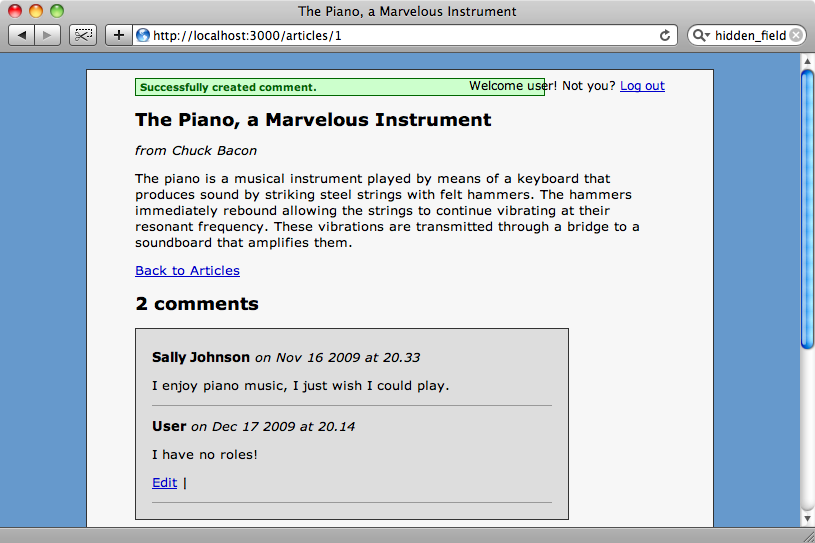
If we log in as a user who has no roles now we can add a comment and update it but not the comments made by anyone else.
Next we’ll modify the code to add the abilities for moderators. Moderators should be able to modify any comment so we’ll update the update comment ability to allow this.
can :update, Comment do |comment|
  comment.try(:user) == user || user.role?(:moderator)
end
We have one more role left to cover, :author. Authors should be able to create articles and modify any articles that they have written. To add these abilities we just need to add the following code to the Ability class.
class Ability
  include CanCan::Ability

  def initialize(user)
    user ||= User.new

    if user.role? :admin
      can :manage, :all
    else
      can :read, :all
      can :create, Comment
      can :update, Comment do |comment|
        comment.try(:user) == user || user.role?(:moderator)
      end
      if user.role?(:author)
        can :create, Article
        can :update, Article do |article|
          article.try(:user) == user
        end
      end
    end
  end
end
As we did with guest users and comments we pass the current article to a block in the update article ability and check that the article’s user is the current user.
Now we have all of our abilities defined for each user role. The nice thing about CanCan is that it allows us to define all of the abilities in one location and the rest of the application will reflect these changes.
A Prettier Error Page
If a user calls an action that they don’t have access to they will see a rather ugly error page showing an AccessDenied exception. We can change this so that they see a better-looking custom error page instead.
Rails provides a method called rescue_from that we can place in our ApplicationController. We pass it an exception and pass it either a method or a block. We’ll pass a block and inside it make the application show a flash error message and redirect to the home page.
rescue_from CanCan::AccessDenied do |exception|
  flash[:error] = "Access denied!"
  redirect_to root_url
end
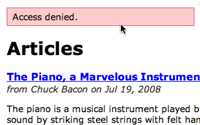
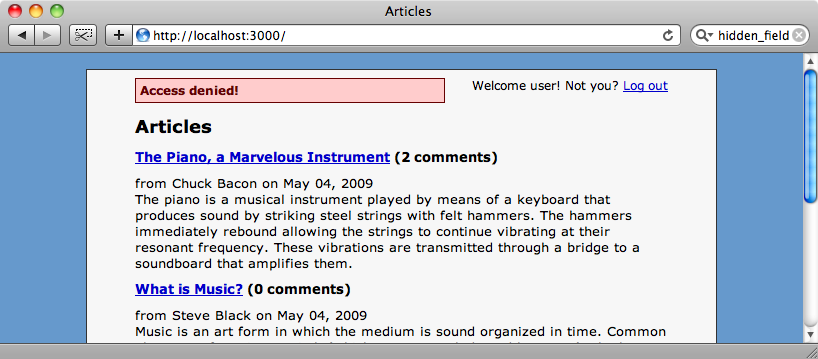
If a user without roles now tries to edit an article by typing the URL in directly they’ll be redirected to the home page and told that they can’t do that.
That’s it for this episode. For more details or to report an issue visit Ryan’s GitHub page for the project.


