#162 Tree-Based Navigation (revised)
- Download:
- source codeProject Files in Zip (42.6 KB)
- mp4Full Size H.264 Video (18.5 MB)
- m4vSmaller H.264 Video (10.5 MB)
- webmFull Size VP8 Video (14.1 MB)
- ogvFull Size Theora Video (22 MB)
If we’re working with an application that has a lot of content we might want to create a nested menu system with multiple root menu items displayed at the top and each top menu item displaying a sidebar of nested items. We could even add a breadcrumb trail so that the user can see where in the navigation they currently are and get get back to the root items easily.
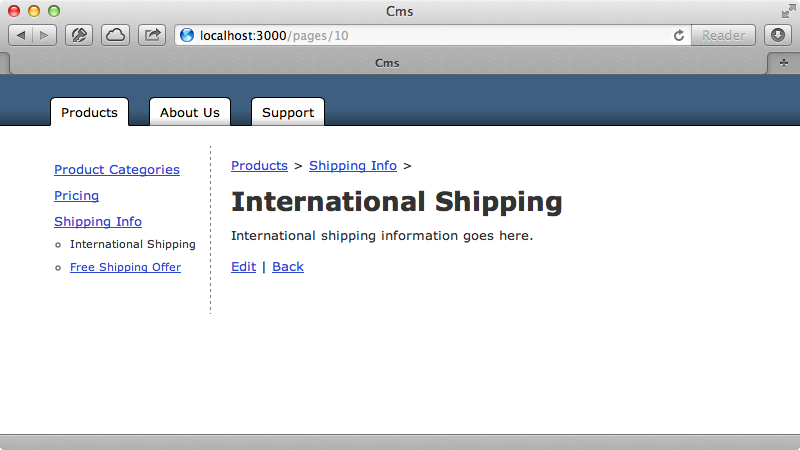
In this episode we’ll create this project from scratch and we’ll start by creating a new Rails application that we’ll call cms.
$ rails new cms
$ cd cms
So, how should we start building our application? We’ll use the user interface to drive the design and to do so we’ll look for hints of resources within it. A good indication is a list, especially if its something whose contents should be stored in the database. The list of pages in the left sidebar is such a thing; we want to be able to manage it through an administrative interface and so we’ll turn it into a resource.
The next question is “what are the attributes for each of the items?”. Each page should have a name and in this case some content, although we might want to add use a URL attribute instead of the content if we want the link to go to a more dynamic page if we don’t have a CMS-type app. The list is displayed in a tree structure so we’ll need to keep track of the place of each item. We could display this tree structure on our own but instead we’ll take advantage of a gem. There are a lot of different gems to choose from which all provide a similar interface but which are quite different in how they’re implemented and how they perform. We’ll use a gem called Ancestry which was covered in more detail back in episode 262. If we look at the README for this gem we can see the list of methods that it provides and some of these will help a lot in building our tree-based navigation, such as root to get the root node, ancestors to get a node’s ancestors and descendants to get a node’s children. We’ll install the gem in the usual way by adding it to the gemfile then running bundle to install it.
gem 'ancestry'Now we can start building our application. We’ll generate a scaffold for a Page model to get an interface up and running quickly and give it name, content and ancestry attributes.
$ rails g scaffold page name content:text ancestry:string:index
$ rake db:migrate
We now have a scaffold set up where we can create new pages. The new page form has an ancestry field which is a text field. We’ll replace this with a dropdown list of all the existing pages so the we can select a parent for the new page. We’ll modify the generated template to replace the text_field with a collection_select.
<div class="field">
  <%= f.label :parent_id %><br />
  <%= f.collection_select :parent_id, Page.order(:name), :id, :name, include_blank: true %>
</div>
Note that we’ve changed the name to parent_id. Next we’ll change the Page model so that it allows the new parent_id field to be accessible through mass assignment and add a call to has_ancestry to add all the tree-based behaviour including the parent_id getter and setter methods.
class Page < ActiveRecord::Base
  attr_accessible :parent_id, :content, :name

  has_ancestry
end
Now when we create a page we have a select menu, although it currently doesn’t have anything in it. If we create a page then go back to create another one we’ll be able to select the first page we created as its parent.
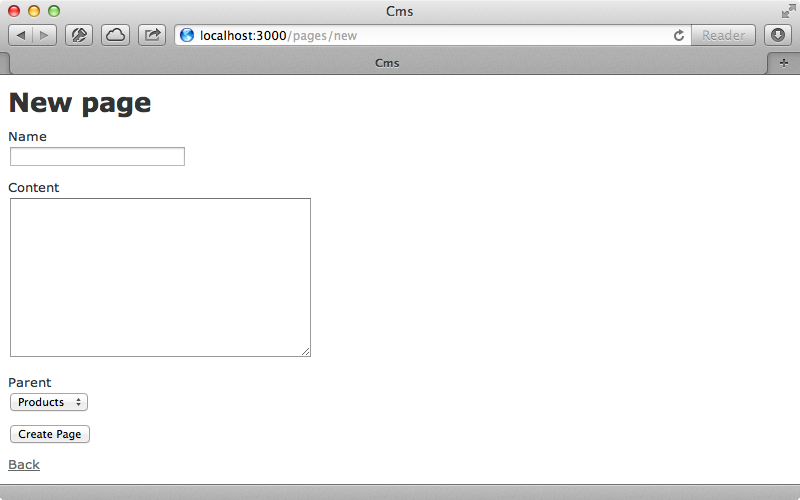
We’ll quickly create some more pages so that we’ve got some data to work with.
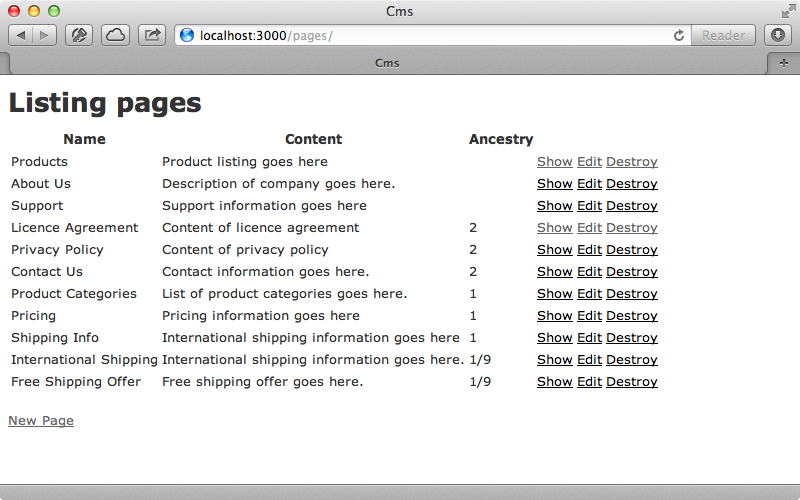
Now we have a number of pages, some of which are nested under others and we have enough data to begin building our navigation with. When we visit a page we want some links at the top that will take us to the different root pages. We add these at the top of the template that displays a single page.
<ul id="menu">
  <% Page.roots.each do |page| %>
  <li><%= link_to page.name, page %></li>
  <% end %>
</ul>
We get the root pages by using Page.roots which Ancestry provides. For each root page we display a list item containing a link to the page. We’ve already added some CSS so when we reload the page now the navigation appears and looks good.
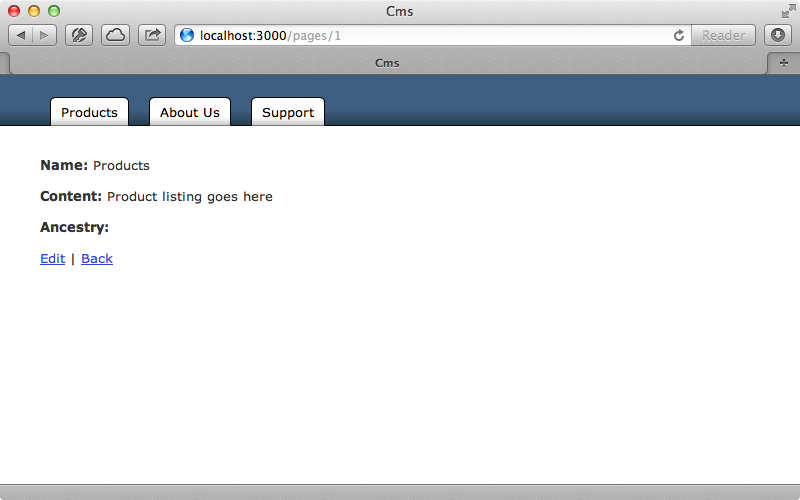
It would be better if the tab for the current page looked active. We’ll modify the template to add an active CSS class to the tab whose page is the current one.
<ul id="menu">
  <% Page.roots.each do |page| %>
  <li><%= link_to page.name, page, class: ("active" if @page.root == page) %></li>
  <% end %>
</ul>
Now the tab will appear active if the current page or one of its children is showing.
Creating The Sidebar
Next we’ll work on the sidebar of nested menu items. This will work like the top menu but instead of displaying the root pages we’ll loop through the current page’s children. We can do this by using Ancestry’s children method. The tricky part here is that we want this menu to be nested so that it includes the children’s children in another list. We can make this work by moving the code that renders the current page’s children into a partial then calling that partial from the show page. We’ll call this partial submenu_pages and start by rendering the children of the root page so that the menu is consistent no matter what page we’re on.
<div id="submenu">
  <%= render 'submenu_pages', pages: @page.root.children %>
</div>
This loops through the pages that are passed to it and renders them out. For pages with children the partial is called again and their children will be rendered too.
<ul>
  <% pages.each do |page| %>
  <li>
    <%= link_to_unless_current page.name, page %>
    <%= render 'submenu_pages', pages: page.children if page.children.present? %>
  </li>
  <% end %>
</ul>
When we reload the page now the submenu is displayed on the left side of the page and when we visit a page its link is removed.
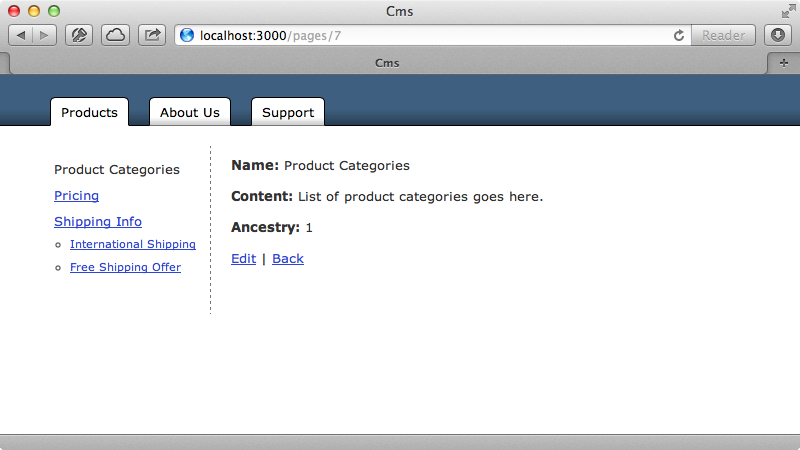
Every time this sidebar is rendered out it checks the pages’ children. It would be good if we could avoid the second check for each item as this could affect performance if there are a large number of items. Ancestry provides a method that can help with this called arrange. This takes an array of nodes and generates a set of nested hashes for the parent and its children. To get this to work we need to change the code that renders the submenu_pages partial. Instead of passing the root page’s children into this partial we’ll pass its descendants instead.
<div id="submenu">
  <%= render 'submenu_pages', pages: @page.root.descendants.arrange %>
</div>
Instead of just fetching the immediate children descendants fetches all the sub-children in one giant array. Calling arrange on this rearranges it into a set of nested hashes which we can use to get all the data for the left menu without needing to make multiple queries. We’ll need to update our partial as it will now have the children passed to it.
<ul>
  <% pages.each do |page, children| %>
  <li>
    <%= link_to_unless_current page.name, page %>
    <%= render 'submenu_pages', pages: children if children.present? %>
  </li>
  <% end %>
</ul>
When we reload the page now it looks just like it did before but it performs better as it’s making fewer database queries.
Adding a Breadcrumb Trail
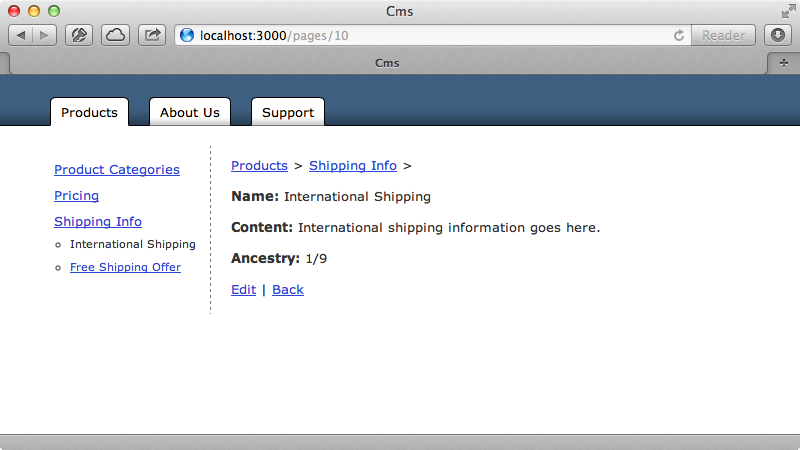
The last piece of navigation we’ll add to the page is the breadcrumb trail. To render this we want to loop through the current page’s ancestors and Ancestry provides an ancestors method which will do just this.
<div id="breadcrumbs"> <% @page.ancestors.each do |page| %> <%= link_to page.name, page %> > <% end %> </div>
When we visit a sub-page we’ll see the breadcrumb trail at the top.
We’re pretty much done with the navigation part of our application, but to finish up we’ll clean the page up a little so that it’s more finished. We’ll put the page’s name in an h1 element so that it’s more visible and use simple_format for the content so that we can add paragraphs and so on. We’ll remove the ancestry information as this isn’t really relevant and finally we’ll put the page’s name in the title.
<% content_for :title, @page.name %> <ul id="menu"> <% Page.roots.each do |page| %> <li><%= link_to page.name, page, class: ("active" if @page.root == page) %></li> <% end %> </ul> <div id="submenu"> <%= render 'submenu_pages', pages: @page.root.descendants.arrange %> </div> <div id="breadcrumbs"> <% @page.ancestors.each do |page| %> <%= link_to page.name, page %> > <% end %> </div> <p id="notice"><%= notice %></p> <h1><%= @page.name %></h1> <%= simple_format @page.content %> <%= link_to 'Edit', edit_page_path(@page) %> | <%= link_to 'Back', pages_path %>
To display the title we’ll need to make a change to the layout file.
<!DOCTYPE html>
<html>
<head>
  <title><%= content_for?(:title) ? yield(:title) : "CMS" %></title>
  <%= stylesheet_link_tag    "application", :media => "all" %>
  <%= javascript_include_tag "application" %>
  <%= csrf_meta_tags %>
</head>
<body><%= yield %>

</body>
</html>
When we reload the page now it looks much better.

That’s it for this episode. The techniques we’ve show here can be used in any application even if it’s not a CMS-style app. We could rename the Page model to
MenuItem and give it a url attribute to link to instead of going to the page’s controller. This way the menu items can still be dynamically generated from the database. If we do this we should think about caching the menu’s data as it won’t change very often. Episode 90 covers this in more detail.


