#160 Authlogic
- Download:
- source code
- mp4
- m4v
- webm
- ogv
One of the most popular plugins for Rails applications is Restful Authentication which was covered back in episode 67. Restful Authentication is a generator script that creates a lot of code that will handle the authentication in your Rails app. It works well as a quick solution to creating authentication for your application, but more flexible and extendable alternatives now exist.
One such alternative is Authlogic. It uses a different approach from Restful Authentication in that it doesn’t generate controllers or views but just deals with the code to handle the authentication for your users. Because of that it can take a bit longer to get your application running under Authlogic, as you have to write more code yourself, but you gain flexibility and more control over how the authentication is presented to the user.
Adding Authlogic To An Application

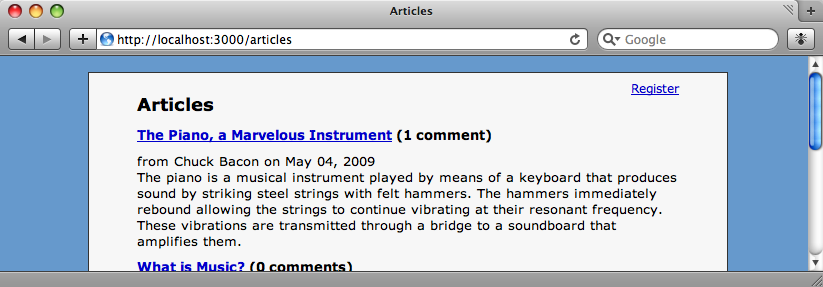
Above is a page from the application we’re going to add authentication to. In the top right corner of the page we want to add a link that shows “Register” and “Log in” links if there’s no currently logged-in user and “Edit Profile” and “Log out” links if there is.
Installing Authlogic
Authlogic can be installed either as a plugin or a gem; we’re going to install the gem. To add it to our application we just need to add the line below to /config/environment.rb.
config.gem "authlogic"Then we’ll run rake to make sure that the gem is installed.
sudo rake gems:install
Creating The Model And Controller
With Authlogic installed the next thing to do is to create a model and controller to handle our users. First we’ll generate our User model.
script/generate model user
Next we’ll edit the generated migration file to configure our model’s properties. Authlogic works by looking for columns with a given name in the database. Our migration file will look like this:
class CreateUsers < ActiveRecord::Migration
  def self.up
    create_table :users do |t|
      t.string :username
      t.string :email
      t.string :crypted_password
      t.string :password_salt
      t.string :persistence_token
      t.timestamps
    end
  end

  def self.down
    drop_table :users
  end
end
Authlogic recognises the fields called email, crypted_password, password_salt and persistence_token and knows how to deal with them. You can find more details on the columns that Authlogic recognises on the Github page for the Authlogic example app.
Finally we’ll run rake to create the table in the database.
rake db:migrate
The User model we generated is just a standard model class. To add Authlogic to the class we just add the line acts_as_authentic.
class User < ActiveRecord::Base
  acts_as_authentic
end
You can pass a block to acts_as_authentic to specify configuration options, but the defaults are sensible so we won’t need to do that here.
Before we go any further we’ll also create our users controller. This will need to have new and edit views so we’ll get the generator to create those.
script/generate controller users new edit
We’ll be using the controller as a restful resource so we’ll also need to make a small addition to the routes file (/config/routes.rb).
map.resources :usersWe can leave the controller as it is for now. We’ll come back and fill the controller methods and views shortly.
Adding The Links
Now that our model and controller are set up we’ll move on to creating the links that enable a user to sign up, log in or out, or change their profile. To start off we’ll create the “Register” link, which we’ll put in a div in our application’s layout file (/app/views/layouts/application.html.erb).
<div id="user_nav">
  <%= link_to "Register", new_user_path %>
</div>
We want the link to appear on the right-hand side of the page and in a slightly smaller size so we’ll use CSS to float it by modifying our stylesheet.
div#user_nav { float: right; font-size: 0.9em; }And we now have our registration link on every page of our application.
The “Register” link links to /users/new, so our next task is to write the code that creates a new user. We already have the controller and view files and the code we’ll need to put in them is fairly straightforward.
def new
    @user = User.new
end

def create
  @user = User.new(params[:user])
  if @user.save
    flash[:notice] = "Registration successful."
    redirect_to root_url
  else
    render :action => 'new'
  end
end
The controller code is standard RESTful code. The new action creates an empty user object while the create action creates a new user from the supplied parameters and saves it to the database if it is valid, or shows the new form again if it is not.
The registration form will be used when registering or editing a user’s profile so it will be best put in a partial file. Again, there’s nothing complicated.
<% title ("New User") %>
<%= render @user %>
The view code for new.html.erb.
<% form_for @user do |form| %>
<%= form.error_messages %>
<ol class="formList">
  <li>
    <%= form.label :username, "Username" %>
    <%= form.text_field :username %>
  </li>
  <li>
    <%= form.label :email, "Email" %>
    <%= form.text_field :email %>
  </li>
  <li>
    <%= form.label :password, "Password" %>
    <%= form.password_field :password %>
  </li>
  <li>
    <%= form.label :password_confirmation, "Password confirmation" %>
    <%= form.password_field :password_confirmation %>
  </li>
  <li>
    <%= form.submit "Submit" %>
  </li>
</ol>
<% end %>
The code for _user.html.erb.
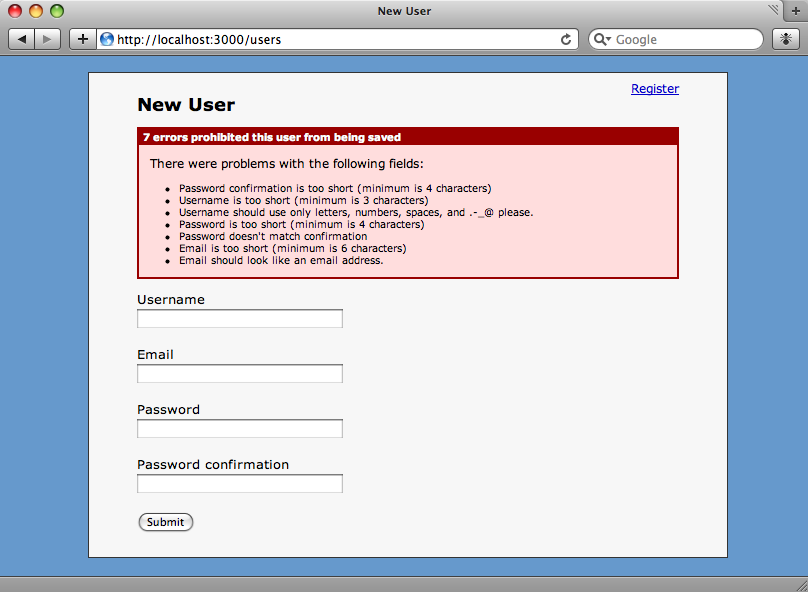
Now we can click on the “Register” link now see our registration form. If we try to register without filling any of the fields in we’ll see that Authlogic automatically provides validations for the User model.
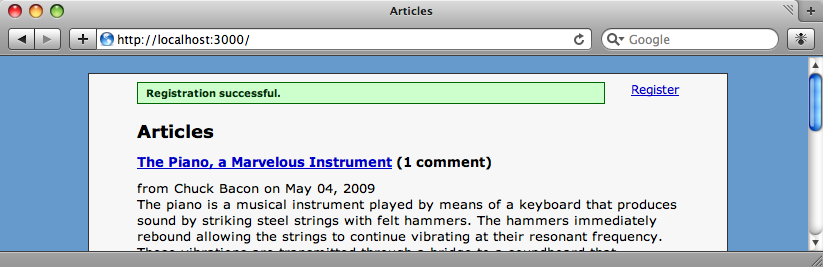
If we fill the form in correctly then we’ll be redirected to the home page and told that our registration has been successful.
Logging In
Along with the “Register” link we want a “Log in” one so that a registered user can log in. To do this in Authlogic we need to create another model called UserSession that represents the user’s current session. This means that to log a user in we just create a new UserSession record. Authlogic provides a generator script to generate this model.
$ script/generate session user_session
    exists  app/models/
    create  app/models/user_session.rb
The generator is simple and only creates the new UserSession model. If we look at that model we’ll see that it’s just an empty class that inherits from Authlogic::Session::Base, but that’s enough for it to handle all of the session logic for us.
class UserSession < Authlogic::Session::Base
end
As the generator script doesn’t create any controllers or views we still need to create a login form. We can do this in a RESTful manner by creating a UserSessions controller and giving it new, create and destroy actions to create and destroy sessions. Only the new action will have an associated view, so that’s the only action we’ll ask the generator to create.
script/generate controller UserSessions new
The three methods we need in the controller are, again, much as you’d see for any other controller. For new, we just create a new instance of UserSession.
def new
  @user_session = UserSession.new
end
For create we create a UserSession based on the passed parameters. If the user is valid then the UserSession object will be valid and can be saved.
def create
  @user_session = UserSession.new(params[:user_session])
  if @user_session.save
    flash[:notice] = "Successfully logged in."
    redirect_to root_url
  else
    render :action => 'new'
  end
end
Lastly, for destroy we just destroy the current UserSession. Note that we don’t need to find the session by an id as we’re just destroying the current one for that user.
def destroy
  @user_session = UserSession.find
  @user_session.destroy
  flash[:notice] = "Successfully logged out."
  redirect_to root_url
end
In the new view we’ll need a form so that a user can log themselves in.
<% title "Log in" %>

<% form_for @user_session do |form| %>
<%= form.error_messages %>
<ol class="formList">
  <li>
    <%= form.label :username, "Username" %>
    <%= form.text_field :username %>
  </li>
  <li>
    <%= form.label :password, "Password" %>
    <%= form.password_field :password %>
  </li>
  <li>
    <%= form.submit "Submit" %>
  </li>
</ol>
<% end %>
Again we’ll need to modify our routes file so that it treats the controller as a resource, and we’ll also add a couple of named routes to provide neat login and logout URLs.
map.login 'login', :controller => 'user_sessions', :action => 'new'
map.logout 'logout', :controller => 'user_sessions', :action => 'destroy'
map.resources :user_sessions
We can now go back to our application’s layout file and add the link for logging in.
<div id="user_nav">
  <%= link_to "Register", new_user_path %>
  <%= link_to "Log in", login_path %>
</div>
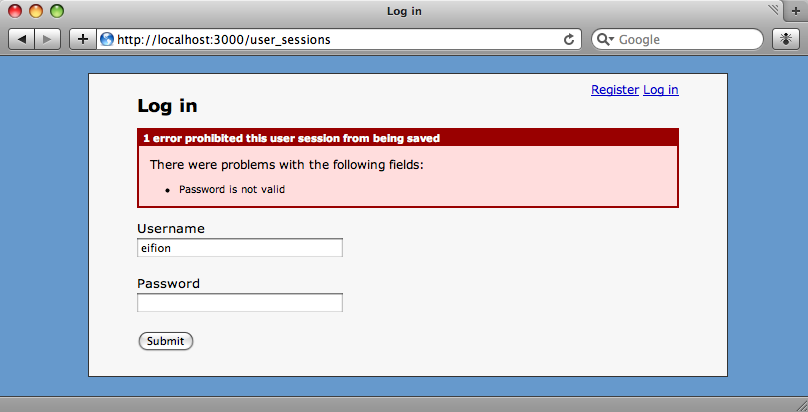
Now we can log in to the application. If we provide an invalid username or password then the UserSession model is considered invalid and we’re shown an error message.
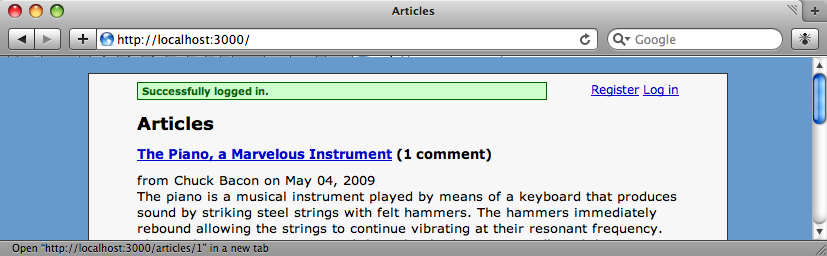
Otherwise we’re logged in and redirected back to the home page.
Logging Out
The code for logging in and out still isn’t complete. After we’ve logged in we still see the “Register” and “Log in” links where we should now see “Edit Profile” and “Log out”. To change the links we’ll need to modify our layout file again.
<div id="user_nav">
  <% if current_user %>
    <%= link_to "Edit profile", edit_user_path(:current) %>
    <%= link_to "Logout", logout_path %>
  <% else %>
    <%= link_to "Register", new_user_path %>
    <%= link_to "Log in", login_path %>
  <% end %>
</div>
There’s no need to pass a user id to the edit action as we’re always going to be editing the current user so we can just pass :current. The current_user method we’ve used in the if statement doesn’t as yet exist, so we’ll need to write it. We’ll want it to be available to all of the controllers so it will go in application_controller.rb.
helper_method :current_user

private
def current_user_session
  return @current_user_session if defined?(@current_user_session)
  @current_user_session = UserSession.find
end

def current_user
  @current_user = current_user_session && current_user_session.record
end
We’ve added two methods to the application controller. The first, current_user_session, gets the current user’s session, and the second, current_user, will return the User model for the currently logged-in user. We’ll make current_user a helper method so that it can be used in our views and our layout file.
Now when we log in we’ll see the correct links.

As we’ve defined the route and written the controller action to log a user out the “Log out” link will work, but we need to modify the UsersController to enable the profile to be edited.
def edit
  @user = current_user
end

def update
  @user = current_user
  if @user.update_attributes(params[:user])
    flash[:notice] = "Successfully updated profile."
    redirect_to root_url
  else
    render :action => 'edit'
  end
end
The edit and update methods vary slightly from normal in that instead of getting a model by its id they just get the current user, using the current_user method we wrote in the application controller.
Finally we just need to put the user form into the edit view (/app/views/users/edit.html.erb).
<% title ("Edit User") %>
<%= render @user %>
We can now edit our profile when we’re logged in which means that we’ve implemented all of the functionality we wanted in our site. Users can now register, log in, edit their profiles and log out again.
Further Reading
There’s much more functionality available in Authlogic than we’ve shown in this episode. For more information check out the Github page for Authlogic and the page for the example application. For a reference there’s the RDoc documentation too.
