#296 Mercury Editor
- Download:
- source codeProject Files in Zip (88.9 KB)
- mp4Full Size H.264 Video (32.8 MB)
- m4vSmaller H.264 Video (15.4 MB)
- webmFull Size VP8 Video (16.6 MB)
- ogvFull Size Theora Video (39.7 MB)
Mercury 是 Jeremy Jackson 的一个项目,允许在浏览器中直接编辑网页的内容。在该项目主页上点击“Test it Out” 就可以看到示例了。它会在页面顶部加入一个工具条,高亮显示出要编辑的区域。你可以进行编辑然后将更改保存到服务器上。本集将介绍如何将 Mercury 集成到 Rails 应用程序中。
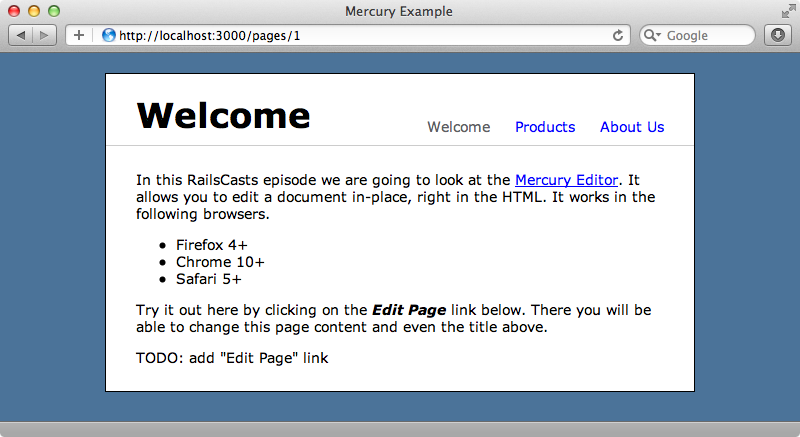
下图是一个简单的内容管理系统(CMS)中的一个页面。在这个程序中有个 Page 模型,其中有三个记录,每个记录都有对应的名称和内容。现在,还没有办法编辑这些页面,让我们把 Mercury 加进去,然后直接编辑它们。
安装 Mercury
安装 Mercury 的第一步是将其 mercury-rails 添加到 /Gemfile 文件中。这个 gem 的开发进度比较快,我们可以直接从其在 Github 中的仓库获取。
source 'http://rubygems.org'

gem 'rails', '3.1.1'
gem 'sqlite3'

# Gems used only for assets and not required
# in production environments by default.
group :assets do
  gem 'sass-rails',   '~> 3.1.4'
  gem 'coffee-rails', '~> 3.1.1'
  gem 'uglifier', '>= 1.0.3'
end

gem 'jquery-rails'
gem 'mercury-rails', git: 'https://github.com/jejacks0n/mercury.git', ref: 'a2b16bcdc9'
上面的代码包含了 git 提交的 SHA 值,这样我们就可以知道使用的是哪个版本了。每次更改 Gemfile 之后都需要重新运行 bundle 安装。
gem 安装完后,需要执行 Mercury 的生成程序,它会提示我们是否安装布局文件和 CSS 文件,我们选择安装。
$ rails g mercury:install
      create  app/assets/javascripts/mercury.js
       route  Mercury::Engine.routes
Install the layout and CSS overrides files? [yN] y
      create  app/views/layouts/mercury.html.erb
      create  app/assets/stylesheets/mercury_overrides.css
以上命令的输出结果会提示我们,还需要运行另一个命令来执行 Mercury 的数据库迁移,所以我们要运行这个命令进行数据库的迁移。
$ rake mercury_engine:install:migrations
Copied migration 20111108202946_create_images.rb from mercury_engine
noonoo:cms eifion$ rake db:migrate
==  CreateImages: migrating ===================================================
-- create_table(:images)
   -> 0.0017s
==  CreateImages: migrated (0.0018s) ==========================================
现在在 app/assets/javascripts 目录下有了 mercury.js 文件,这个 JS 文件包含了 Mercury 的配置选项和相应的注释说明。稍后我们再介绍这个文件。现在我们需要做的是指定这个文件在什么时候加载。在 Rails 3.1 中,application.js 清单文件中包含的所有 JS 文件会在所有的页面中加载,Mercury 的 JS 文件比较庞大,所以我们只想在需要用到 Mercury 编辑功能的页面才加载。我们可以修改这个清单文件让它只加载指定的 JS。(另一种方法,可以将 mercury.js 移到 /vendor/assets 目录中)当我们编辑某个页面时,Mercury 会使用自己的布局文件,在它的布局文件中已经引用了这个 Javascript 文件,所以即便清单文件中不包含这个 JS,在需要的时候它还是会被加载。
// This is a manifest file that'll be compiled into including all the files listed below.
// Add new JavaScript/Coffee code in separate files in this directory and they'll automatically
// be included in the compiled file accessible from http://example.com/assets/application.js
// It's not advisable to add code directly here, but if you do, it'll appear at the bottom of the
// the compiled file.
//
//= require jquery
//= require jquery_ujs
//= require pages
同样的方法也可用于 Mercury 的样式文件,在这里就不再赘述。
使页面可编辑
一旦 Mercury 安装完毕,我们就可以在程序中的任何页面使用它的编辑器了。开启页面的编辑模式,只需在域名和路径之间加入 /editor。
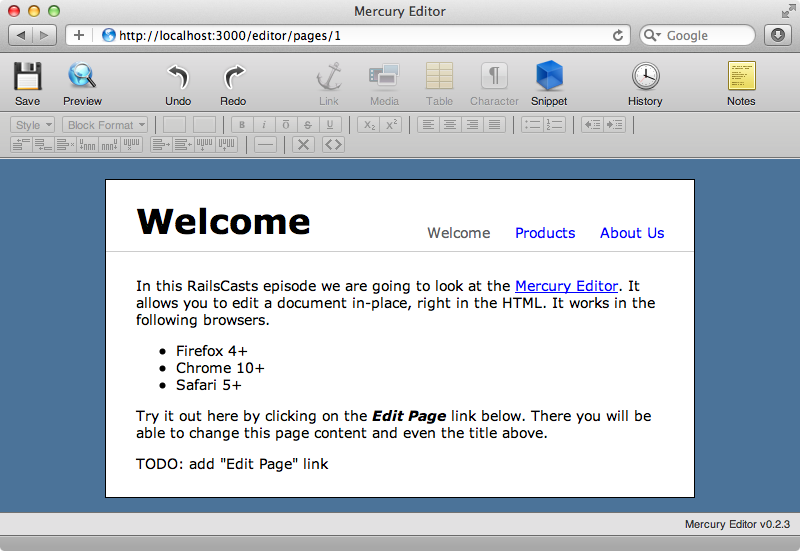
知道了这个 URL,就可以在程序中添加一个“编辑页面”的链接了。
<div id="header">
  <h1><%= raw @page.name %></h1>
  <ul id="navigation">
  <% Page.all.each do |page| %>
    <li><%= link_to_unless_current page.name, page %></li>
  <% end %>
  </ul>
</div>

<div class="content">
  <%= raw @page.content %>

  <p><%= link_to "Edit Page", "/editor" + request.path %></p>
</div>
添加可编辑的区域
现在有一个链接可以链接到编辑页面,但是页面中还没有任何可编辑的区域。现有两个区域需要编辑:标题和内容。为了使页面中的某个区域可编辑,我们需要将其放到一个容器中,然后赋予其 class 为 mercury-region,并赋予其 data-type 属性值为 editable。还要个每个容器一个 id 这样在保存结果时才能辨别各个区域,本例中的两个区域 ID 分别为 page_name 和 page_content。
<div id="header">
  <h1><span id="page_name" class="mercury-region" data-type="editable"><%= raw @page.name %></span></h1>
  <ul id="navigation">
  <% Page.all.each do |page| %>
    <li><%= link_to_unless_current page.name, page %></li>
  <% end %>
  </ul>
</div>

<div class="content">
  <div id="page_content" class="mercury-region" data-type="editable">
    <%= raw @page.content %>
  </div>

  <p><%= link_to "Edit Page", "/editor" + request.path %></p>
</div>
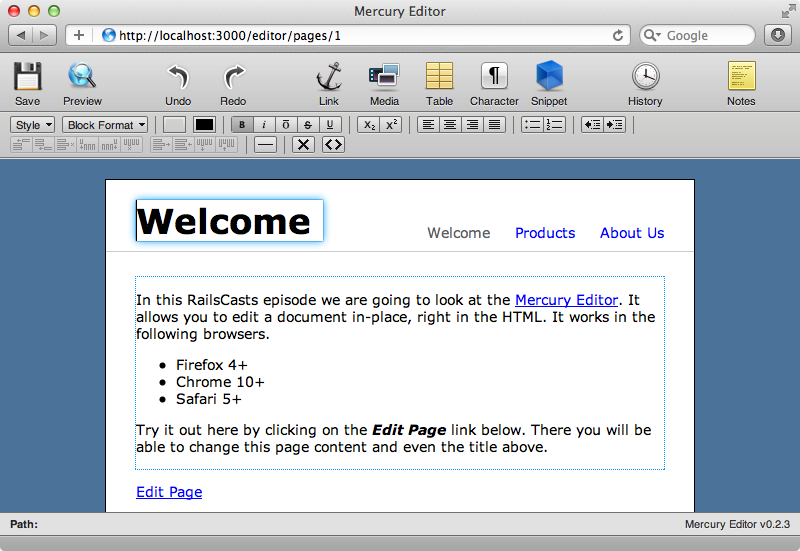
当我们刷新页面后,就会看到两个可编辑的区域已经被蓝色高亮显示出来了。
保存修改后的结果
现在可以随意的编辑这两个区域了,还可以预览修改后的结果,但是还不能保存修改后的结果,因为我们还没有实现这个功能呢。当我们点击 Mercury 的保存按钮时,页面会弹出一个警告窗口,提示试图保存的路径。
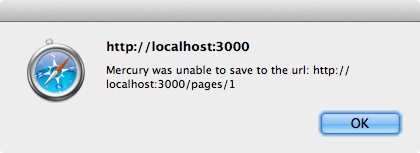
Mercury 试图保存的路径是该页面的地址,它会发送一个包含修改结果的 POST 请求到这个地址。我们来做些改动,让修改的内容发送到 PagesController 的 mercury_update 操作。我们还需要修改路由文件,告诉它怎样处理这个新的操作。
Cms::Application.routes.draw do
  Mercury::Engine.routes

  root to: 'pages#index'
  resources :pages do
    member { post :mercury_update }
  end
end
注意,Mercury 已经将页面编辑所需的路由配置加进去了。
下面需要编写这个新的 mercury_update 操作了。我们通过页面的 id 查询,然后更新,然后返回一个响应。现在暂时在实现页面更新功能的代码处写一个占位的注释行。
def mercury_update
  page = Page.find(params[:id])
  # Update page
  render text: ""
end
接下来需要告诉 Mercury,我们不使用默认的地址进行保存操作。我们不在 JavaScript 文件中直接加入新的地址,而是在“编辑链接”的 date 属性中设置。同时还赋予这个编辑链接一个 id,以便于在 JavaScript 中调用。
<p><%= link_to "Edit Page", "/editor" + request.path, id: "edit_link", data: { save_url: mercury_update_page_path(@page) } %></p>
在 mercury.js 文件的底部加入以下代码,告诉 Mercury 这个新的保存操作的地址。
$(window).bind('mercury:ready', function() {
  var link = $('#mercury_iframe').contents().find('#edit_link');
  Mercury.saveURL = link.data('save-url');
  link.hide();
});
以上的代码绑定到 mercury:ready 事件上,当它执行时会寻找“编辑链接”,然后把 Mercury 的 saveURL 设为前面添加的 data-save-url 中指定的地址。Mercury 会将当前页面加载到一个 iframe 中,所以我们是在这个 iframe 中获取其内容以及链接的。一旦上述的代码被触发而进入编辑模式,我们就把“编辑链接”给隐藏掉。
现在再进行编辑,然后尝试保存结果,错误警告提示没有了,也就是说,Mercury 将修改的结果提交到服务器了。如果查看开发日志的话就可以看到,保存页面会触发 mercury_update 操作,然后提交一个 JSON 格式的字符串,包含更新 Page 模型所需的数据。
Started POST "/pages/1/mercury_update" for 127.0.0.1 at 2011-11-10 18:31:59 +0000
Processing by PagesController#mercury_update as JSON
Parameters: {"content"=>"{\"page_name\":{\"type\":\"editable\",\"value\":\"Welcome!!\",\"snippets\":{}},\"page_content\":{\"type\":\"editable\",\"value\":\"<p>In this ASCIIcasts episode we are going to look at the <a href=\\\"http://jejacks0n.github.com/mercury/\\\">Mercury Editor</a>. It allows you to edit a document in-place, right in the HTML. It works in the following browsers.</p>\\n<ul>\\n <li>Firefox 4+</li>\\n <li>Chrome 10+</li>\\n <li>Safari 5+</li>\\n</ul>\\n<p>Try it out here by clicking on the <strong><em>Edit Page</em></strong> link below. There you will be able to change this page content and even the title above.</p>\",\"snippets\":{}}}", "id"=>"1"}可以设置 Mercury 不用 JSON 格式,而使用嵌套的表格参数形式。如果要这样设置的话,需要修改 Mercury 生成器生成的 mercury.html.erb。这个文件中有个 options 对象,其中有个 saveStyle 属性,默认值为 null,也就是将页面更新以 JSON 格式发送到服务器。现在将其修改成 form。
<script type="text/javascript">
  var saveUrl = null;
  var options = {
    saveStyle: 'form',  // 'form', or 'json' (default json)
    saveMethod: null, // 'POST', or 'PUT', (create, vs. update -- default POST)
    visible: null     // if the interface should start visible or not (default true)
  };
  new Mercury.PageEditor(saveUrl, options);
</script>
现在保存页面的话,数据的形式就是嵌套的表格参数而不是 JSON。我们可以使用这个嵌套的表格参数来将修改的结果保存到数据库中。这个页面的名称和内容会包含在 content 参数中,而且都有个相应的 value 属性。将页面的新内容保存到数据库时就需要这些数据。
def mercury_update
  page = Page.find(params[:id])
  page.name = params[:content][:page_name][:value]
  page.content = params[:content][:page_content][:value]
  page.save!
  render text: ""
end
现在,当我们修改页面,然后保存页面,看似什么也没有发生,其实如果我们回到这个页面的显示模式,就会发现这些修改已经被保存了。
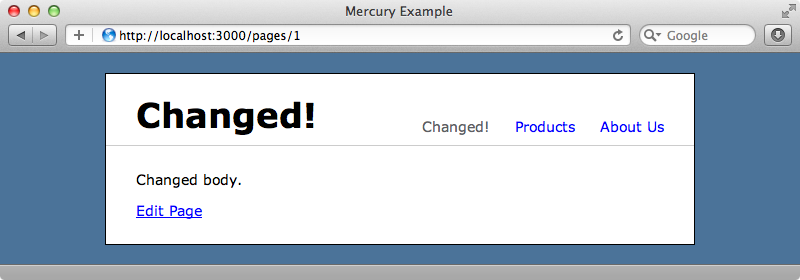
保存后我们希望程序重定向到该页面,那么我们需要监听 mercury:saved 事件,当它执行后,进行重定向。
$(window).bind('mercury:saved', function() {
  window.location = window.location.href.replace(/\/editor\//i, '/');
});
现在再保存的话就会重定向到该页面了。
进阶
Mercury 还有很多功能,在此不能一一详述。你可以阅读一下 mercury.js,了解它的各种功能。例如,我们可以定制工具栏中的内容;还有一些其他功能,像代码片段、浏览历史、提示功能等,可以开启。所有这些在 mercury.js 文件中都有详细的注释说明。
以上就是我们对 Mercury 的介绍。它是一个很好的项目,使用过程也很愉快。如果你要把它集成到你的 Rails 程序中,记住,你需要一个较新版本的 Firefox、Chrome 或 Safari 才能使用它。


